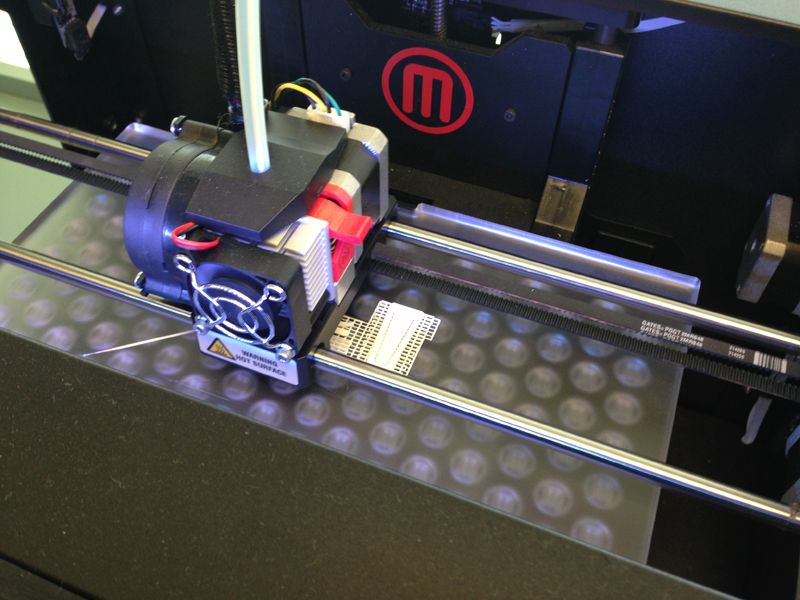
As I’d mentioned before, I spent some time last week drafting up some sketch concepts for a new Pumani headset attachment. I decided to pursue two different options: a simple clip part (that does not require any additional parts ie. spring, snap etc) and a ultra simple option with wire. I really wasn’t sure how the wire would perform, but if it worked out, it would certainly be the cheapest and easiest method. I designed my clip part in SolidWorks and proceeded to use our MakerBot desktop rapid prototype machine to 3D print the piece. I’d worked with rapid prototyping before, but the machines I’ve used in the past have been much larger and extruded two different materials.
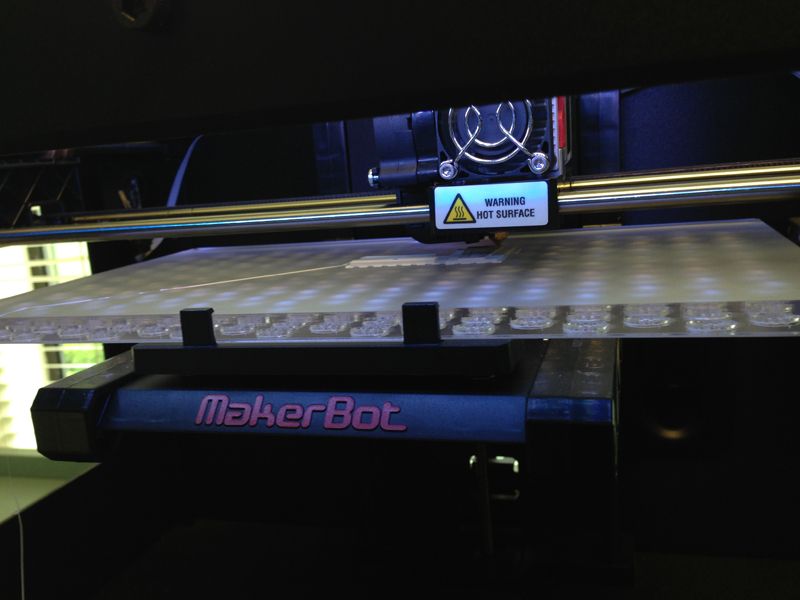
For those who are not familiar with the 3D printing process, this is an oversimplified breakdown: the rapid prototyping machine takes your modeled file (usually an .STL), and “slices” the part. It then uses your material of choice and extrudes this material through a heated, moving head in order to model your piece, slice by slice. It’s basically building some kind of layer cake. This is why prototyped pieces often have a texture on them due to how the material was deposited. (Though I’ve heard there are now coatings to get rid of these!) For our purposes, sanding does the trick to smooth out the surface. You might wonder how you could print a theoretical layer that does not have material already under it to support it (think an umbrella). This is where the two different materials I had mentioned above comes in. The machine will build supports for the structure in a different material. After the piece is completed, the supporting material is eliminated using a unique solvent. The MakerBot desktop printer that we are using only extrudes one material. Therefore, I get to whittle away the supports carefully by hand!
I ended up being quite pleased with the piece that came out. The prototype actually functions quite well, and I’ll continue to work toward improving the model.