We started off the week continuing with the Intubation Box project, as well as picking up organizational tasks for the Incubaby project.
Progress on the intubation box included ordering new parts such as collars, attaching and editing the front doors, and troubleshooting the opening mechanism.
Our second task was to aid in improving the Incubaby project. One of the main criteria for the incubaby project was to increase the airflow through the box. In order to accomplish this, the control box had to be moved to a separate location such that airflow could be directed length-wise along the box. A second objected was to organize the rat’s nest of cables that was in the control box.
In order to experiment with organization, Mikaela and I laser cut a box designed to go length-wise in the front of the incubator. This box includes the extension cables, power supply, cables running to the heating pads, the Arduino board, and all the cables leading to the user interface and thermistors. Naturally, fitting all of this into a small box while maintaining some level of organization is difficult. After cutting and assembling the box, our next task is to find a method of securely tying and organizing all the wires inside.
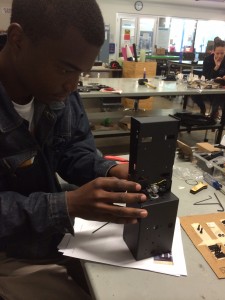
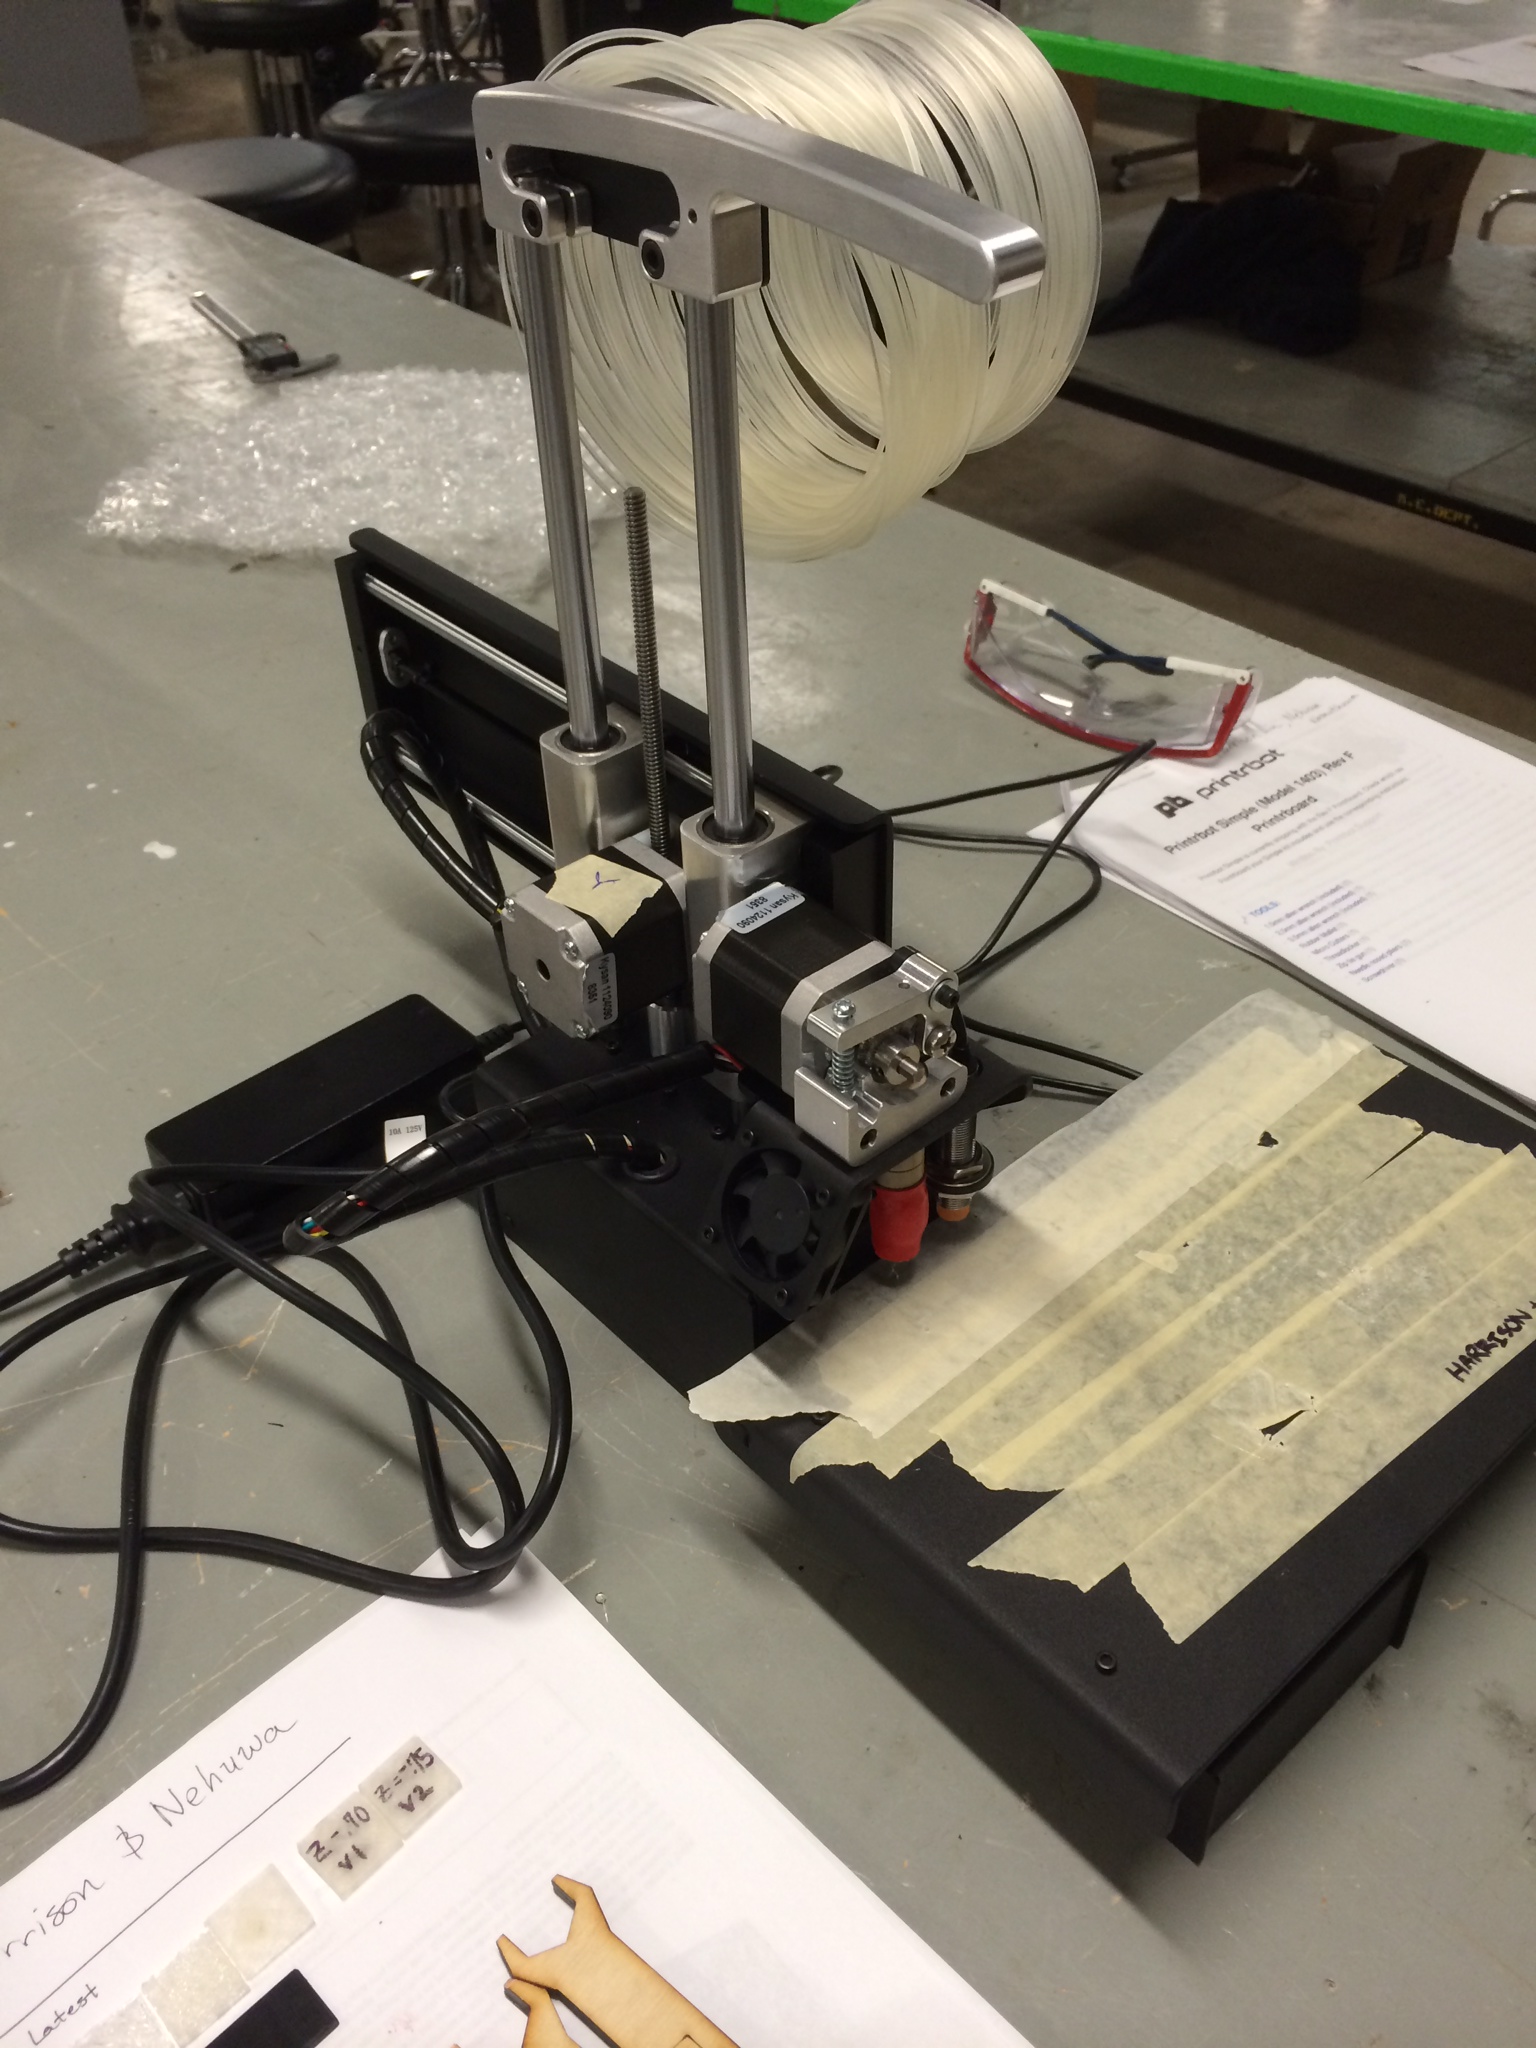
We spent two days on these tasks. Then, we spent the next two days building 3D printers! Nehuwa and I teamed up to complete the construction of the printer. What I found especially helpful about building a printer is that fact that, because we put all the parts together, we naturally acquire a deeper understanding of how the components interact. Thus, we’re more capable of troubleshooting and fixing any issues that arise.
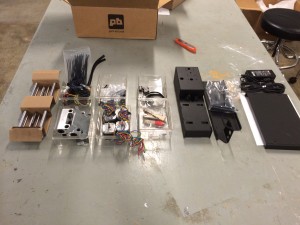
Boxes and boxes of parts Assembly in-progress Nehuwa & I working!
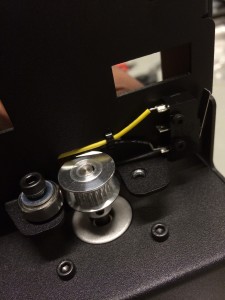
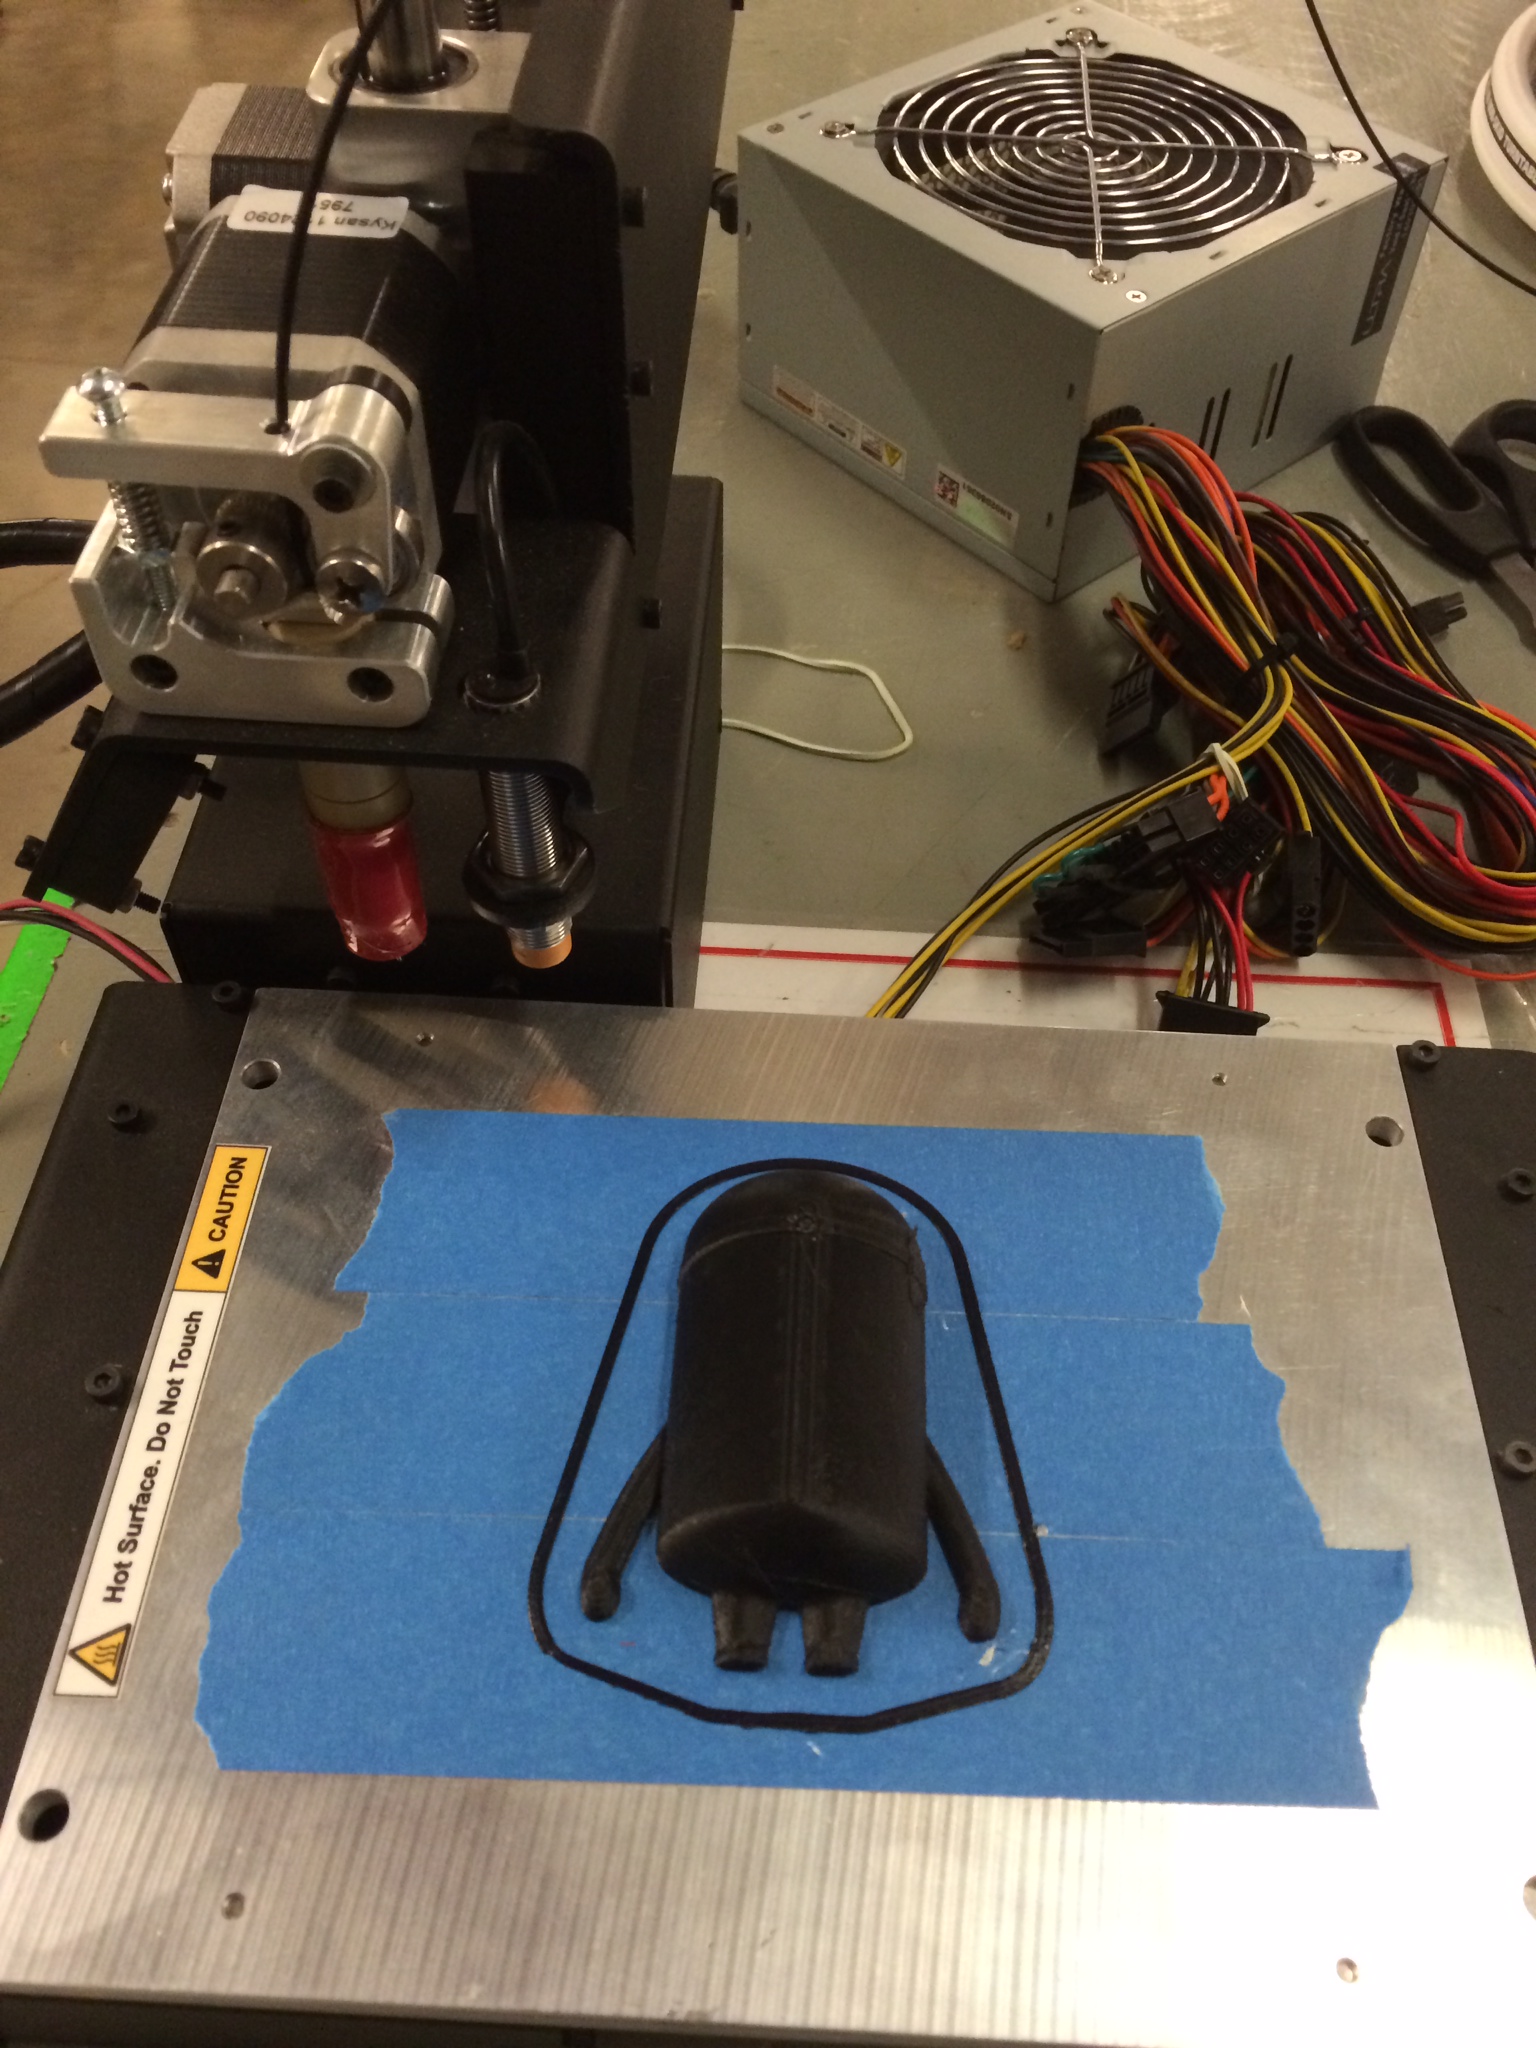
Afternoon of Thursday and most of Friday was spent calibrating and troubleshooting our printers. This was the most interesting part of the process – we learned a lot about the parameters that affect print quality – flow rate through the nozzle, layer height, fill density, print speed and temperature, and shell thickness. There are so many settings you can tweak to improve the quality of your print. I imagine that expertise with a printer can only come with time and lots of experimentation.
Overall, this week was very productive in the fact that everyone has learned a lot. Rather than uploading a file to the professional 3D printers in the lab and leaving, we’re much more in touch with the process of printing because we’re with our prints constantly troubleshooting.
In the future, I’m hoping to save up for a printer so I can experiment and learn more about the technology!
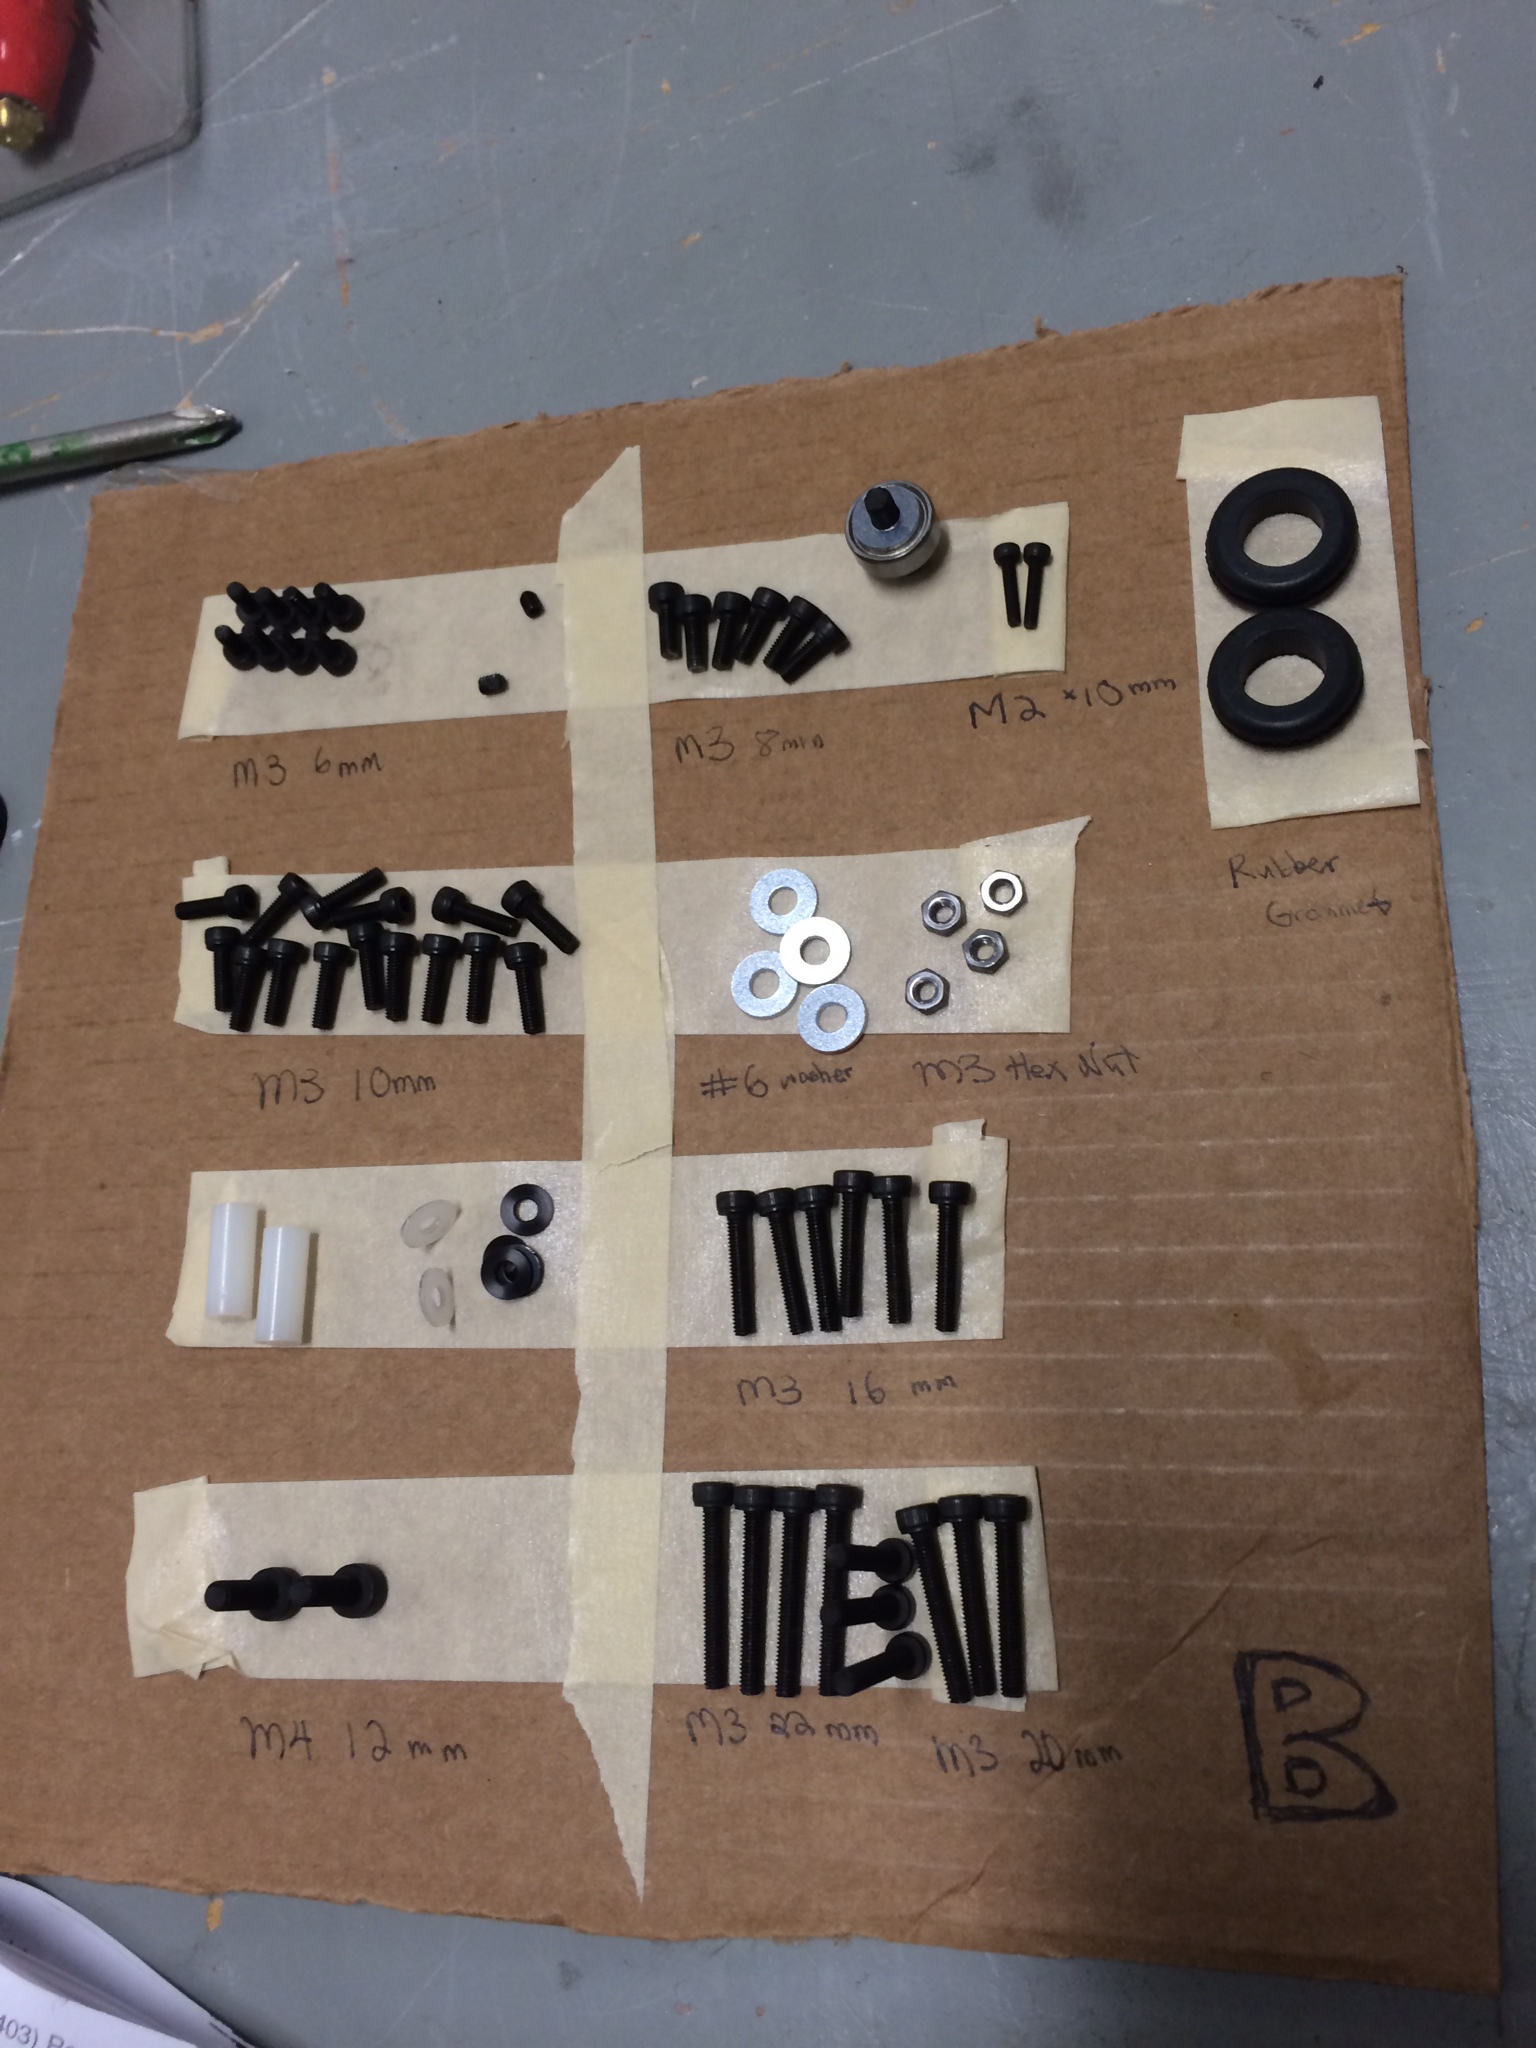
Organizing screws! Wettergreen printing a minion Finished product – calibration time