WIRES ARE SO DIFFICULT TO ORGANIZE.
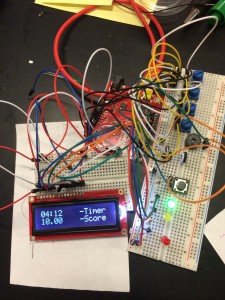
Just had to get that out there. We spent most of this week finalizing the circuit on our APGAR device, designing, constructing, failing, and iterating a laser-cut housing for the circuitry, and lastly attaching the components (buzzer, button, LCD, sliders, LEDs) to the housing in a way that is intuitive to users attempting to troubleshoot. Because Arduino is meant to be a prototyping device, every connection on our circuit is designed to be temporary – meaning that they come loose or apart ALL THE TIME. Although this allows for quick troubleshooting and flexibility, it makes our device much more prone to malfunctioning due to something being unplugged.
We used a program called “Fritzing” (fritzing.org) that allows you to quickly and easily create arduino wiring diagrams. It’s been incredibly helpful for troubleshooting wiring issues. Whenever things get unplugged, I look at our wiring diagram to see if anything is incorrectly connected.
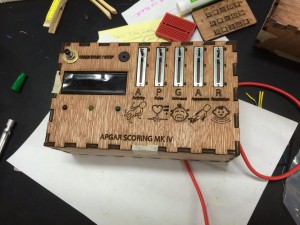
Mess of wire Housing!!
We also were tasked with improving ventilation in the IncuBaby incubator. After a short brainstorming session, we decided to go with a modular testing method – cutting sides of the incubator with lots of holes that are able to be blocked or opened in any arrangement such that testing configurations is much easier than cutting out new sides for each test. Because the incubator is double-walled, we came up with a solution that allows one to have holes through the walls but maintain double-walled insulation benefits.
We cut holes through both walls and stuck a length of PVC that breached both walls, essentially forming a seal that allowed air in, but closed off the incoming air to the gap between the walls.
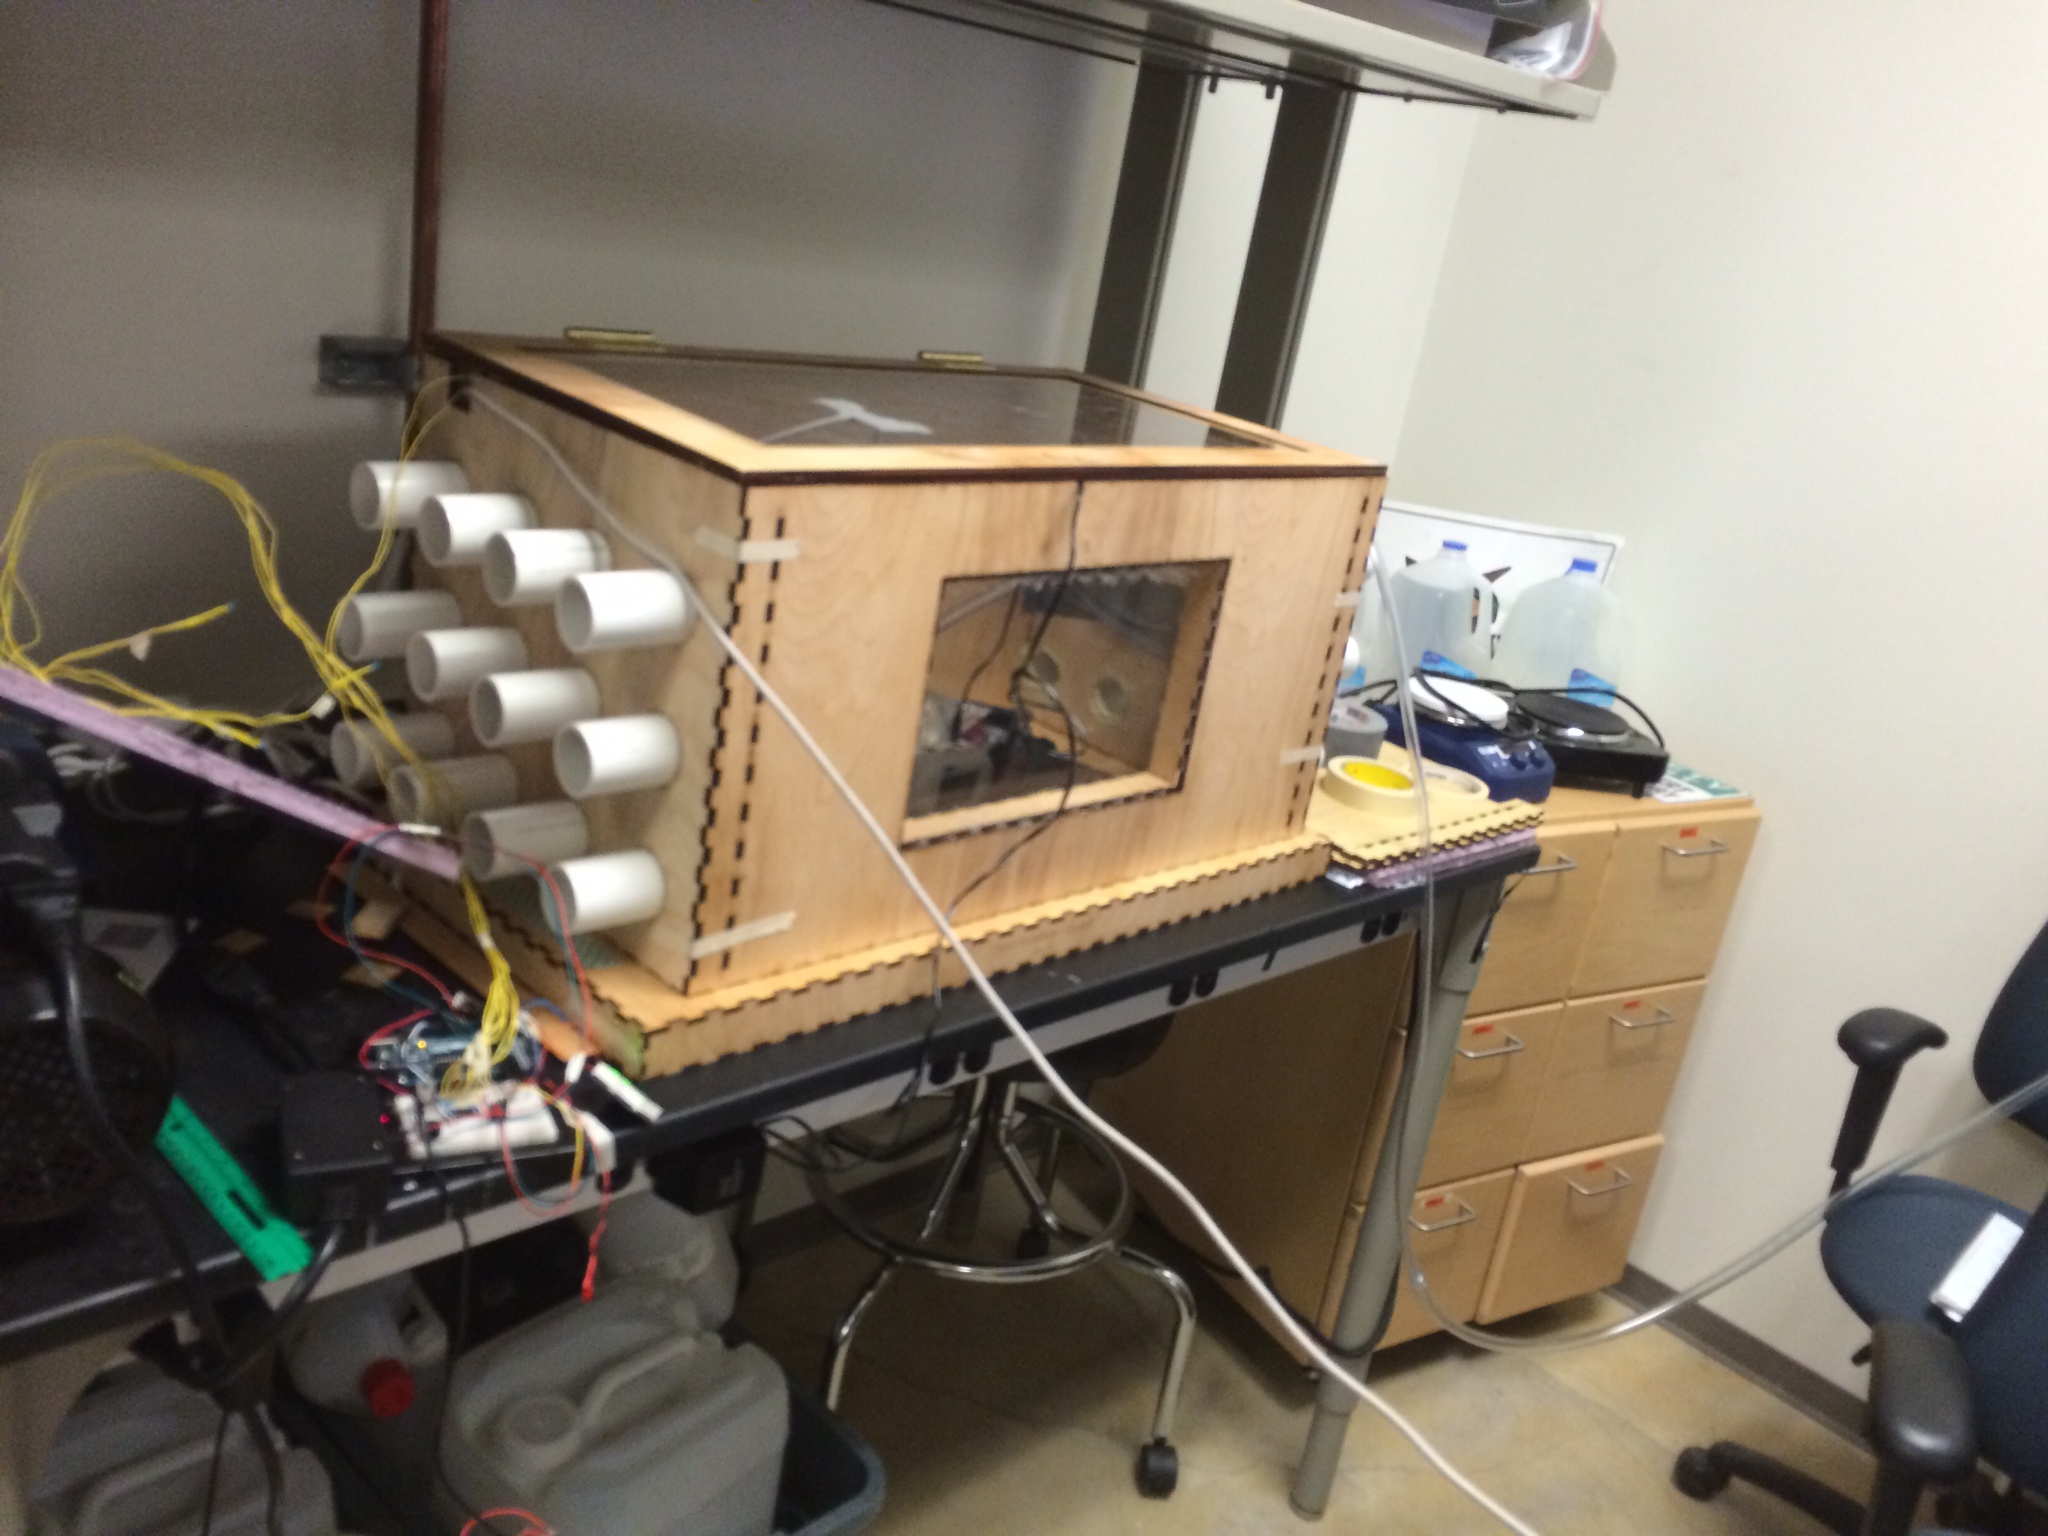
Testing setup
Also, I’ve been doing a lot of side projects after work!!! I’ve been exploring possibilities with the laser cutter. Specifically, I’ve been taking larger scrap material destined for the trash can and constructing cool, useful objects out of it.
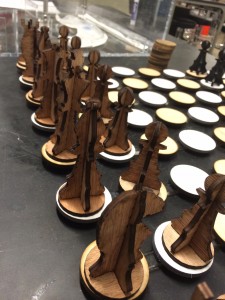
Example 1: Chess board. This is currently sitting in Coffeehouse for anyone to play with their friends. The circular pieces are cutouts from the Incubaby project, and the pieces are cut from scrap material.
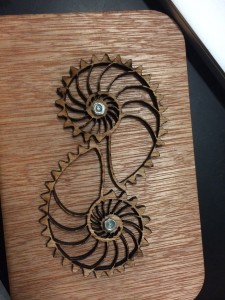
Example 2: Nautilus gears from scrap. Absolutely fascinating how these turn – as the gears turn, the gearing ratio between the two change dramatically. So if you turn one of the gears at a constant rate, the other speeds up and slows down according to the gear ratio at the current turn radius.
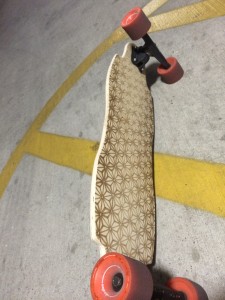
Example 3: Longboard (I went out to Rockler Hardware Store and bought all the materials for this: 1/4″ baltic birch ply, Titebond III wood glue).
This project was really fun – I laser etched the back, jigsawed the shape out of a template designed in Adobe Illustrator, then filed the heck out of the edge to give it a nice, round edge. Woodworking and longboarding are two of my big hobbies, so this was a great combination of both.