Hello again,
Last week I promised news about the breadboard, and I am pleased to say, it is now working!
After four weeks of endless tinkering, consulting experts, and frying not one but two screens, we finally achieved it. This is such a huge deal because now we can run tests using the thermistor and screen. Before we fixed the breadboard, we had to come up with workarounds to get the data off the thermistor or use another temperature measurement device altogether.
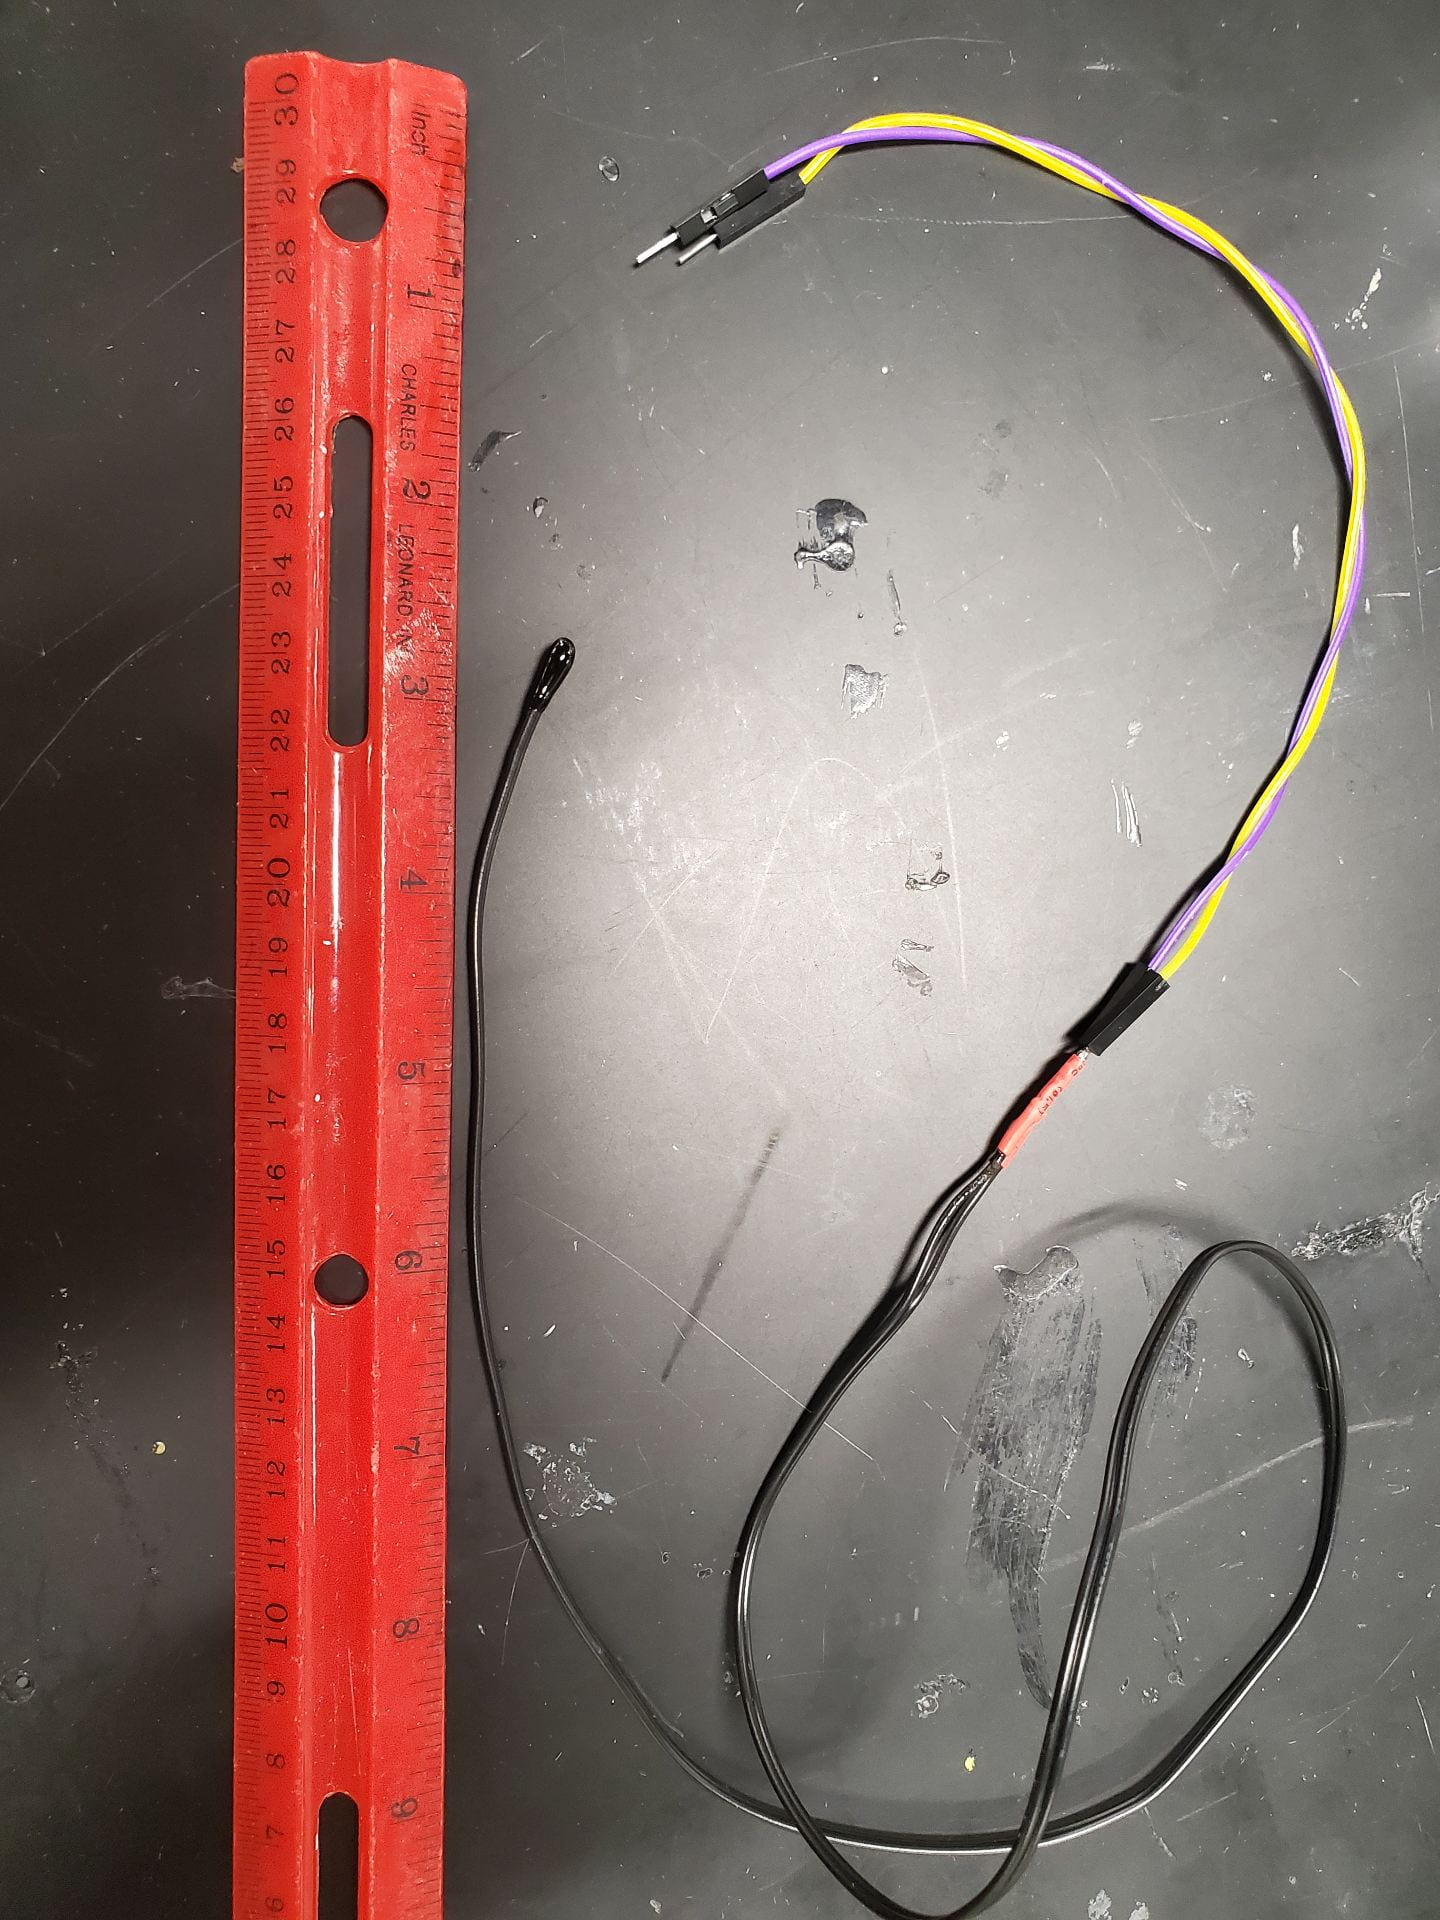
Thermistors are simply little beads of metal oxide. They act like resistors – they’re made from materials that change the amount of resistance they put up against flowing current depending on the temperature they’re feeling. Pretty cool science, right? But they’re not exactly convenient to read like you would a mercury thermometer – you have to have a program that measures the resistance of the thermistor at each time point and converts that to the associated temperature that causes that resistance. There’s no screen or anything built in, so we had to do some complicated wiring tricks to get it to display data on a computer. With the breadboard working, we now have a way to easily monitor the temperature and read it on its own dedicated screen.
The other big news is our new and improved two-chamber model.
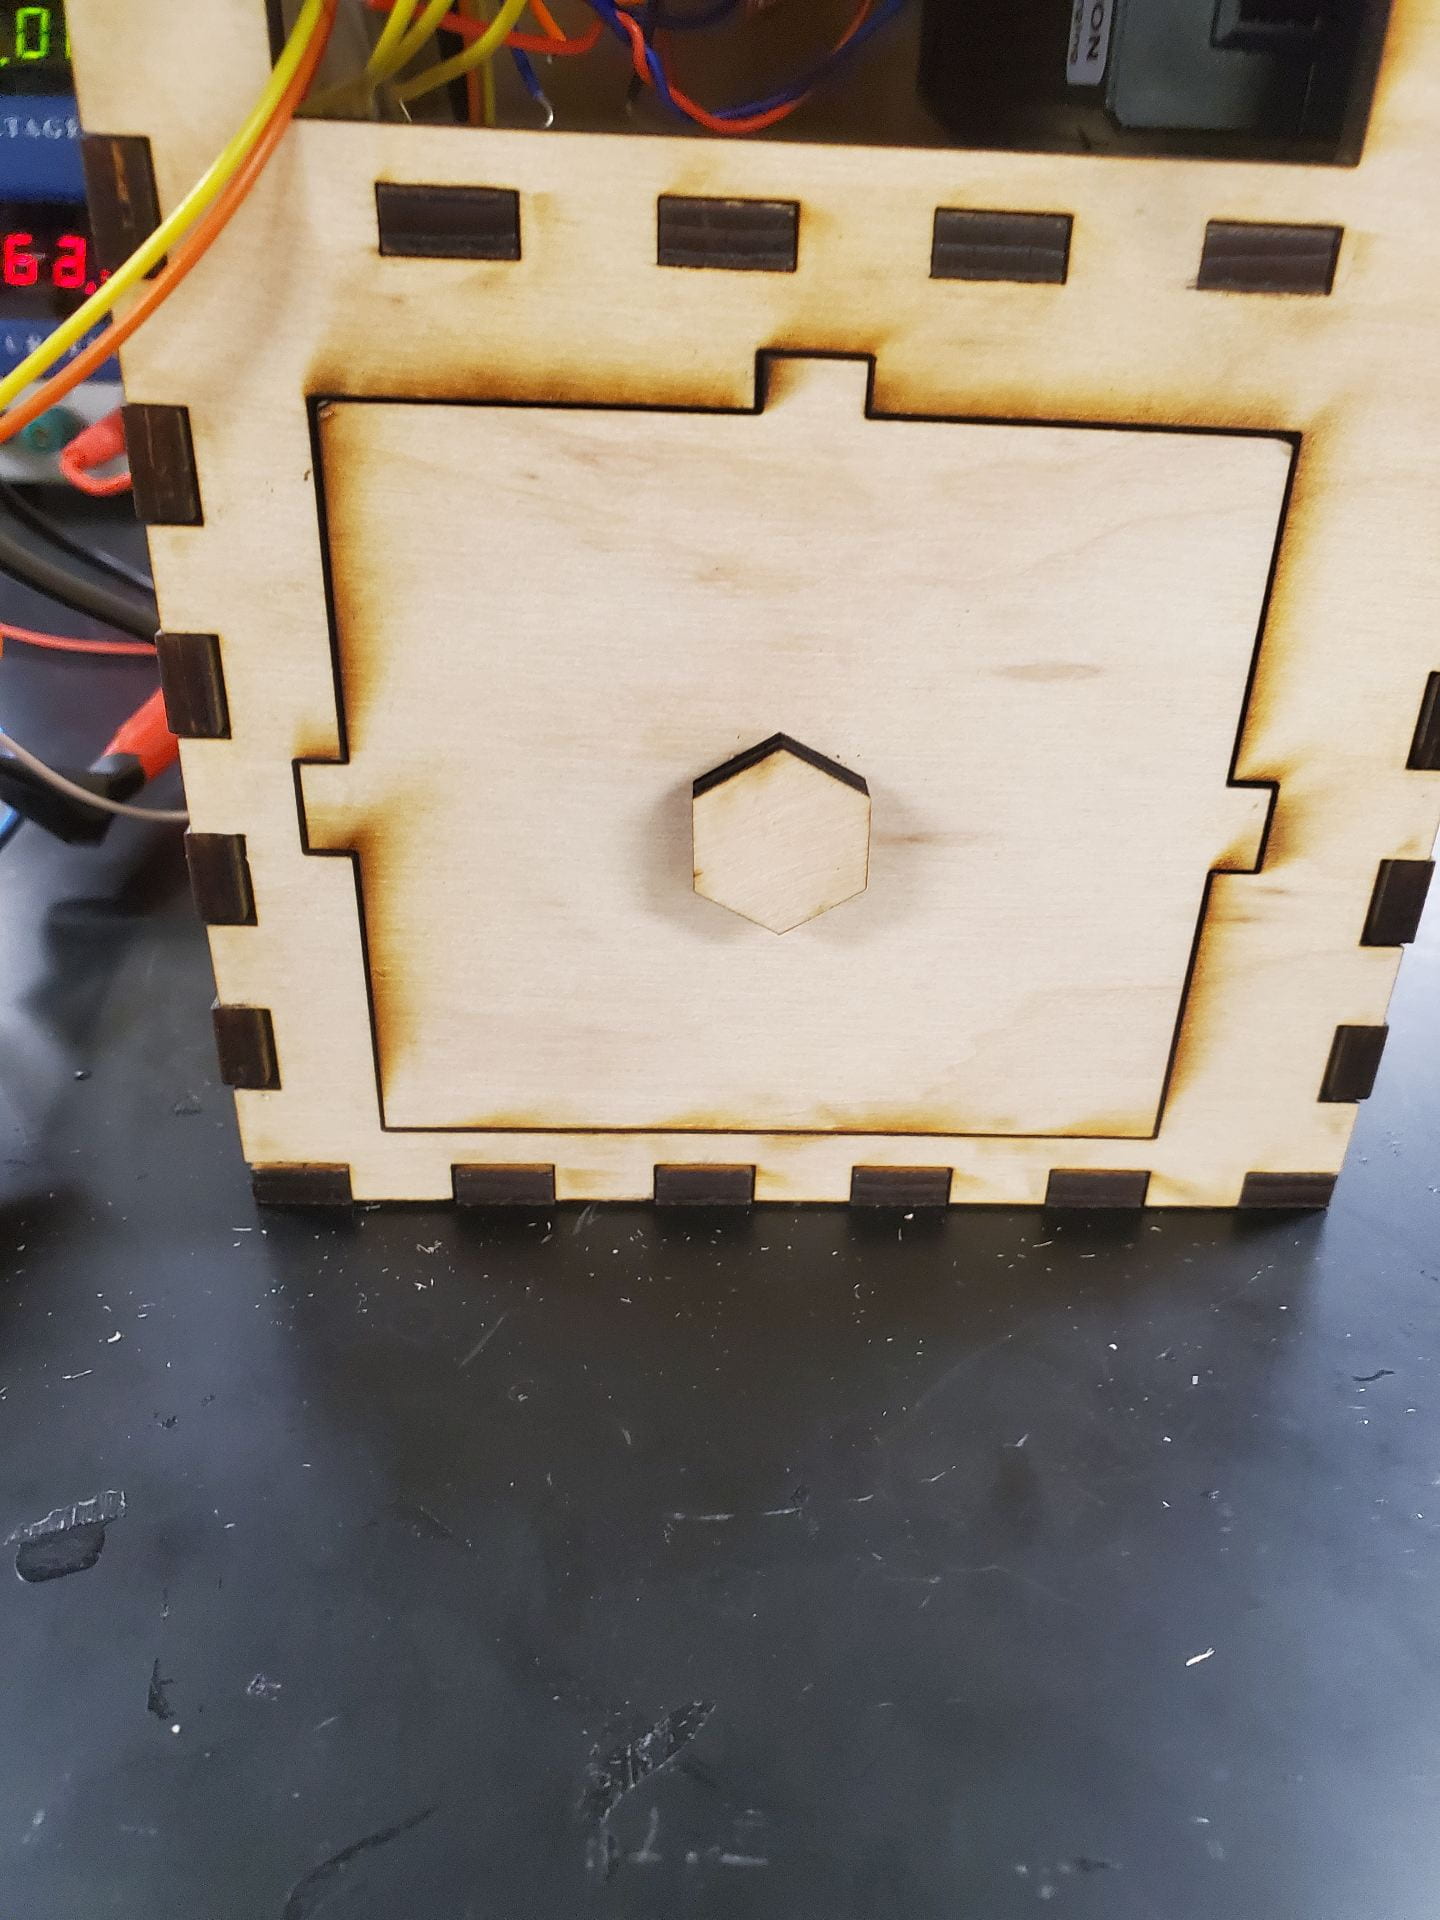

Basically, all we did was flip the horizontal version vertically, but our upgraded design has some big implications. For one, we’ve optimized the inside space so the device is more compact and easy to carry – better able to fit into a backpack. Also, we now have doors cut into the front with little handles attached. We deliberated for a long time over the door shape – doors are serious business, folks. If you’re wondering why we spent an hour of our time arguing about puzzle pieces vs. hinges, the shape and method of opening the door impacts the amount of heat loss. We have to balance being easy enough for users to open and close with being as airtight as possible.
It’s interesting what tiny little details matter the most in a design – stuff that seems trivial to users can actually make or break a design. Fortunately, after that debate, we decided on the design in the picture above, and everyone agrees it’s a lot easier to open and close compared to the horizontal model.
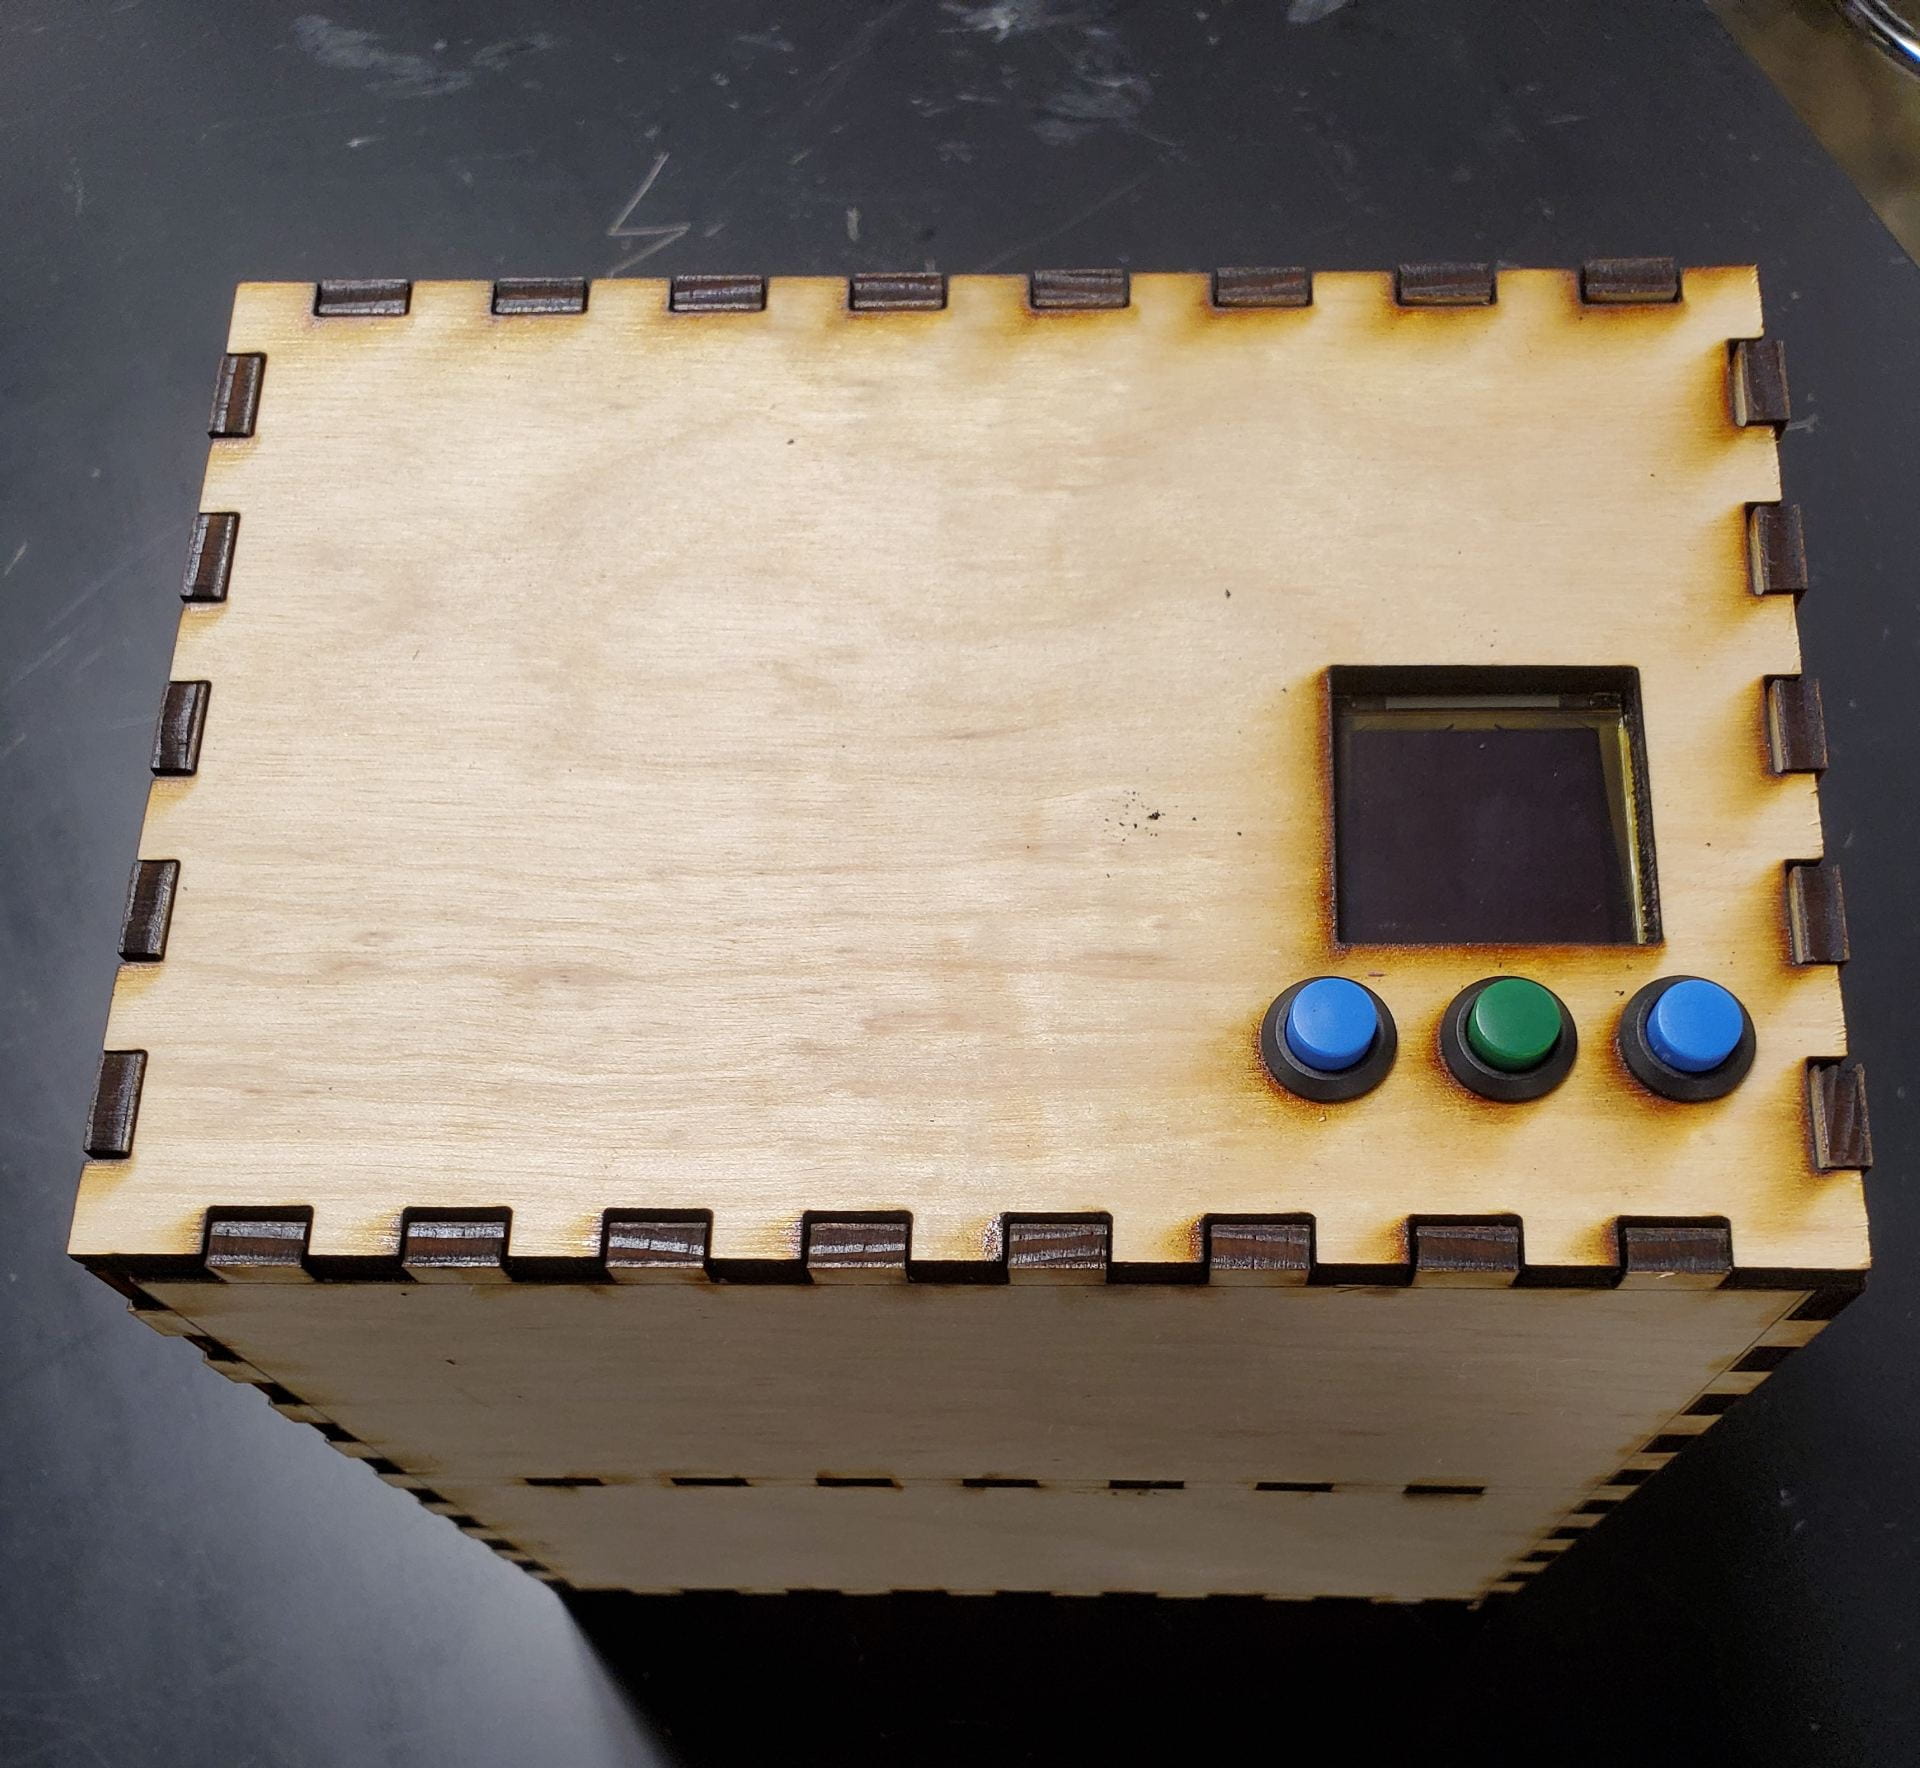
Finally, we’ve installed the buttons and have a cutout for the screen whenever the wiring is finished. It’s looking more and more like a functional prototype – and we’ve now moved on to testing how functional it really is.
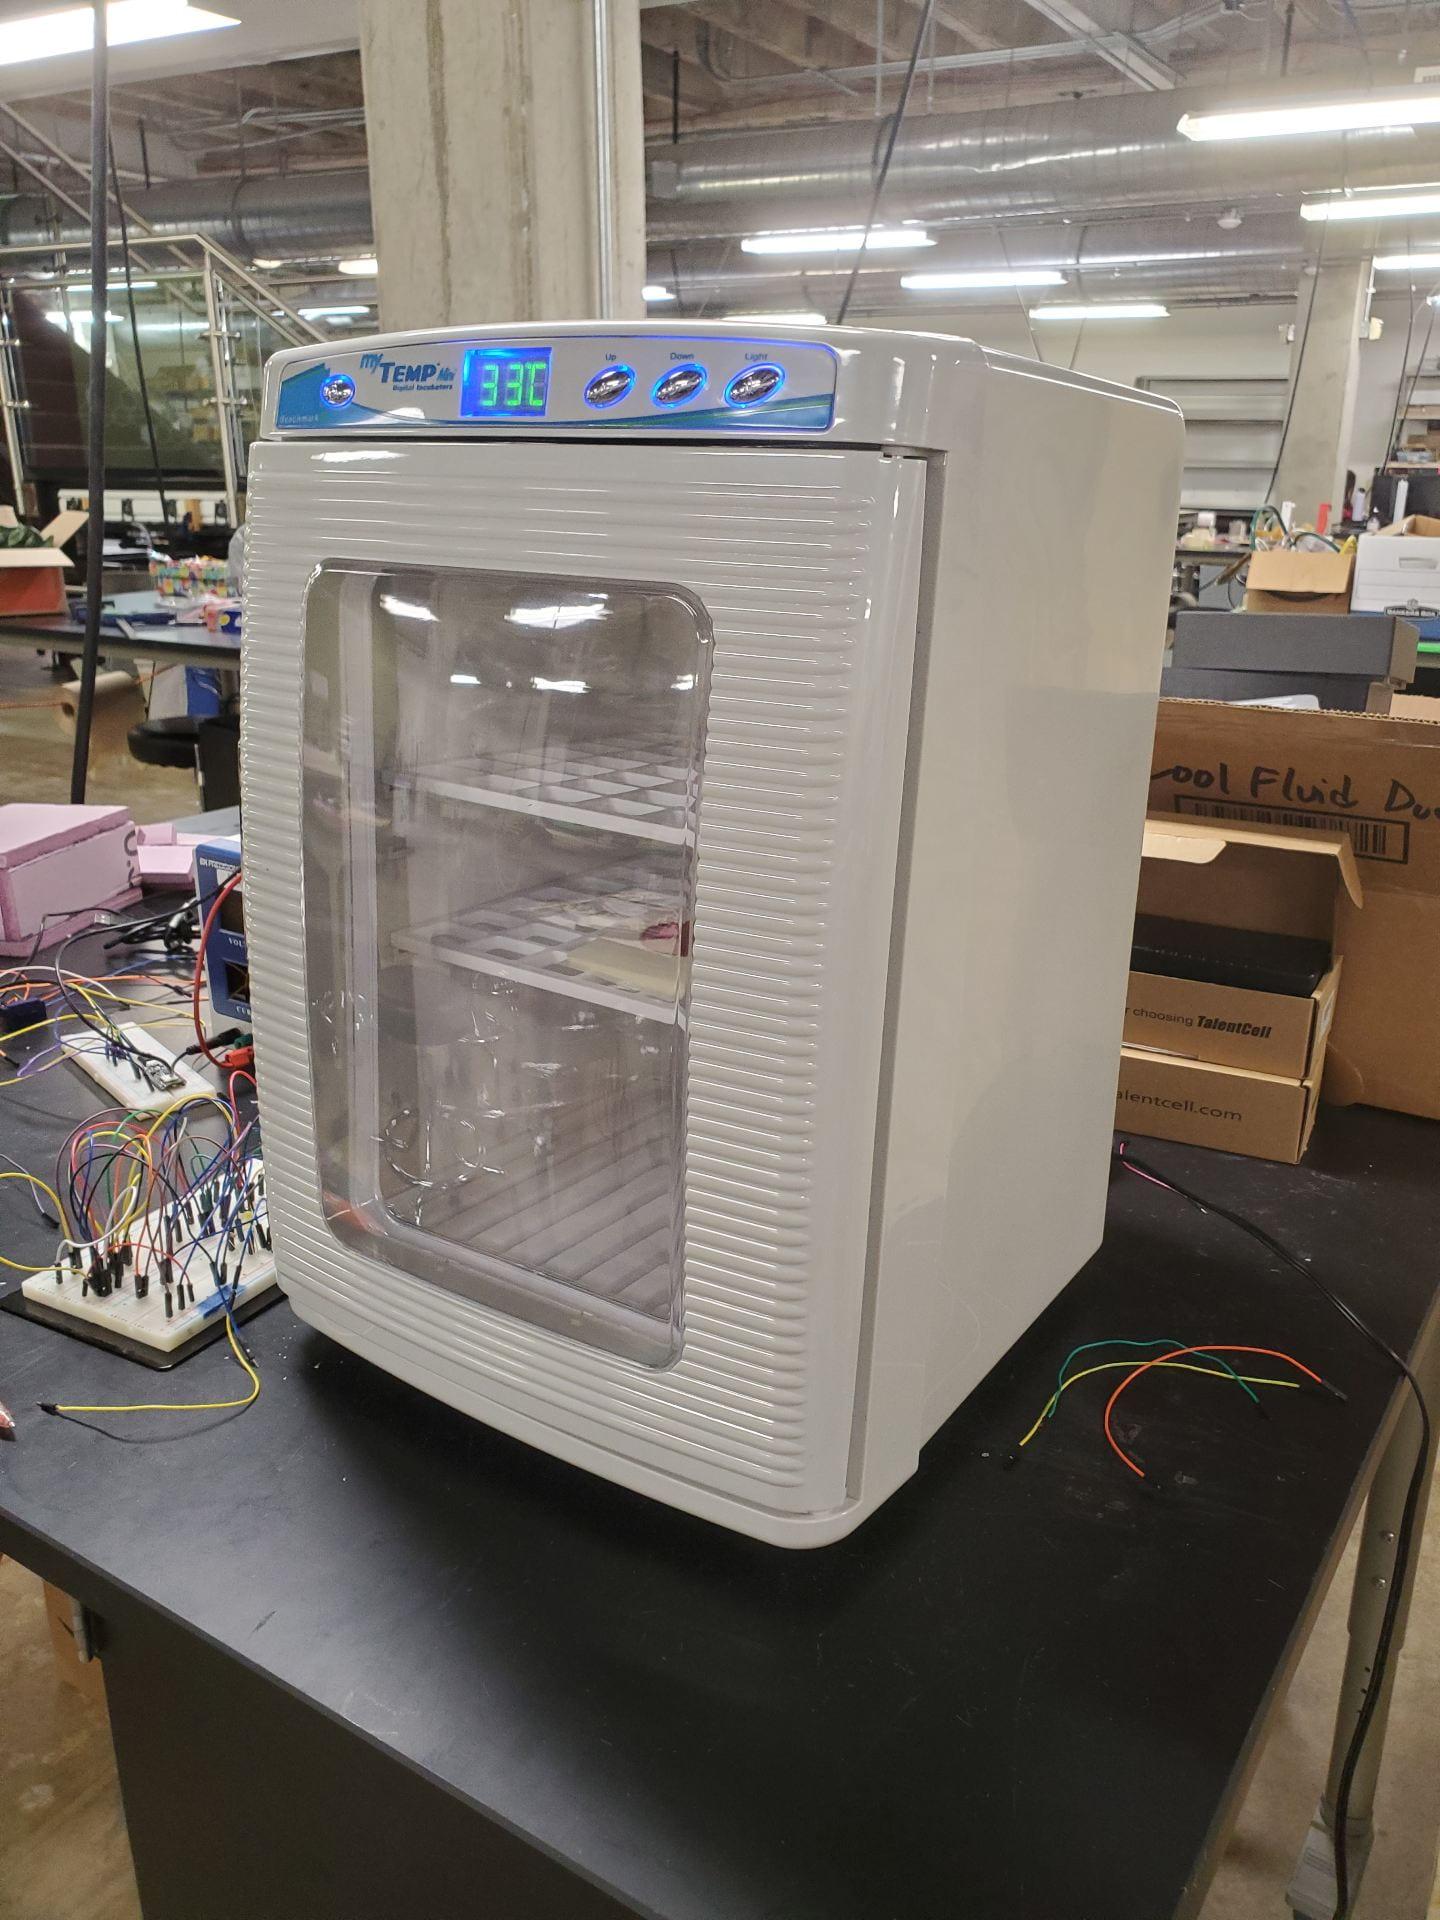
We’ve started running parallel tests – one in our vertical model device, and one with a commercial incubator loaned to us by a professor. It took a while to set up for this – for one, we needed dirty water, and the best source we could think of was the Brays Bayou. A team member collected the water for us and took it back so we could put samples on the Petrifilms. Then we put ten in each incubator and started the timer. At the time of writing, our test has been active for 18 hours of the planned 36. There’s already some bacteria showing inside the commercial incubator – that water was filthy! We can’t see what’s going on inside our own device because there aren’t any windows. We’ll have to wait for the incubation period to end to see our results. And you, readers, will have to wait until the next blog post, where I’m sure we’ll have all sorts of data to talk about.