The fourth week was a somewhat interesting period of this internship, for a few reasons. The first one we became aware of was that we would be missing Thursday and Friday for the Fourth of July. Later, it became apparent for our team that this week would be somewhat of a transition period between the “bulk” of the project, and the grand finale. After our four-day weekend, we would come back with only two more weeks to make as much progress as possible and to tie up loose ends. Therefore, we focused on preparing ourselves for the end of the internship. It’s crazy how time flies when you’re having fun (and when there’s a deadline).
Inside the Box
After some testing of our “incubator” last Friday, we had our “Pink Box” as a low-fidelity insulated box. We knew that we would like to improve this aspect of our design this week, so that we would have something more robust on which to perform heat loss experiments. On Monday, we started on this path by laser-cutting the wooden walls of our box, and then cutting pieces of pink foam board as precisely as we could with hand saws. This quickly became one of the most satisfying parts of the process, because we already knew the dimensions and specifications of our new box. Now, all we had to do was cut the pieces to size and assemble the box. Compared to other elements of our project, this was like playing with Legos.
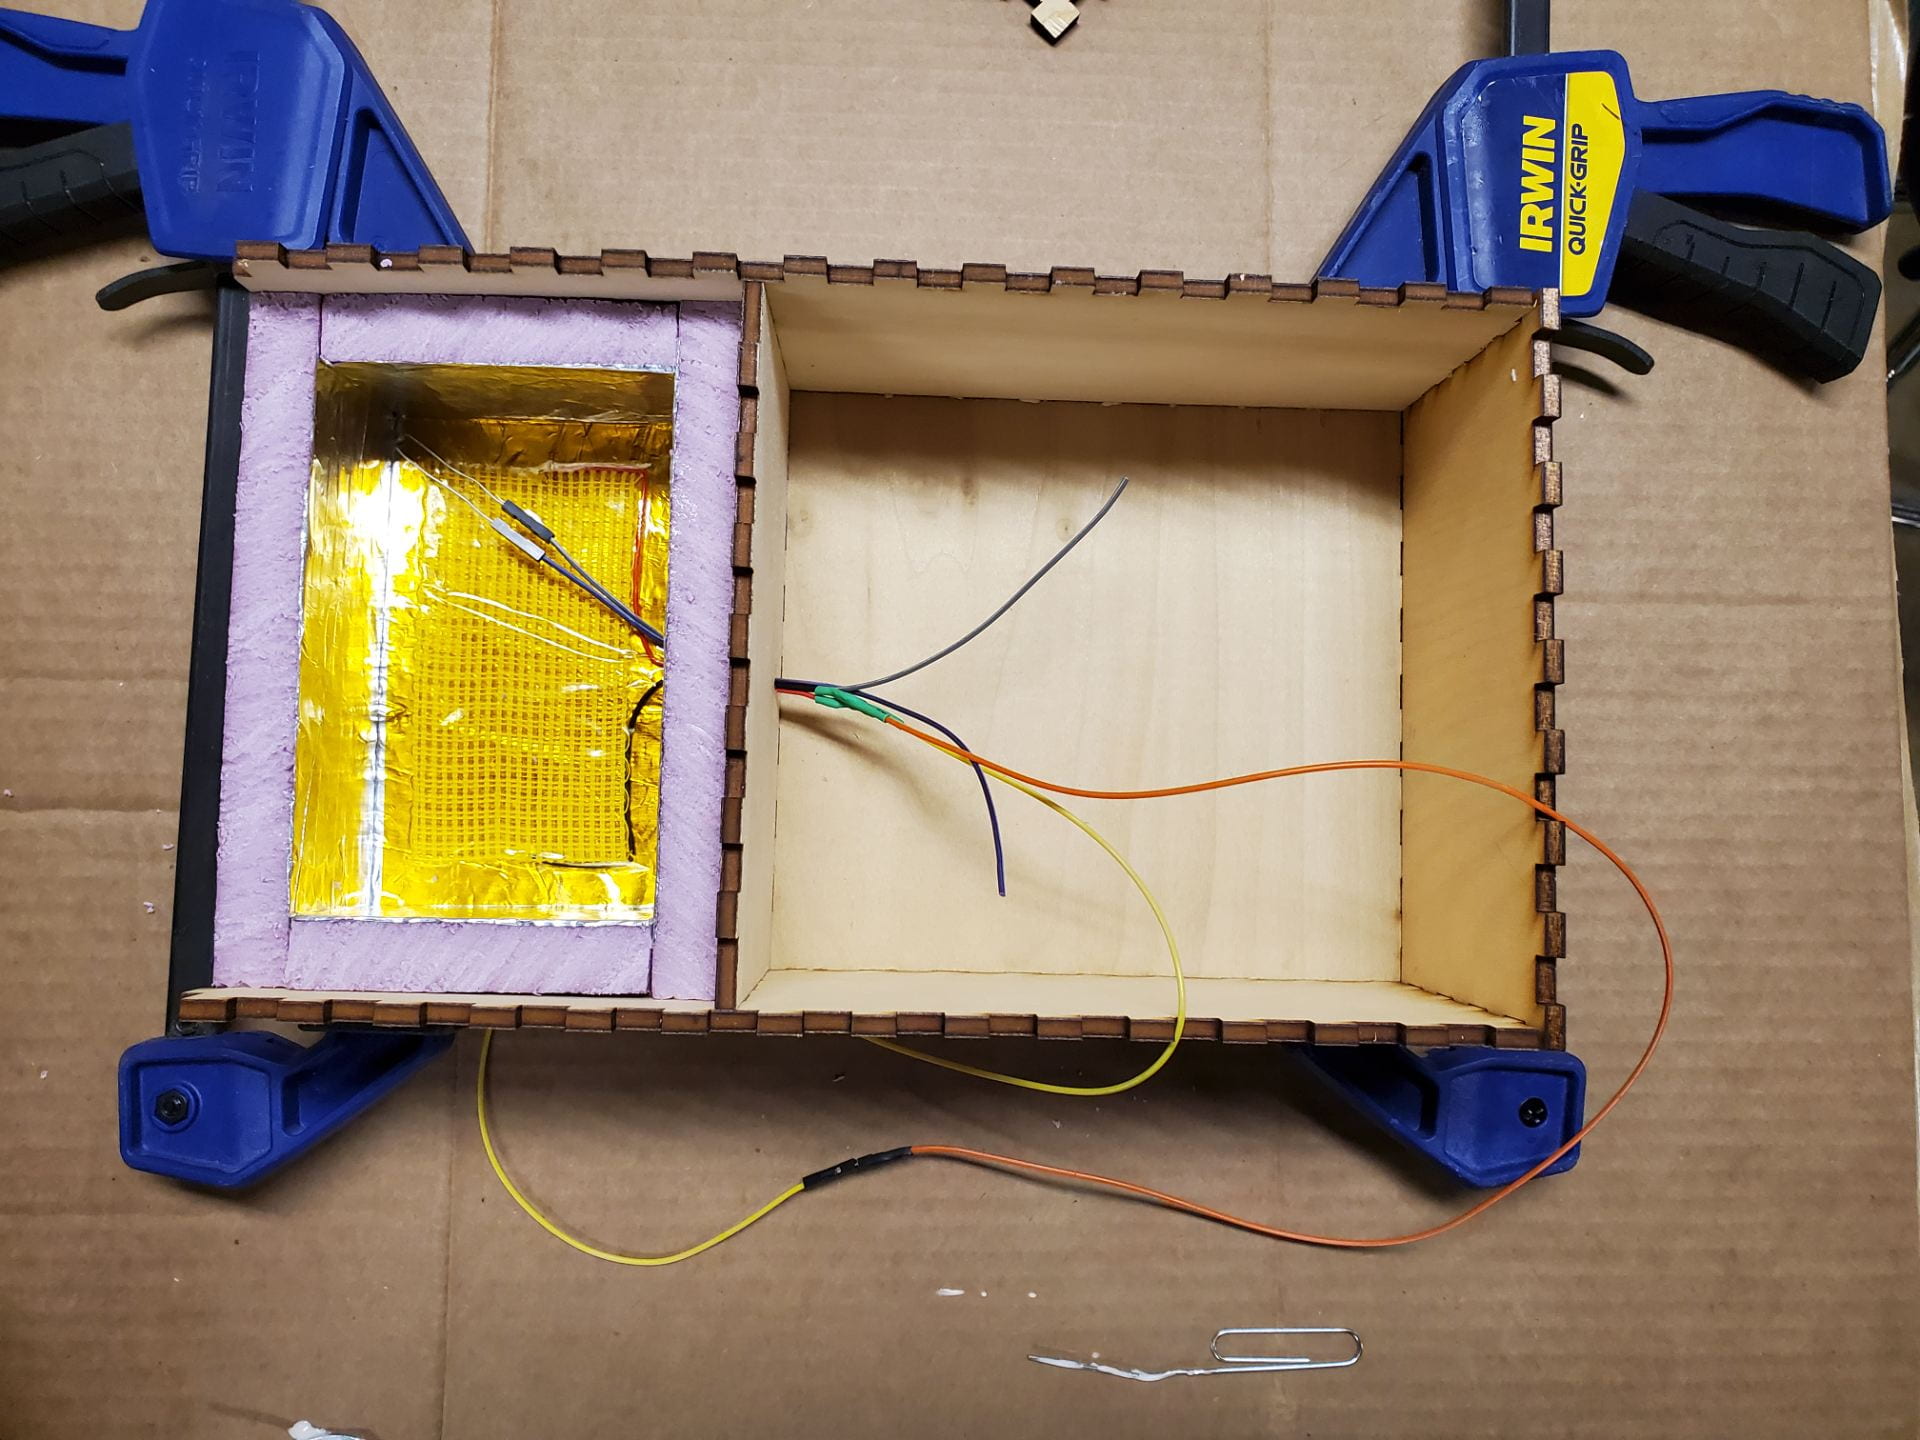
We finished our two-chambered wooden box on Tuesday. This box was meant to be a complete incubation device, so that all of the functions of the incubator would be contained within one box. While the previous “Pink Box” was an insulation chamber alone, the new box had one insulated chamber (with foam board), and a separate chamber to house the battery and electronics. The two chambers were positioned side by side, and all of the necessary connections between the chambers (such as wires for the thermometer and heating pad) would be accomplished with a small hole on the inside of the device. As the box came together, we noticed various areas of improvement that we could make to our design, but our main priority was to learn as much about the heating characteristics of the new box and any other iterative changes we would like to make to it.
Learning
In preparing for our heat loss experiments, we knew that it would be nice to have a nicely-coded test interface with a complete Arduino circuit. Although we had completed components of our final Arduino circuit, it was not yet ready for testing, nor did we want to spend too much time coding it for that purpose. The bare minimum was a power supply with variable voltage (check), a circuit for turning on and off the heating pad (also check), and a thermometer that could display temperature values to a computer (not check). We did have an Arduino that could display text when plugged into a laptop, but we did not have an accurate circuit for reading temperatures.
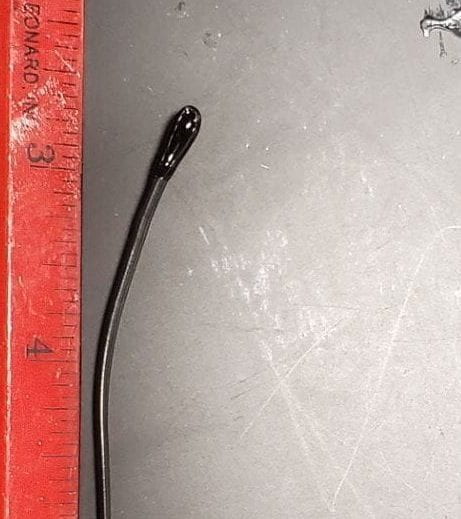
We followed the lead of previous teams in attempting to use a thermistor for this purpose. This is a type of resistor that changes its resistance predictably depending on the temperature. Therefore, the most important piece of this circuit would be a way to measure the resistance of the thermistor using the Arduino. We were confronted with another challenge when we noticed that the temperatures were just a few degrees off with our thermistor. Because the resistance curve of our current thermistor was different from that of the Minicubator team, a mentor suggested to us that we could adjust our code to accommodate the new hardware. It worked wonderfully! After learning a great deal about thermistors, we now had a solid way to control heating to our new box and read temperatures. We started those thermal equilibrium tests, but we still have more tests to go.
Hopeful Changes
The biggest struggle of our entire project has been understanding the Arduino circuits. While we have a majority of the components finished, we have yet to put them together in such a way that we could run Minicubator’s previous code. At this point, our team has changed bits of the code to include better documentation and to change some functionality, but we will be able to test everything once the breadboard is complete. Nonetheless, we have noted many potential changes that we would like to make to the code. First, the user interface is lacking in the previous prototype, and we have already created some flowcharts to show how users will be able to move through our interface. This will make the product easier to use and ultimately improve its flexibility in the case of errors, reboots, and other unexpected events.
Beyond this, one of our results from Friday indicates that we should make a major adjustment to the temperature control algorithm. As the heating pad is turned on, the temperature rises (of course), but even after being turned off, the residual heat on the pad continues to heat the chamber. Therefore, our client and mentors have directed us to use some form of a PID controller, which will mitigate small temperature oscillations during incubation. We have many improvements that we would like to make, but an effective temperature controller would be an exciting improvement to the overall functionality.
As we near the last two weeks of our internship, we have learned a great deal about our problem, and we have already made some improvements, though we are still waiting for them to become integrated into one entire system. It has become more clear that we will not be able to complete everything that we would like to improve about previous designs of portable incubators, so we must now prioritize improvements that will be most useful to our client and to future teams working on our design and code. Now we have some time to take a break from our projects a take a deep breath, but Team Petri-FI is ready to tackle this last couple of weeks!
Highlight: Fireworks
The four-day weekend was very pleasant after such hard work. Being from Arkansas, this was my first time in Houston during the Fourth of July, and I was excited to watch a fireworks show that I had never seen before. I heard from others that the shows near downtown Houston or Galveston would be great options. The Houston show would have been perfect, but there was something so enticing about driving to Galveston, smelling the ocean, and taking some photos of the beach and the fireworks. So on Sunday, July 4, I planned a solo adventure out to the ocean, and brought my camera. Despite the tiring day, I felt energized and inspired for the week to follow.