Week 4

Last week, my team made a lot of progress on our blood pressure monitor device!

First, we finished up learning arduino background. This is definitely the coolest circuit I made:

IMG_5308

We jumped back into the design process by completing Pugh Screening and Pugh Scoring matrices. This is our final Pugh Scoring matrix, in which we were deciding between six possible designs:

IMG_5311

The design that won (labelled “G”) is an arduino based design. Essentially, by using both a pulse sensor and a pressure sensor, the arduino will be able to extract the pressure measurements at appropriate times (the times will be determined by the pulse sensor–at the start and stop of Korotkoff sounds, which are pulse sounds). With this information, the arduino can display the numerical value for the mean arterial pressure and then light up the corresponding LED. The first arrow points to our scale of LEDs, and the second arrow points to the switch that allows the user to specify what kind of patient is being tested. This is important because the cutoffs for healthy blood pressures are vastly different between these groups.

selectedsolution

With our design selected, we got right to work! We made a simple circuit using our pressure sensor that senses pressure and converts it to a voltage shown on an LCD (we still need to find the formula to convert that voltage back to pressure). I’m not great at electronics, but I’m learning so much–it’s nice being on a team with two senior electrical engineers! Here we are working:

IMG_5321

And our completed circuit:


IMG_5329


This week, we’re hoping to find the formula to convert voltage back to pressure and hopefully make a functional prototype. We get Friday off for Independence Day, so it’s a bit of an ambitious goal, but since we’ve been working quickly so far, I think we can do it!

Peppe Le Pugh (Screening and Scoring)

This week has been absolutely incredible. Mikaela and I started getting our hands dirty, delving deeper into brainstorming, how mechanisms on a mechanical breast pump work, and decision-making.

Monday, we began by searching for homemade breast pumps online. Although we could not find any for women, we did find many videos of people trying to make mechanisms to milk their goats. Since cycles of negative pressure are needed for both processes, we watched some of these videos, though most were based on an electric power source (which our device must not use). Later that morning, we went to A Woman’s Work, a breastfeeding supply store, and spoke to some of their employees who were very knowledgeable on the subject of pumps and breastfeeding. They told us about differences between hospital-grade, single, and double electric pumps and mechanical pumps as well as the different audiences to which they cater. In the US, women who pump regularly and often tend to prefer double electric or hospital grade while those who pump only rarely generally only have a mechanical pump. They also spoke to us about the different parts of a breast pump and the importance of various parts. For example, it is extremely important that the breast shield is the correct size. If it is too small, it can damage the nipple while pumping, causing nipple trauma. We purchased a Medela hand pump (the most common mechanical breast pump) and returned to Rice with the challenge if figuring out exactly how it works.

Monday afternoon, we had another fantastic opportunity. We visited Mrs. Lauren Gray, who used to work at Rice 360, at her home to speak with her about her experiences breastfeeding and the various pumps she has used. We learned about more of the troubles of breastfeeding and walked away with a wealth of knowledge.

For the remainder of Monday and Tuesday, Mikaela and I dissected the Medela pump. We learned how it creates pressure, where the air and milk travel, how it releases pressure, and so much more. It is an extremely simple design, but we were constantly impressed by the small details that drastically increase the usability. For example, the handle of the pump can rotate around the diaphragm and the sides are different lengths. It is designed so the short side is pumped during the beginning of an expression session during the stimulation stage, when shallow, rapid cycles are needed. The mother can then switch to the longer arm of the pump during the expression phase, when slow, deep cycles are more effective.

Medela

Wednesday, we looked for alternative mechanisms that use a comfortable motion (such as tapping your foot) to do work. We set out to discover how a salad spinner and a pottery wheel work, thinking we could use the rotational motion to power a peristaltic pump or a cam. However, whenever we searched “how salad spinners work”, “DIY salad spinner” or “salad spinner mechanism”, we received information that was not on point. Apparently, salad spinners are complicated enough to use that they necessitate many YouTube videos specifying the precise strategy with which lettuce must be placed in the colander, the colander closed, and… wait for it… the button pressed. Crazy, I know. The hardest part seems to be taking out the colander and putting the lettuce in another bowl. The DIY salad spinners seemed even more complicated. You lie out a towel, put the salad on the towel, and spin the towel with your arm.

Once we finished brainstorming, we began the process of screening and scoring. We ran both matrices and got results, but upon evaluating the results we received, we noticed that the designs we felt would be most user-friendly had faired rather poorly, due in part to their higher cost. The winning two designs were inexpensive but we felt as though our criteria were not fitting to our vision for the design. I felt guilty – I do not want to build a device that causes unnecessary discomfort when I know there are better designs available, but I know that it is important that the hospital is able to afford the device. Thus, we decided to slightly edit the criteria and run the matrices again, eliminating the ideas that would be too difficult to construct and putting a greater emphasis on the comfort of the user. After making these changes, we redid our Pugh Screening Matrix with more favorable results. We will run the Scoring Matrix Monday to select 1 or 2 designs with which we can move on to the prototyping stage.

Frida, in addition to running the Screening matrix, each team gave a presentation to update all of the interns and the mentors on our progress. Hearing the progress that all of the teams have made in 2 weeks was astounding and I am so excited to see where all of these projects go.

fourth week

The fourth week has been wonderful, having different ideas for BP monitor for the villages after brainstorming. As a group it wasn’t easy just to pick one from the rest because most of them seemed nice to us,but through Pugh screening and scoring; we came up with one solution that we have started working on.

Below is some of the suggested solution after brainstorming.

brainstorming

and the detailed diagram for the selected solution after Pugh scoring different views ;

selectedsolution

It’s a solution that really meets the design criteria for the project. As the highest criteria is ease of use, the selected solution will allow users to interpret the leading depending on the color of LED which will correspond to the reading (mean arterial pressure) on the display. Despite people will be told the condition of their blood pressure it is also important for them to have the written mean leading (figures) for doctor’s reference in cases of those who will be referred to seek hospitals for medication.

The switch will help users to select option depending on the category of the person they are monitoring, since same reading for either systolic/diastolic can have different interpretation depending on the person being monitored. Some of those considered include children, pregnant women and those with diabetes.

We have managed to understand how the pressure sensor works in conjunction with the instrumentation amplifier.

Finishing the week with the power point presentation on Friday from which we found new ideas from people’s comments such as; rearranging the label for LED’s (from high to low) on interface and using digital display instead of LCD display.


Trial and Error

This week we continued to work on our filament extruder. We spent time exploring the possibility of producing filament from other materials

Trial

We tested our filament extruder with ABS pellets and it was a resounding success so it was time to test the device with another material: the material of choice was PET. And PET is used in things like:

that plastic bottleplastic bottles.

If it was possible to extrude filament using PET from the current model of the device we assembled, then it would present a great opportunity to use waste plastic bottles  and recycle them to make 3-D printer filament. The only potential pitfall was that our machine was not calibrated for producing filament plastic bottles.

We cut up a single bottle into smaller plastic pellets to see if it was possible to extrude at all. A small strand of filament was produced and we saw it fit to do a full scale testing.

Picture1 We would cut up the plastic bottles into small flakes like this.


Error

We then decided to do thorough testing with a much larger batch of PET. All seemed to be going well until in quick succession the machine start burning the plastic, producing inconsistent amounts filament and finally jamming.

It was fortunate that the  machine was not damaged and we were able to use the machine again with ABS.

Results

Although there still seemed to be some potential for using flakes of PET to produce filament it was clear it was not possible to do with our machine.

I still learnt a few things this past week and know that I clearly understand the operations of the filament extruder.

I also gained a better appreciation of plastic recycling and my interest in recycling things has also been stimulated. Well- whenever someone  looks at the bottom of a  bottle they have been drinking from and asks me what this symbol means:

Picture2

I will say ” that’s the code for PET. You should recycle that”


WEEK 4

Week 4 was great. My team, which is designing a Blood pressure monitoring machine for villages had a very successful week. Our goal for the week was to be able to understand how different sensors are used in Blood pressure monitoring and how they interact with different electronic and mechanic components. Am glad to say this goal was reached and we were able to design different monitoring circuits one of which is shown  in the picture below.  IMG_5329

We also did some pugh screening and scoring in this week and all this led to the final design which we intend to build, shown below.

selectedsolution


On friday, we had the privilege of presenting the progress of our project to our clients, fellow interns as well as our  project mentors. This was really helpful as it has increased confidence in me to be able to present on an international scale. This will help me in the future I strongly believe.

In conclusion, this week has been profiting to me individually as well as for the BP for Villages team.

Simplicity

This week was particularly enlightening for the APGAR Team. We started the week focusing on arduino-based solutions.

The best part was learning Arduino – it’s such an incredible prototyping technology. Neither my teammates nor I have ever tinkered with electronics. The fact that we could pick up Arduino in less than a week to build a working prototype for a scoring and calculating APGAR machine is an incredible testament to the Arduino interface. Oftentimes  , simplicity is just the surface of incredible complexity. Similarly, the people behind Arduino, through their thoughtfulness, have made accessible what I always thought was prohibitively complex.

IMG_0094

Arduino Calculating Prototype

Next on the list was our meeting with the QECH interns. We talked to Tanya, who answered a large majority of our burning questions: why aren’t midwife technicians scoring correctly? Is there not enough training? Do there need to better posters? Is an APGAR calculator the best solution?

Turns out, the problem was not as we had anticipated. We just weren’t looking in the right direction – we weren’t being empathetic to the midwives’ situation. Put yourself in the boots of a midwife. A baby is born. The child is obviously blue, limp, and struggling to breathe. Your first response is NOT to record the APGAR score, but rather to do anything you can to save the child from asphyxia. APGAR scoring simply isn’t a high priority in these emergency situations. Although APGAR scores are not important to the midwives’ efforts to save the child, they are indeed important to the pediatricians who see the baby later on in the process.

Thus, our problem statement is now this: we need to make it incredibly convenient and easy for midwives to communicate APGAR scores to pediatricians, regardless of the time they record the scores or how they calculate the scores.

We don’t need to make a timer that screams at the midwives to take the scores – they don’t need another alarm in the already-busy ward. We don’t need to make a calculator that help them count to 10 – the process is simple and incredibly easy for anyone with training. We need to make the information of the baby’s history 1. Very easy for the midwives to record, and 2. very accessible and clear to the pediatricians who later see the baby.

We hit the library to do some creative brainstorming. We went to the Alice Brown section of the library and were encouraged to draw ideas from art, architecture, design, photography, and other lines of abstract thought. This was the first time I had done anything like it, and it was truly inspiring to experiment with this kind of thinking. Sifting through pictures and looking at patterns between ideas while making abstract connections really produced some unique ideas.

IMG_0095 IMG_0096

Brainstorming inspiration examples

We’ve started prototyping and brainstorming, and so far, our leading solution has been the following: a clip that is used to secure the chetenga cloth (cloth used to wrap baby) that nurses can mark APGAR scores on quickly and conveniently, with one hand and without a writing utensil.

I personally am very excited to explore this solution to the APGAR scoring problem – it’s simple, elegant, streamlined with the baby care procedure, does not add significant burden to hospital labor resources, and incredibly cheap.

IMG_0097

Clip Solution

Later on in the week, I also worked on finishing the intubation box with Mikaela. We are DONE making a beautiful, elegant box that is much sturdier than the previous one, with many improved features. Oh yeah, the goofball also superglued a hammer to her finger. Classic Mikaela. 

IMG_0098

Exhibit A: “pulling a Mikaela”

I’m excited for the next four weeks – this program is flying by already, and I hope to make as big of a (positive) splash in the lives of those in Queen Elizabeth’s Hospital in Malawi before I move on.

Adventure time: to the library!

All APGAR, all the time.

This week, Harrison, Hanna, and I continued work on the APGAR scoring project. The most important development occurred on Wednesday after speaking to the interns at QECH. The information we learned from speaking to them seemed to change the entire direction of our project. Rather than the arduino-based device we were originally working on that would help midwives calculate a score quickly and accurately, we needed to design something that would help them record a score quickly and accurately. Furthermore, it needed to facilitate communication of that score between the maternity department and Chatinkha, where the babies are taken after delivery. Though we still had sooooo many questions, we moved on with the design process. We’re still asking questions everyday and working on setting up a meeting with a neonatologist here in Houston so that we can learn more about how the APGAR scoring process should work.

The circuitry for our original idea/design. The three blue potentiometers on the left would be turned to 0, 1, or 2 and the code would allow the total score to be displayed on the LCD. The LEDs would light according to the score range. We are still hoping to work a little more with Arduino because it is SO COOL.
The circuitry for our original idea/design. The three blue potentiometers on the right can be turned to 0, 1, or 2 (a final device might include linear instead of rotary potentiometers and would have 5 dials – one for each category of the APGAR score) . The Arduino code allows the total score to be displayed on the LCD. The LEDs light according to the score range. We are still hoping to work more with Arduino because it is SO COOL

After our new discoveries, Dr. Wettergreen suggested we spend the rest of the day in a nice, secluded corner of the library brainstorming new concepts and solutions. We actually went to a magical part of the library that I had never entered before, full of books on architecture, design, music, and art. We flipped through different books and periodicals for ideas. I learned that Hanna and Harrison are both much better at drawing than I am. All three of us also ended up checking out books to read on our own time. I got a book about the evolution of superhero costume fashions; hopefully I’ll have the time to start reading this weekend.

From left to right, ideas from Harrison, Hanna, and myself. I was trying to draw a dial and a safety pin...
From left to right, ideas from Harrison, Hanna, and myself. I was trying to draw a dial and a safety pin… I think it kind of looks like a toilet flusher.

After brainstorming, screening, and scoring, we settled on two designs to move forward with. Both are simple, low-tech designs. The first is shown below – paper attached to a clothespin that can be used to hold together a baby’s chitenge (the cloth used to wrap the baby after delivery). The midwife would just use her pen to circle a score. The other we will work more on next week – using some kind of markable/indentable (pretty sure neither of those are words) material (like the push buttons on the lid of a soda or coffee cup). We may also tinker around with another idea with knobs and string and locking mechanisms – hopefully, some 3D printing will be involved!

Our first rough prototypes for the clothespin with paper for scoring.
Our first rough prototypes for the clothespins with paper for scoring.
The soda/coffee cup lid I mentioned, in case you were wondering

Next week, I am looking forward to getting some more feedback on our design and starting some more prototyping. We are hoping to have some clips ready in time for Dr. Wettergreen to take when he leaves on July 15th for Malawi. The goal is that if we need to make revisions to our design (based on feedback from QECH), we can do so before our internship is done for the summer! I am really interested in the response to our design. Will it actually help the midwives, or will it be just one more thing to add to their plates?

Bye!

Whitney

Week 4

Our fourth week working at the OEDK is already over!  This week has consisted of low-fidelity prototyping, scoring and screen, and learning how to spell chitenge.

At the start of this week, Harrison, Whitney, and I brainstormed and wrote out our initial DCR, problem statement, and design criteria.  As we understood it, the problem consisted of midwives at QECH incorrectly scoring neonates and pediatricians receiving the wrong APGAR information down the line.  This made it difficult for doctors to know the history and treat the babies.  Our solution to this was to create a mechanical adding device that would standardize the scoring techniques of the midwives.  We began by brainstorming interfaces that we lasercut and creating an Arduino based interface using a LCD screen, LEDS, and potentiometers (both pictured below).

IMG_3238 IMG_3236


By the end of this process, we had lots of questions for the Rice interns currently at the QECH.  In fact, Skyping with the QECH interns on Wednesday changed our entire perspective on our project.  We ended up changing our problem statement and design criteria entirely.

The QECH interns told us much that we didn’t know about the hospital environment.  The short-staffed midwives in the maternity ward operate on a triage system.  When they see an obviously unhealthy baby, they move immediately to treatment and don’t bother recording an APGAR score.  When healthier babies are born, midwives will tend to the mother’s health, as the hospital puts more emphasis on maternal mortality than infant mortality.  These factors contribute to an atmosphere in which APGAR scoring is not a priority, though midwives have the proper training to accurately score a neonate.

This new information prompted us to do a new brainstorming session in the Arts and Architecture library.  We came up with lots of drawings, concepts, and an impressive amount of notecards (some examples below).

IMG_3245 IMG_3244 IMG_3243 IMG_3242


After screening and scoring, the idea we focused on was a clip that can be attached to the baby and can display both APGAR scores.  Babies at QECH are wrapped in chitenges (wearable fabric pieces), and the utility of the clip could work as a fastener as well as be easy to use for a nurse.

After a quick round of prototyping, we came up with an initial design (below).  It features two color-coded columns for selecting APGAR scores at 1 and 5 minutes. Ideally, a nurse could mark the clip with whatever writing utensil they already carry for filling out medical charts.

Screen Shot 2015-06-26 at 3.14.28 PM


On Friday, our team did a design review presentation of our progress.  We even demonstrated the clipping device with a makeshift chitenge and a baby doll, affectionately named Helga. Next week, we plan to do more solid prototyping and begin to develop our final devices for export to QECH.


Week Three!

We are moving right along in the summer. As I write this, we are already in our fourth week of the internship.

We started off last week by 3D printing some more and finishing the calibration process for the printers. We calibrated the X, Y, and Z motors as well as the hot end/extruder. James and I had a pretty difficult time – our extruder seemed to have a mind of its own and would sometimes retract the filament when we pressed extrude.

The 3D puzzle I printed... It printed in the solved position and I accidentally took it part. At some point I will need to begin the struggle to solve it.
The 3D puzzle I printed… It printed in the solved position and I accidentally took it part. At some point I will need to begin the struggle to solve it.
My interlocking ring puzzle as it printed. So beautiful!

On Tuesday, we also attempted to avoid the disappointing Tropical Storm Bill. We were only at work for two hours and in that time got our project assignments and started research. We left work at 11, but Tropical Storm Bill never really showed up… hmmmmm.

For the rest of the week, I worked with Harrison and Hanna on the APGAR scoring project. We are tasked with developing a device and/or method that will help with the accuracy, communication, and recording of APGAR scores at Queen Elizabeth’s Central Hospital (QECH) in Malawi. I’m looking forward to see what we end up doing because at this point, the possibilities seem endless. Last week, we spent most of our time researching and attempting to more clearly define the problem. Toward that end, we’ll be Skyping the QECH interns this week and hopefully speaking to a nurse or neonatologist from a hospital here in Houston to learn more about the process of APGAR scoring.

Until next week (actually, later this week)!

Whitney


Best Breasties

Week Three: June 22, 2015 (haha late again oh dear)

Mikaela Juzswik


It’s a pun in the title, I promise. We’re awesome. Or, at least, Leah’s awesome. Turns out we probably can’t use that as our official team name, but Leah and I are going to keep the two-day old tradition alive. Or perhaps just me. Or perhaps neither of us.

A bit of a recap:

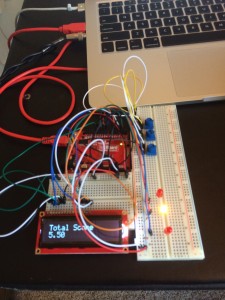
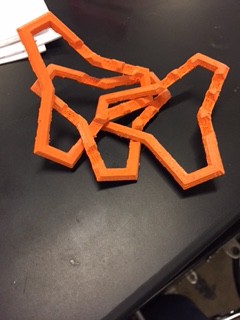
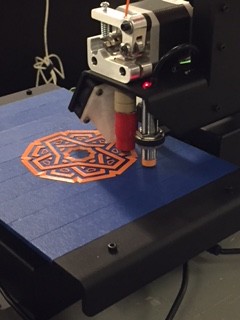
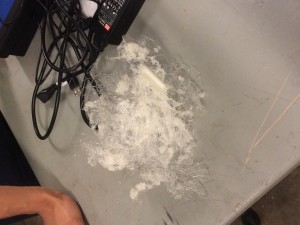
This week, we finally wrapped up calibration with our 3D printers and finished ironing out all the kinks. Our printer seems still seems a bit temperamental, but we have yet to experience a repeat of Friday’s fiasco of the Error 404 variety. Also, we didn’t end up pulling a Harrison, which largely entails:

photo 3 (3)

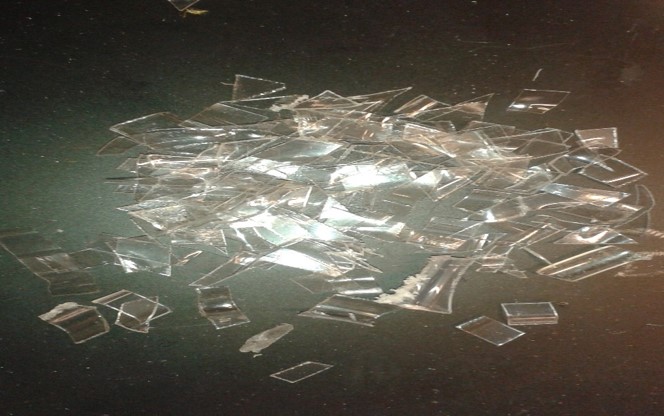
We’re still not sure how that happened. On the plus side, we think all of the excess filament could be repurposed with Nehuwa and James’s project, which grinds down PLA and ABS fragments and extrudes 3D printer filament! If not, it makes for a lovely contemporary art display.

photo 2 (3)

Things really started kicking up on Tuesday, though, when we got our team assignments. Leah and I reprised our kick-butt team, this time repurposing our talents for creating a mechanical breast pump. Also, around this time, hurricane/tropical storm/tropical depression Bill was supposed to come and drown Houston, so we ended up having a half day off of work for safety reasons before we could figure out anything. We hurriedly shuffled out of work at 11 am on Tuesday, desperately trying to get home before the giant cloud of yellow and red on the weather website came over Rice, threatening to destroy our well-being in a maelstrom of torrential rain—

Turns out the Houston forecasters can’t be right all the time, and we barely had a drizzle. Hurray for safety!

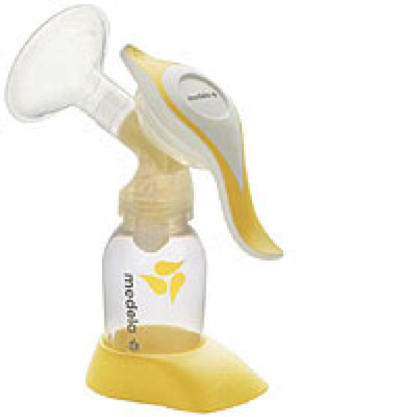
On Wednesday, we returned and began extensive research on our project, the mechanical breast pump. Our goal for the summer is to create a low-cost breast pump for use in Queen Elizabeth’s Hospital in Malawi—it needs to be less than $10, and we also need to be able to make it out of readily-available materials in Malawi. We did a lot of research on current market options for breast pumps, and we’re pretty sure that our final solution will be a mechanical one, as electrical breast pumps are far outside of our cost bracket. As it turns out, most mechanical breast pumps on the market are between $30 and $90 dollars, even before the carrying bags, extra bottles, and other accessories. Furthermore, most of these designs are made with materials that would be difficult to find in Malawi, meaning they probably wouldn’t work for what we had in mind.

We decided to take it back a few steps and look at everything on a very basic level. Leah did a ton of research on breastfeeding and nursing, and we ended up learning a bunch of useful things there: it’s almost universally agreed that breastfeeding leads to healthier babies; it’s better to express milk from both breasts simultaneously rather than just one; there’s an ideal pressure vacuum for highest milk expression for which our design should aim. I started looking at alternative ways to generate suction—basically, a ton of pumps—and started considering low-cost ways to replicate these pumps. A small aquarium pump usually ranges in price from $12 to $20, depending on the size and specs, but both ends of the bracket are already out of our range. Luckily, we aren’t going the electric route, and it still remains to be seen if we can or can’t replicate the mechanism in an electric pump in a more cost-effective manner.

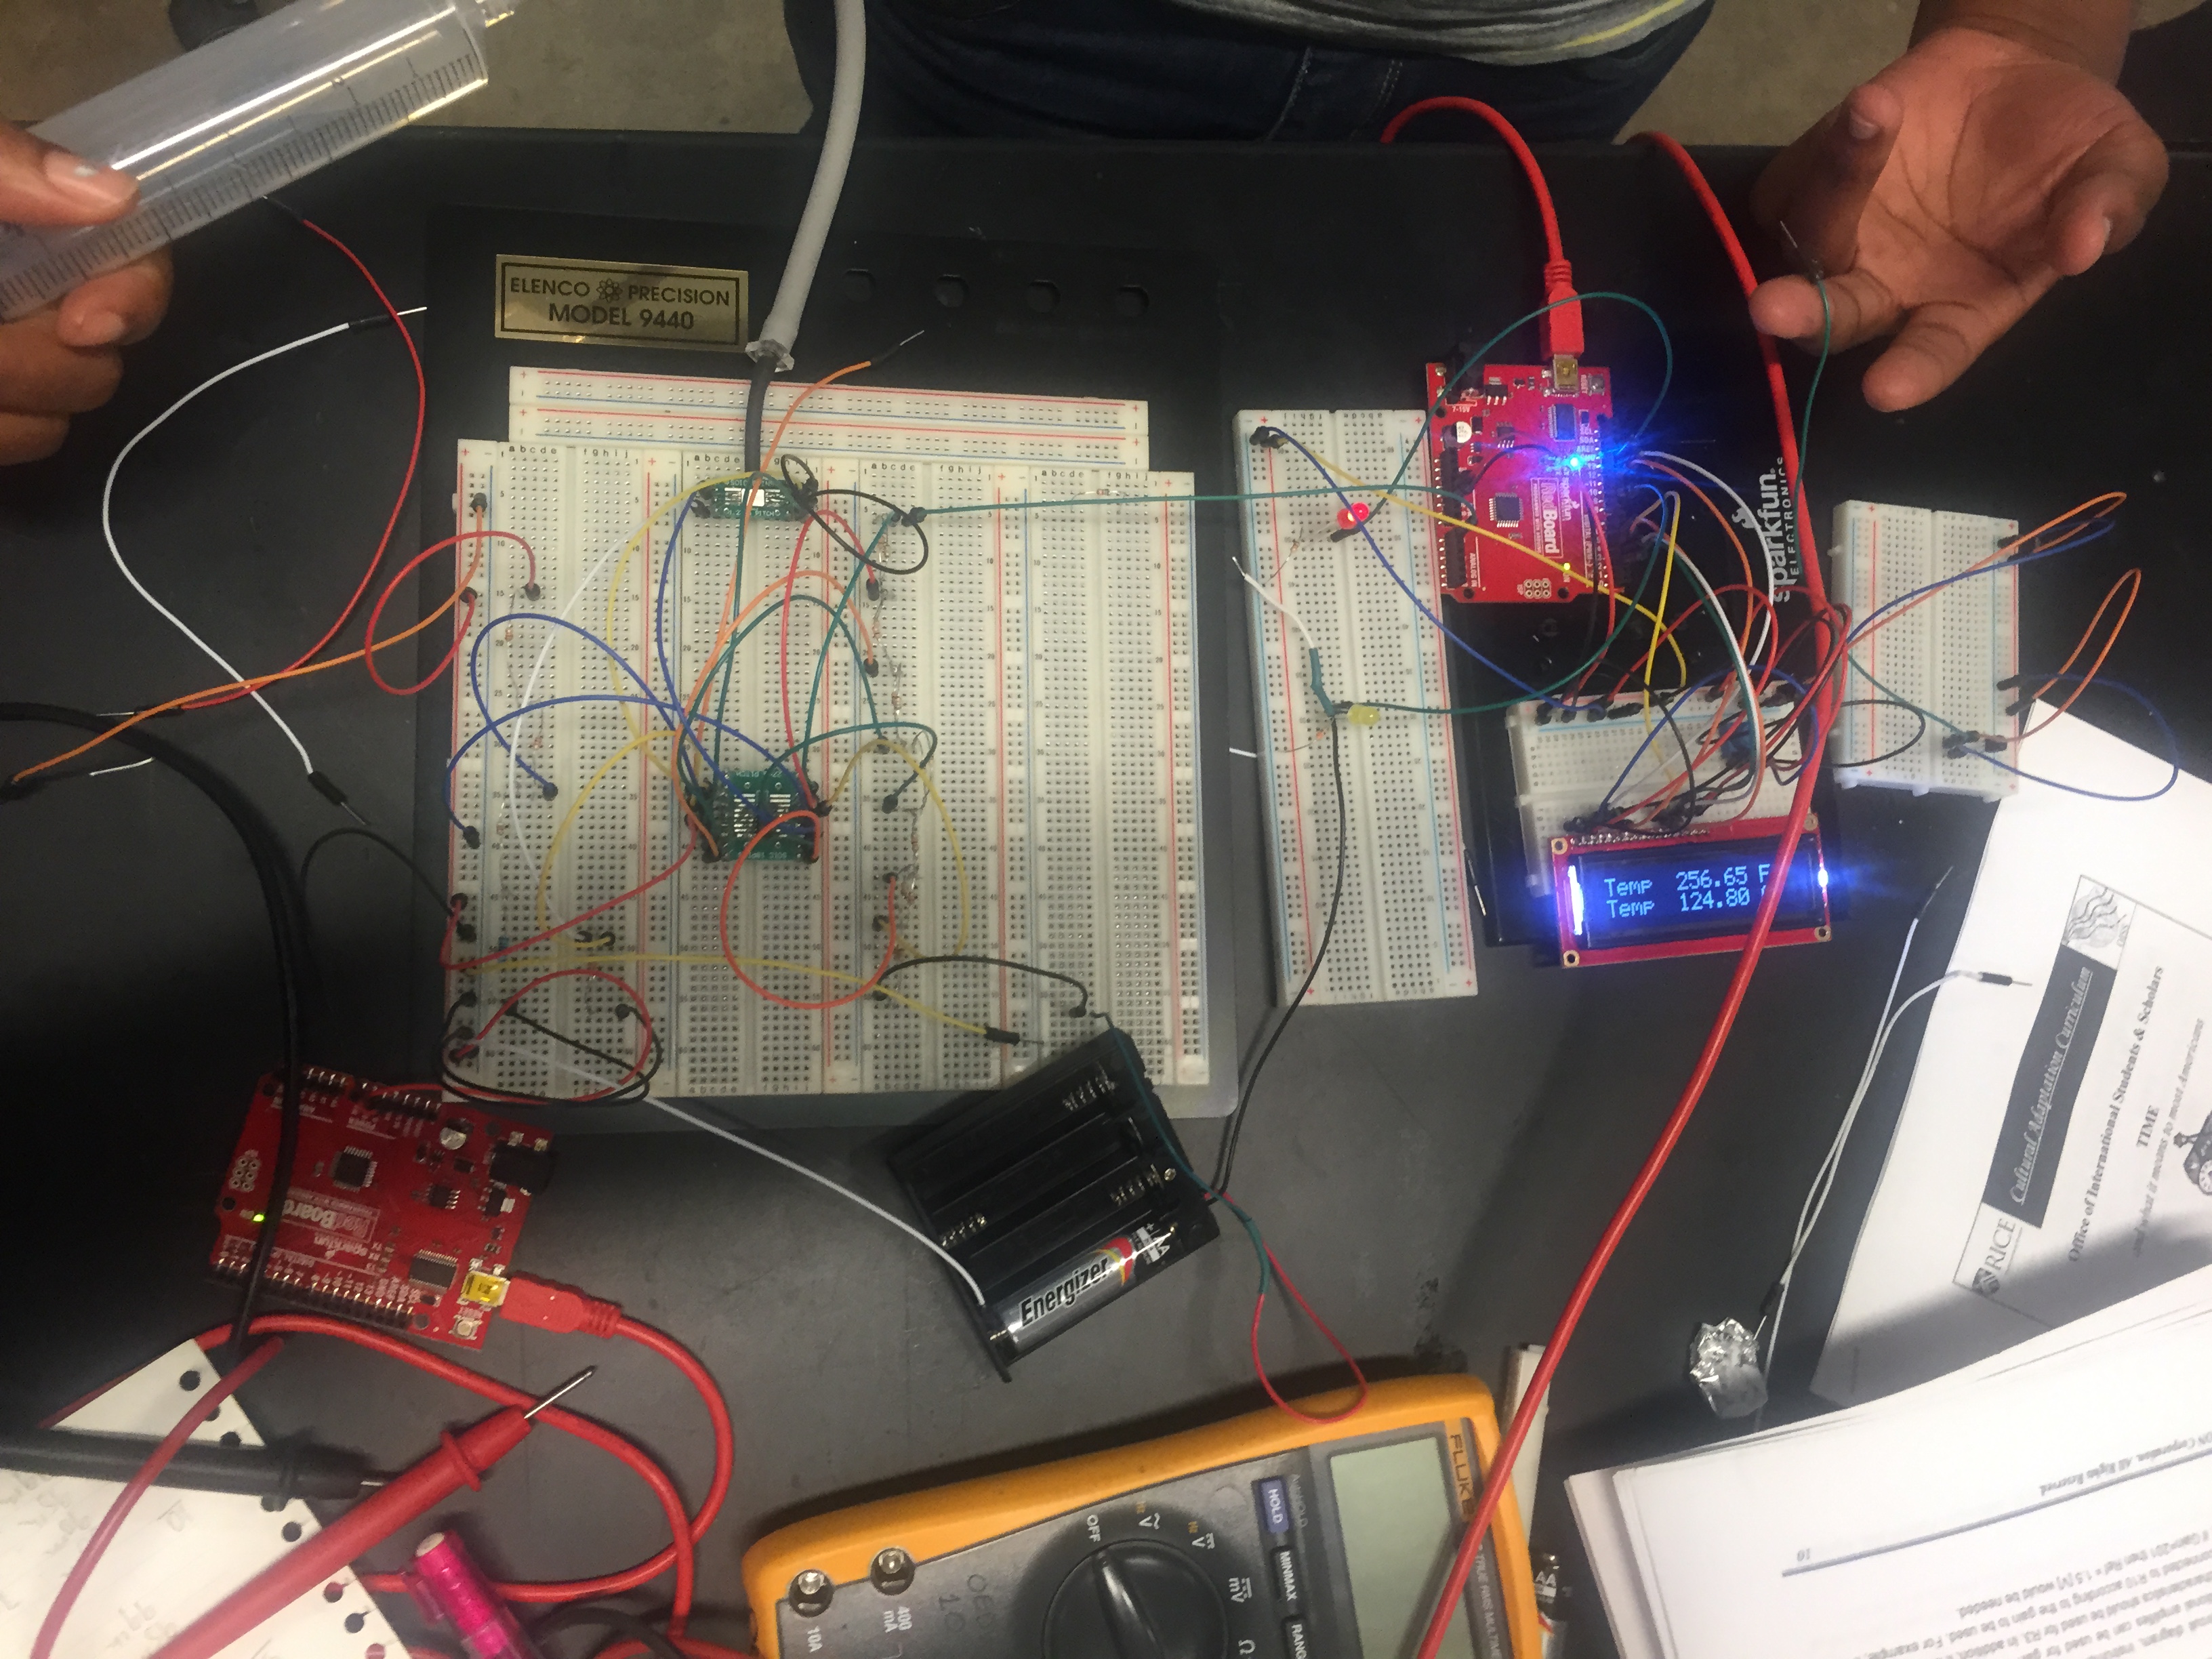
[I’d put in a picture here, but it’s mostly just web searches and scientific journals]

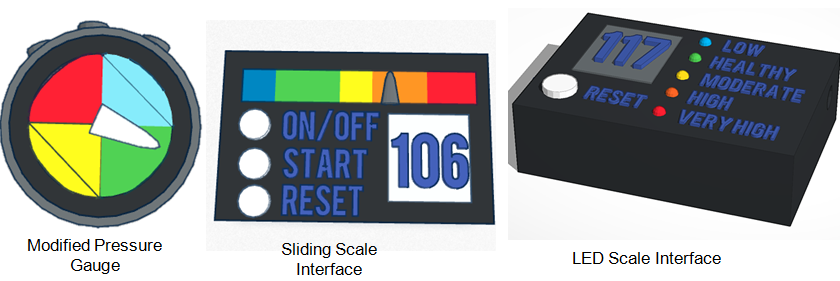
As it stands, we’re still in the brainstorming stage, and I don’t want to bias our opinions by highlighting one idea over another (although, our final idea from Friday, which involved repurposing the pizza boxes from lunch into large fans to generate suction, is definitely a keeper).

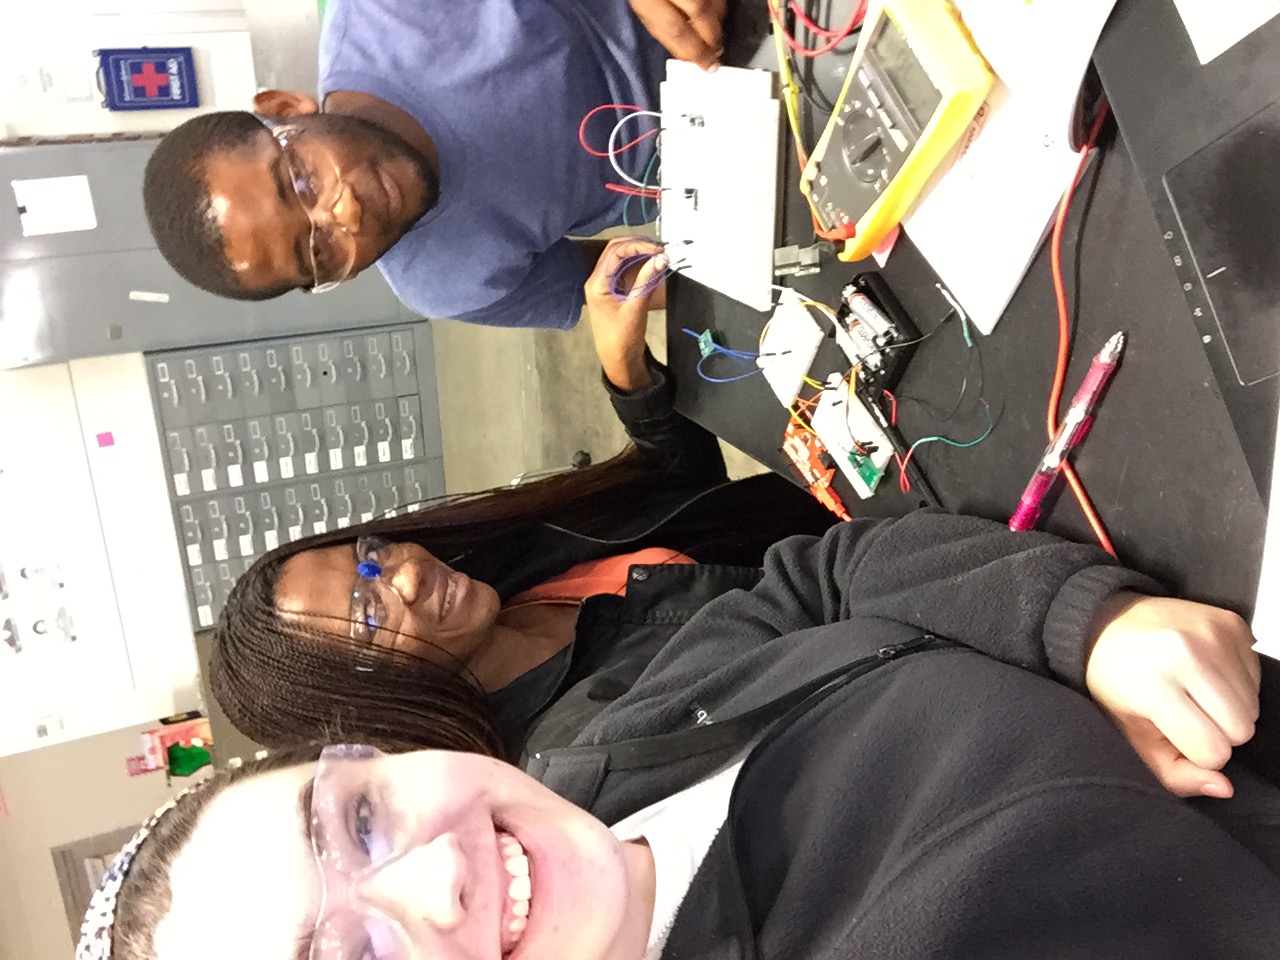
Our last activity on Friday was a fun change of pace from the norm: Dr. Ghosn, my project mentor from ENGI 120, came in to give a presentation about project scoping—basically, how to look around the world, recognize a problem, and determine how/if at all to engineer a solution for it. One of the most important things, Dr. Ghosn specifies, is understand what problems the client actually faces: it’s really easy to look on things from an outsider’s point of view and completely miss the point. To emphasize this, he split us into groups and gave us materials that would simulate disabilities—wheelchairs for mobility issues; blindfolds for visibility disabilities; athletic tape for arthrogryposis. Tasks that are normally easy, such as walking up and down stairs, suddenly become incredibly difficult when you’re in a wheelchair and there’s an 8% grade ramp staring you in the face. Operating ID card-swipes is hard when you’re blind and can’t see which of the four possible orientations of your ID is the one that actually has a magnetic strip on it. Even eating breakfast becomes a challenge when you don’t have proper elbow and wrist mobility from arthrogryposis. These tasks are simple when you’re able-bodied, almost forgettably so, but they become challenges that some people simply have to deal with everyday. This, Dr. Ghosn says, is the true key to scoping—getting into someone else’s shoes to figure out the problems that some people face constantly.

IMG_5282

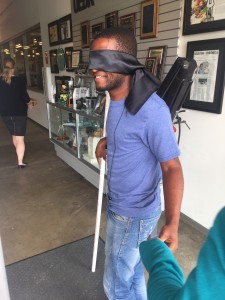
The blind (my arm, turquoise jacket) leading the blind (Eckhaire, actually blindfolded).

Next week, we’ll continue brainstorming with the mechanical breast pump and start narrowing down solutions.