Thank You, Mom

This week was exciting in many senses of the word. There was the excitement that comes with an imminent storm, a new beginning, and seeing something in a different light.

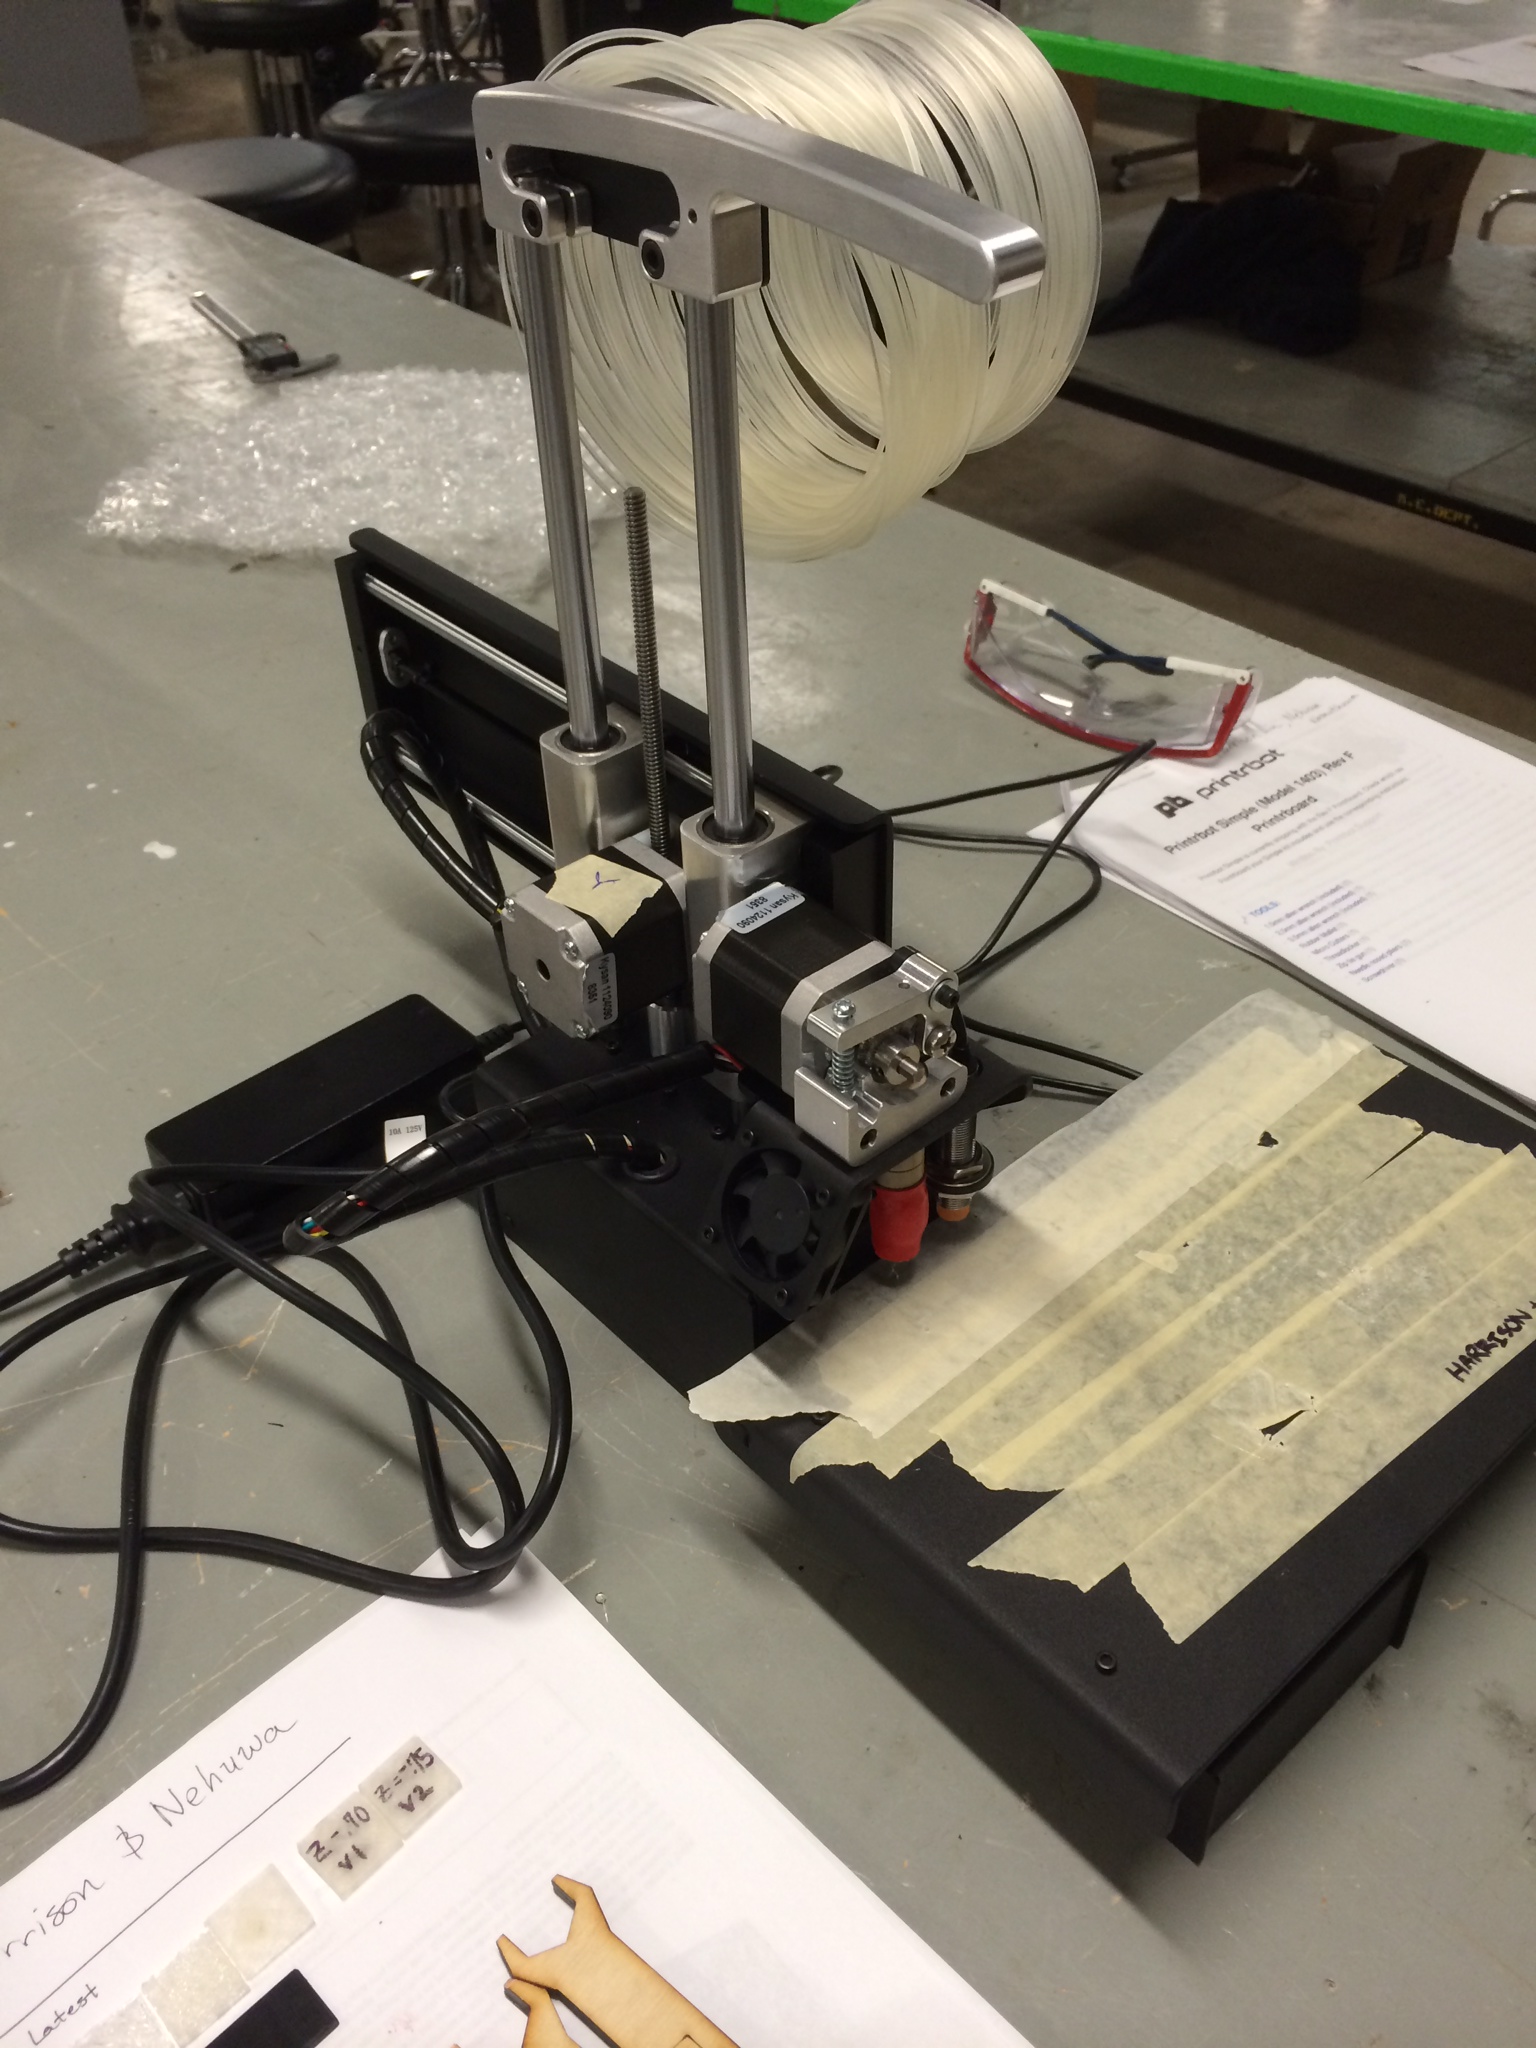
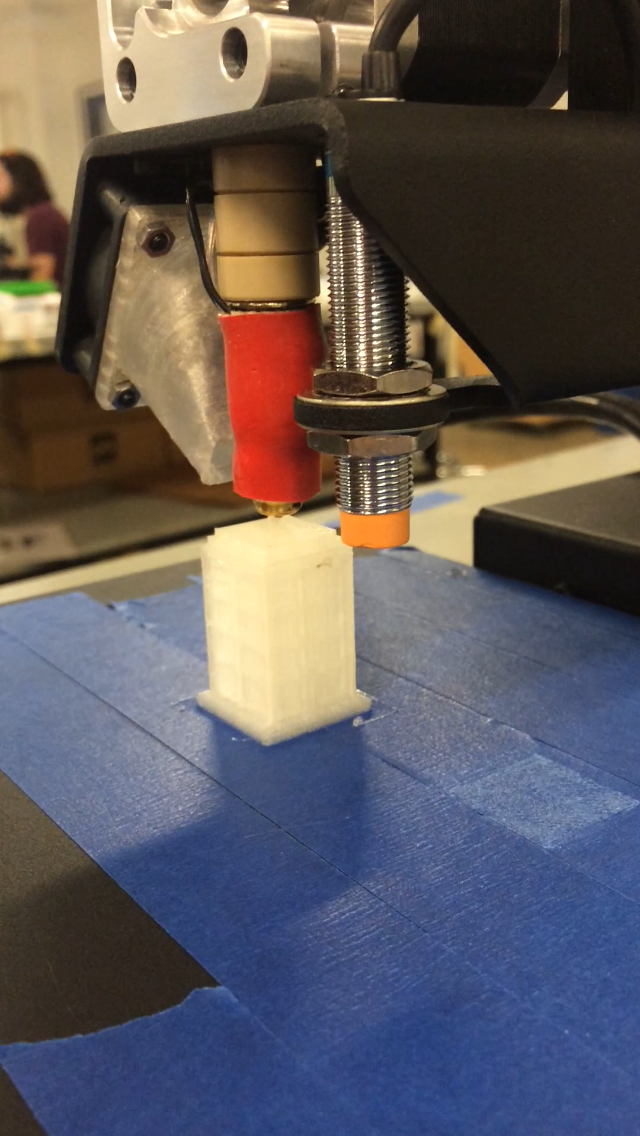
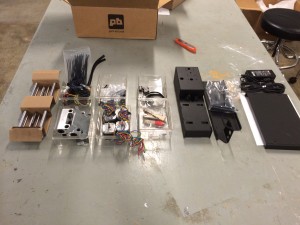
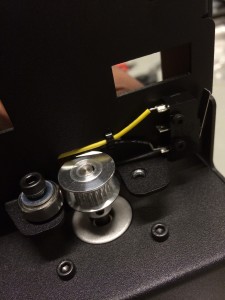
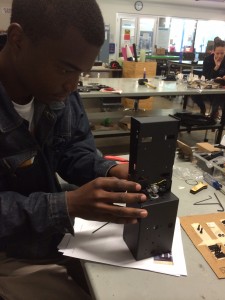
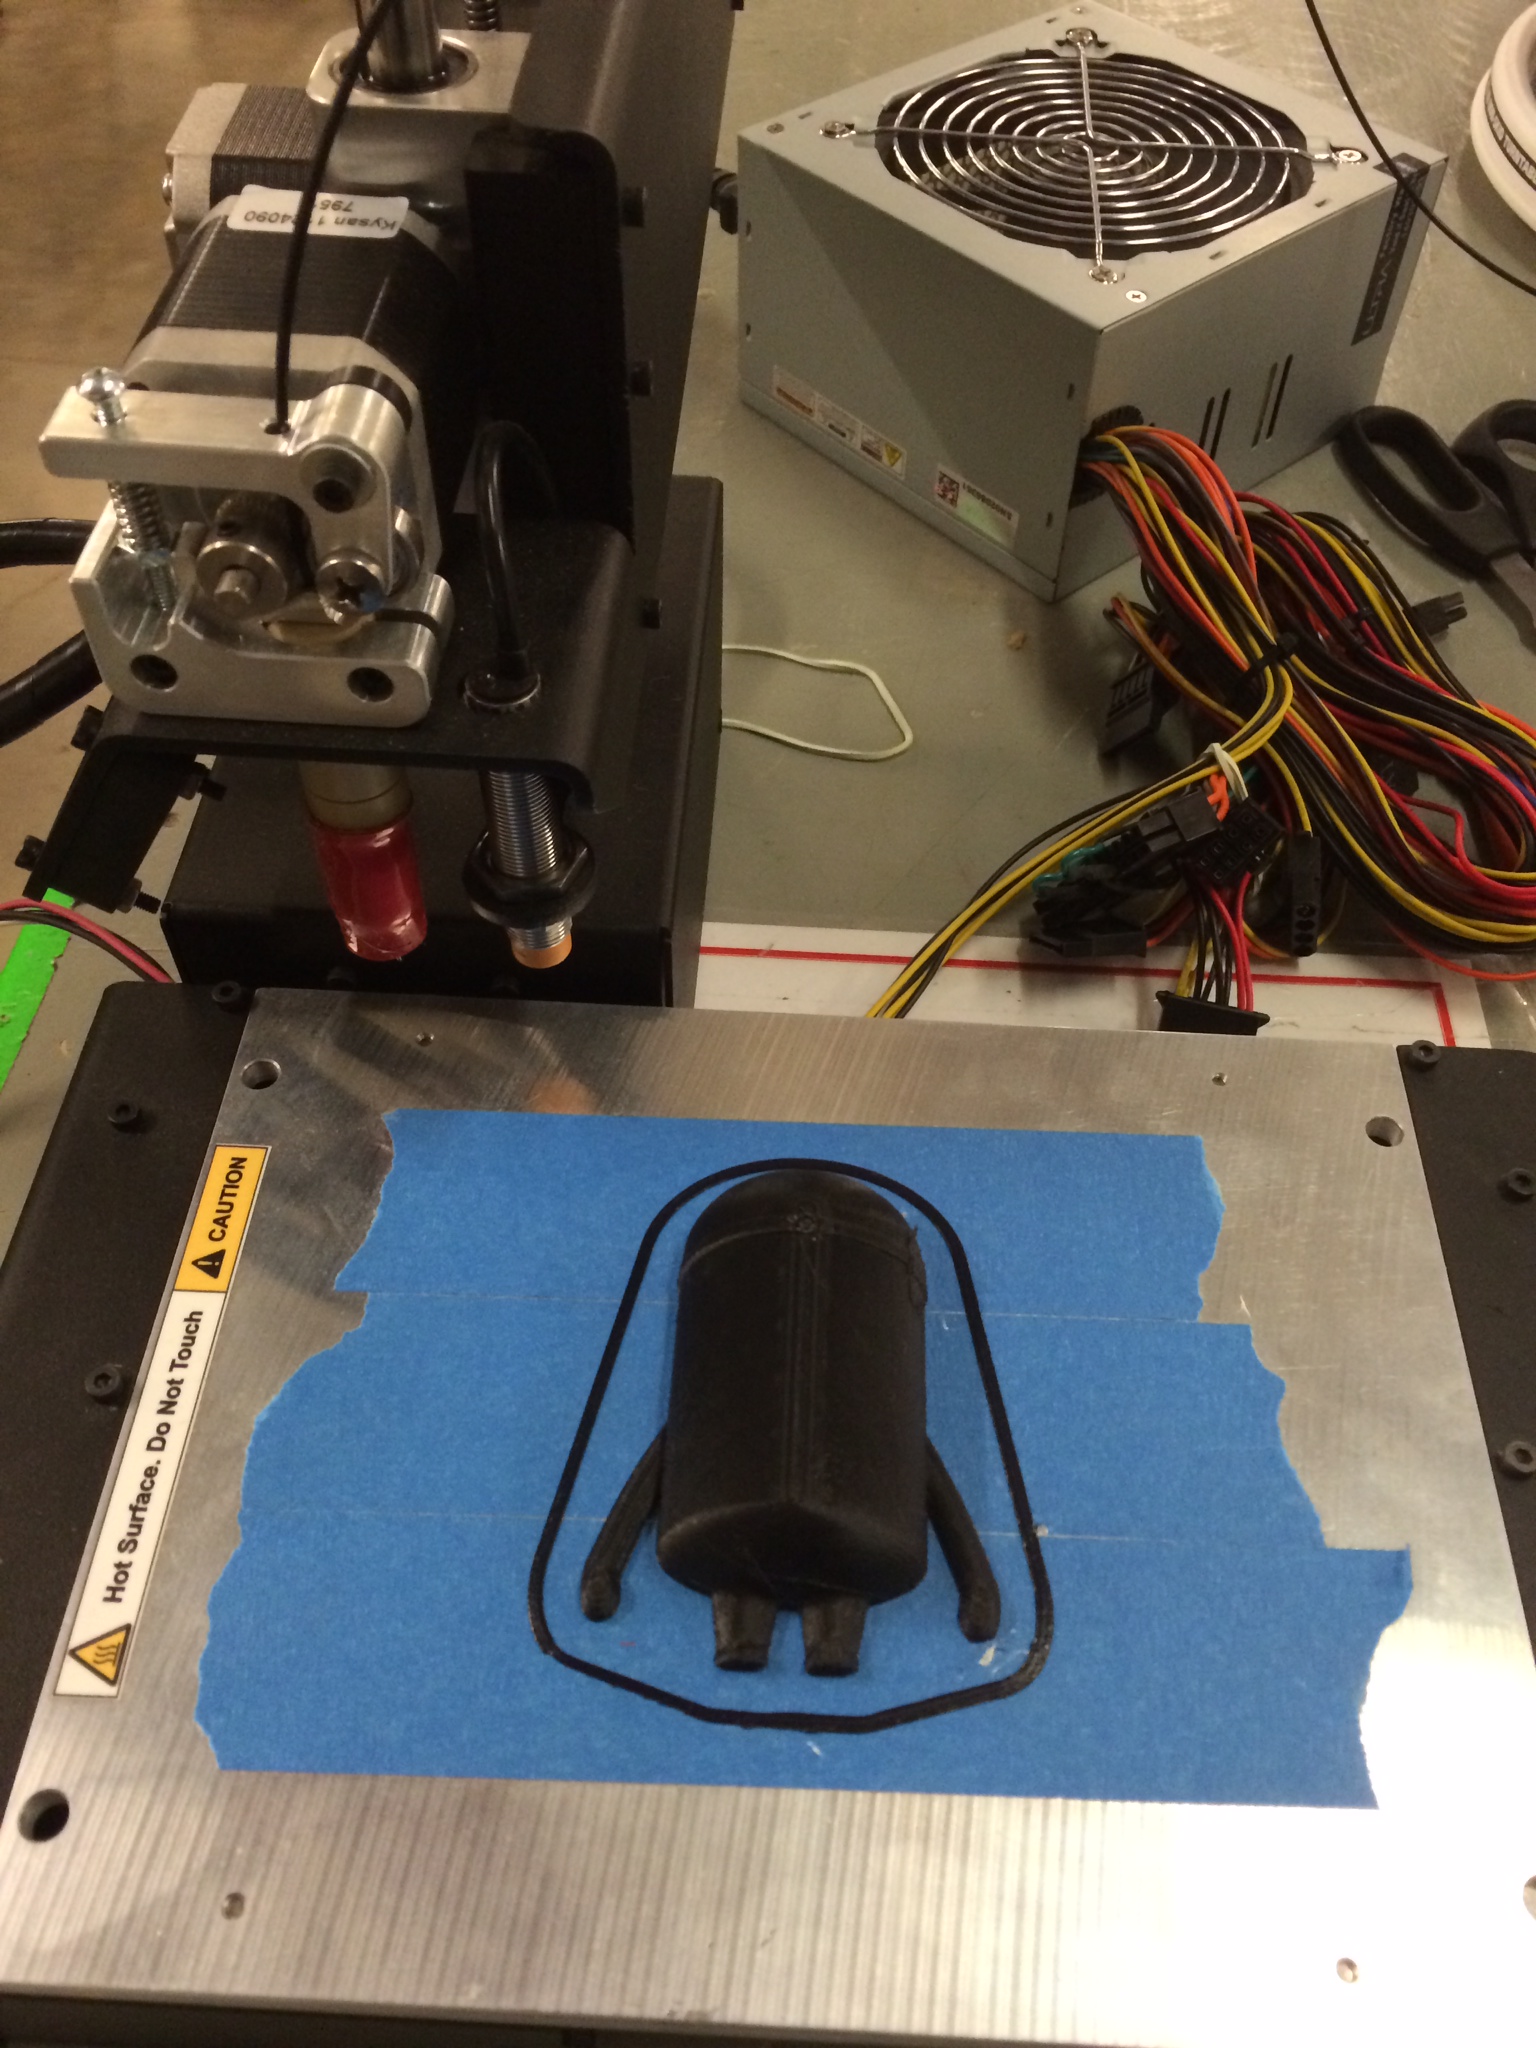
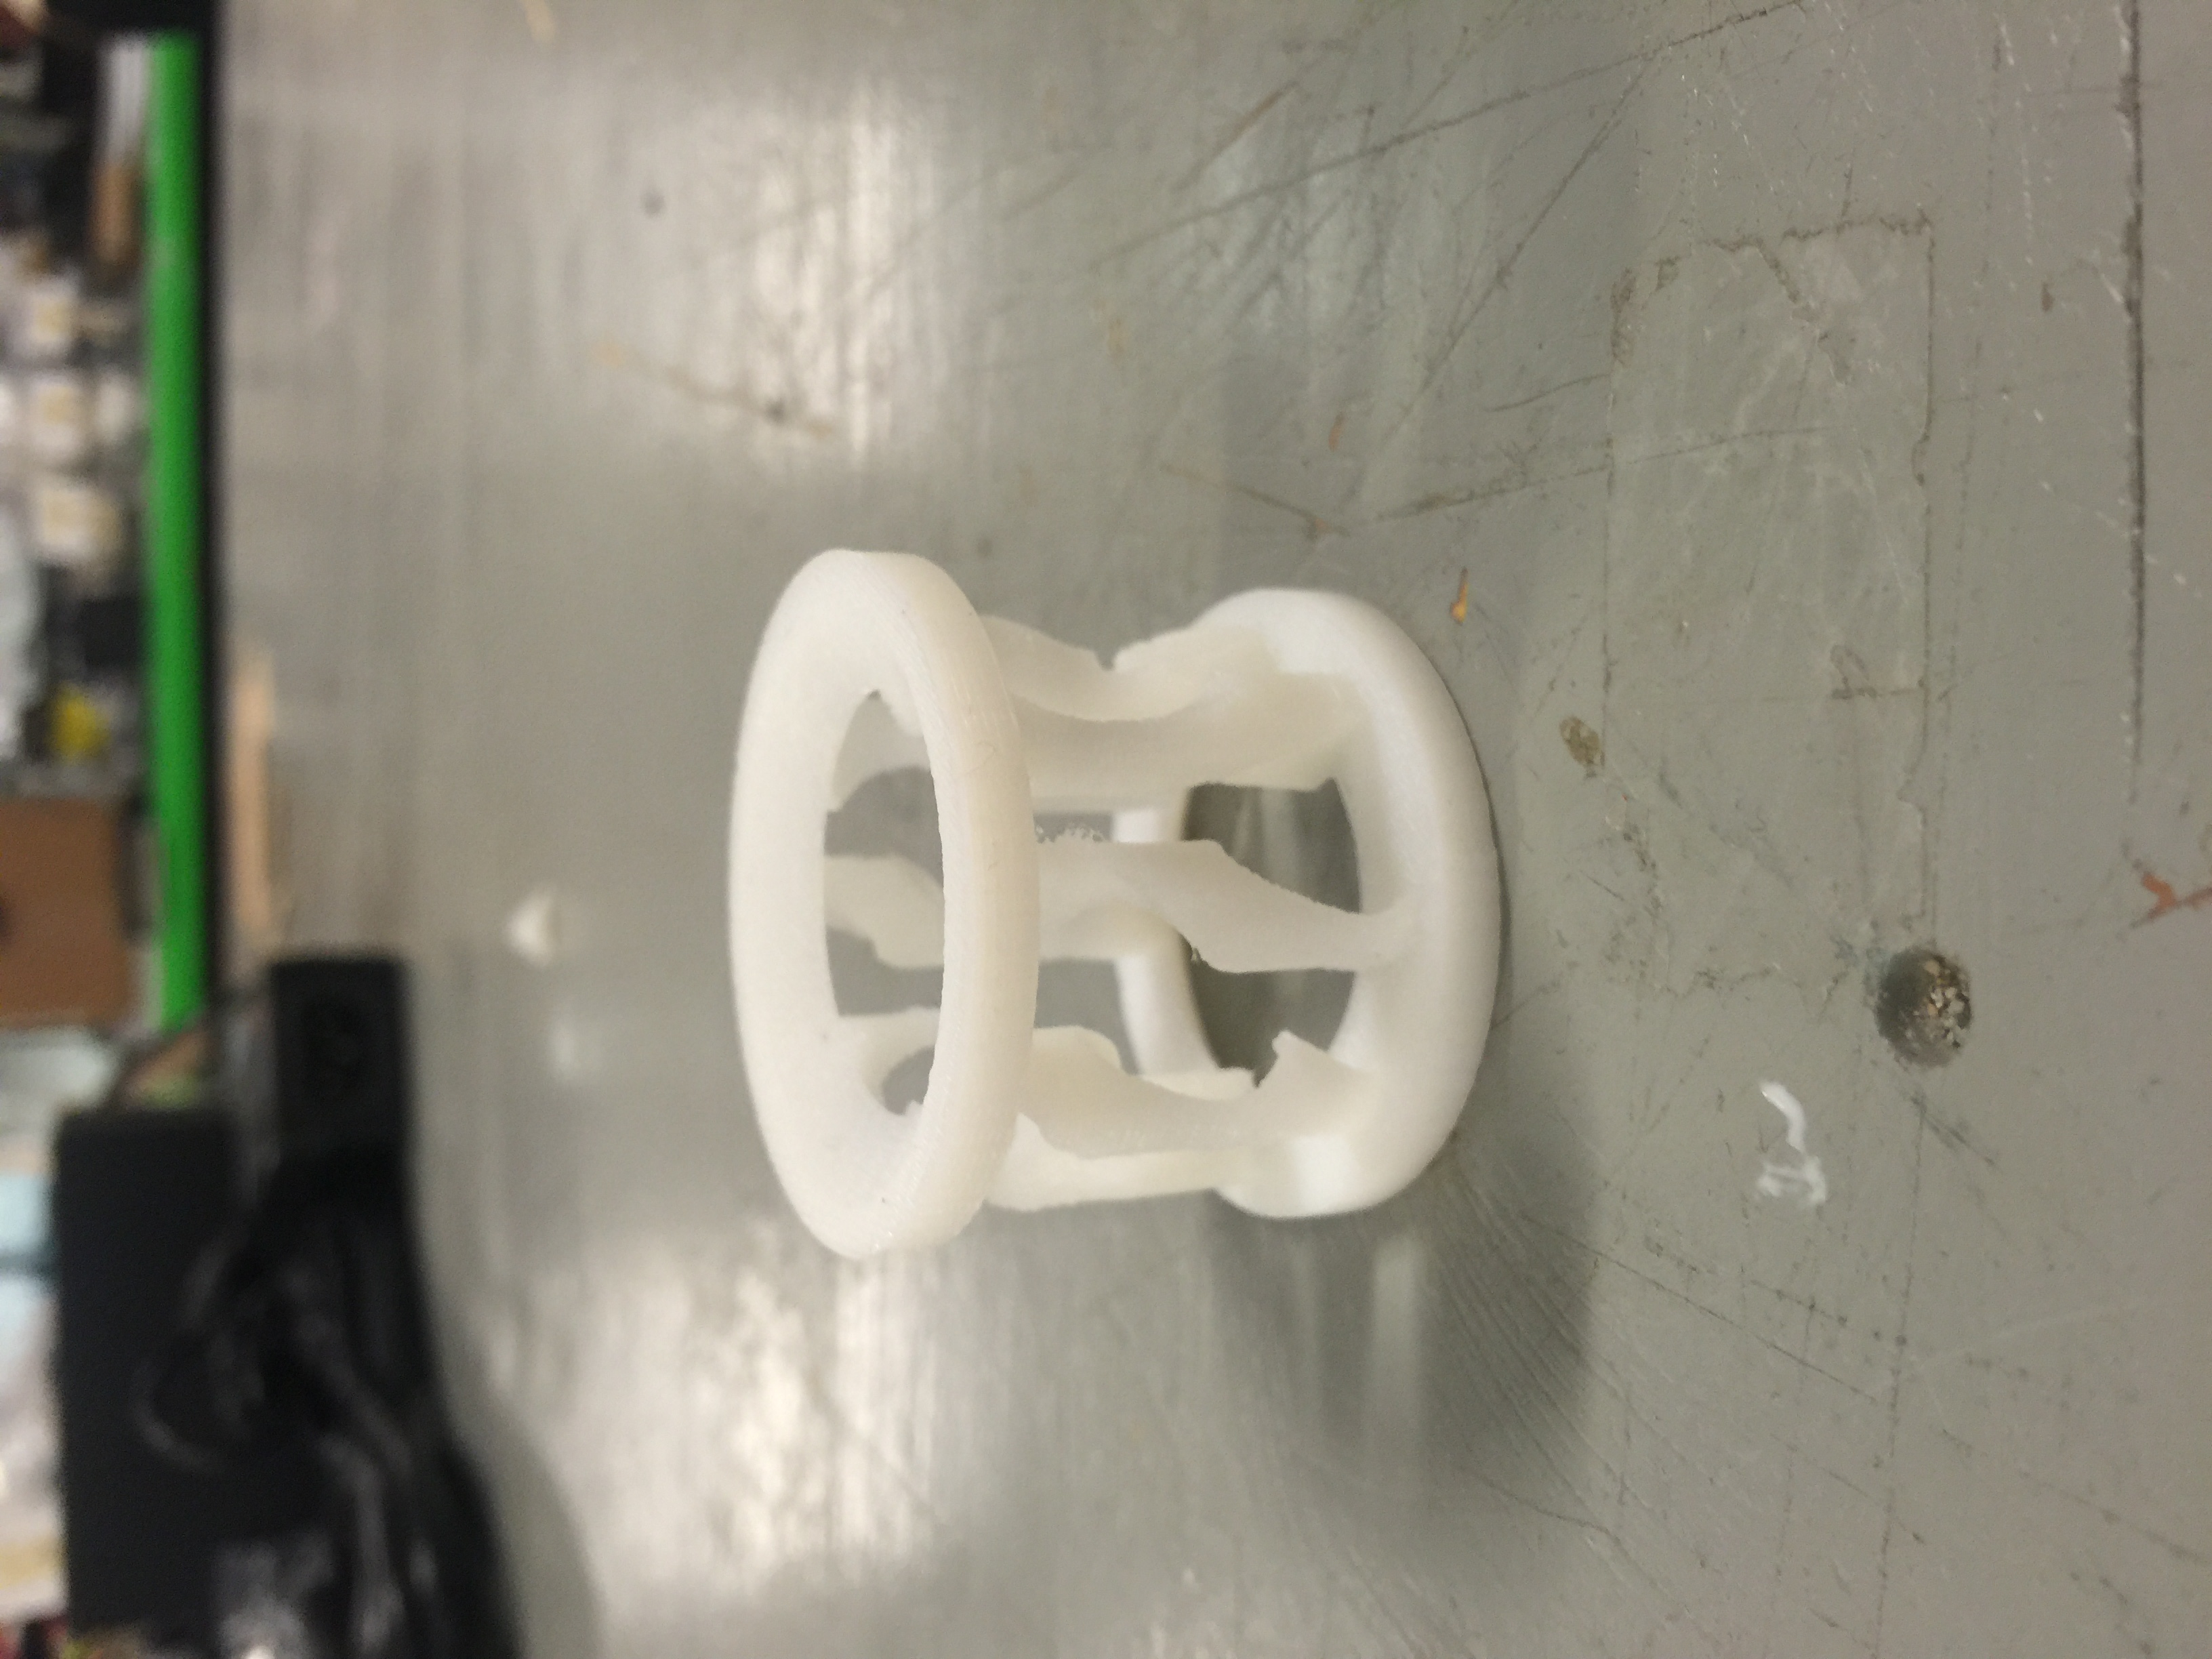
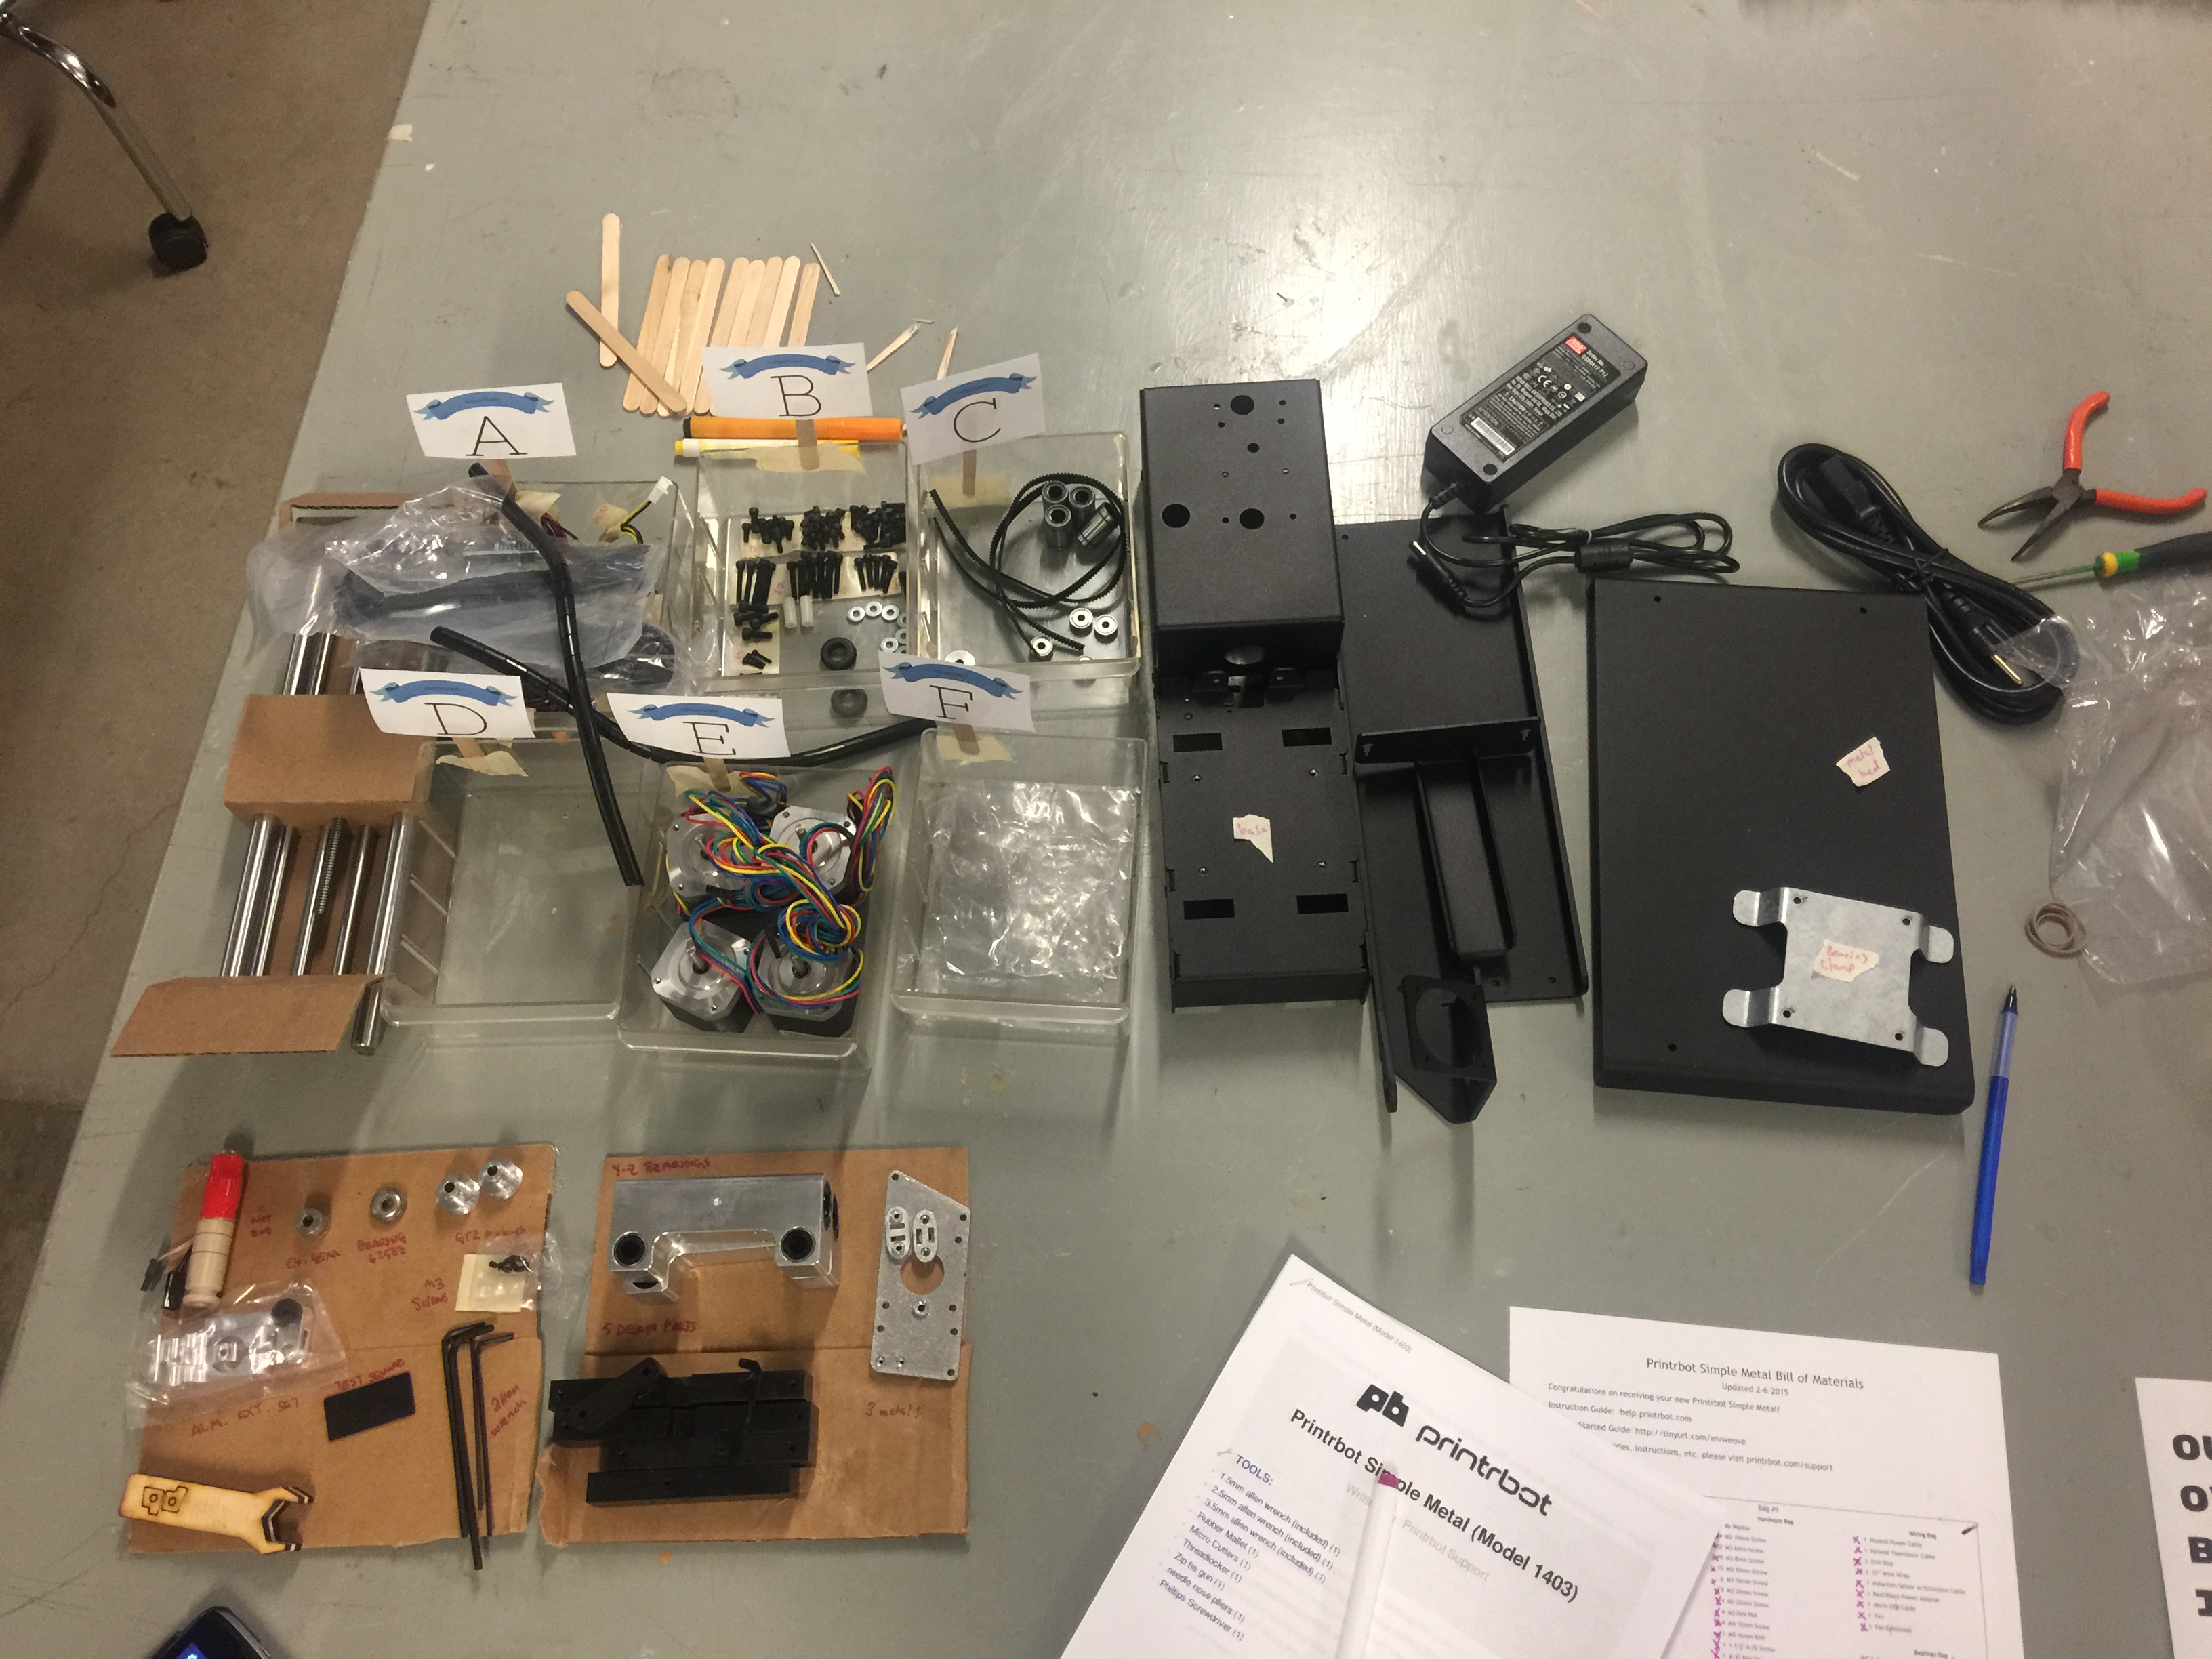
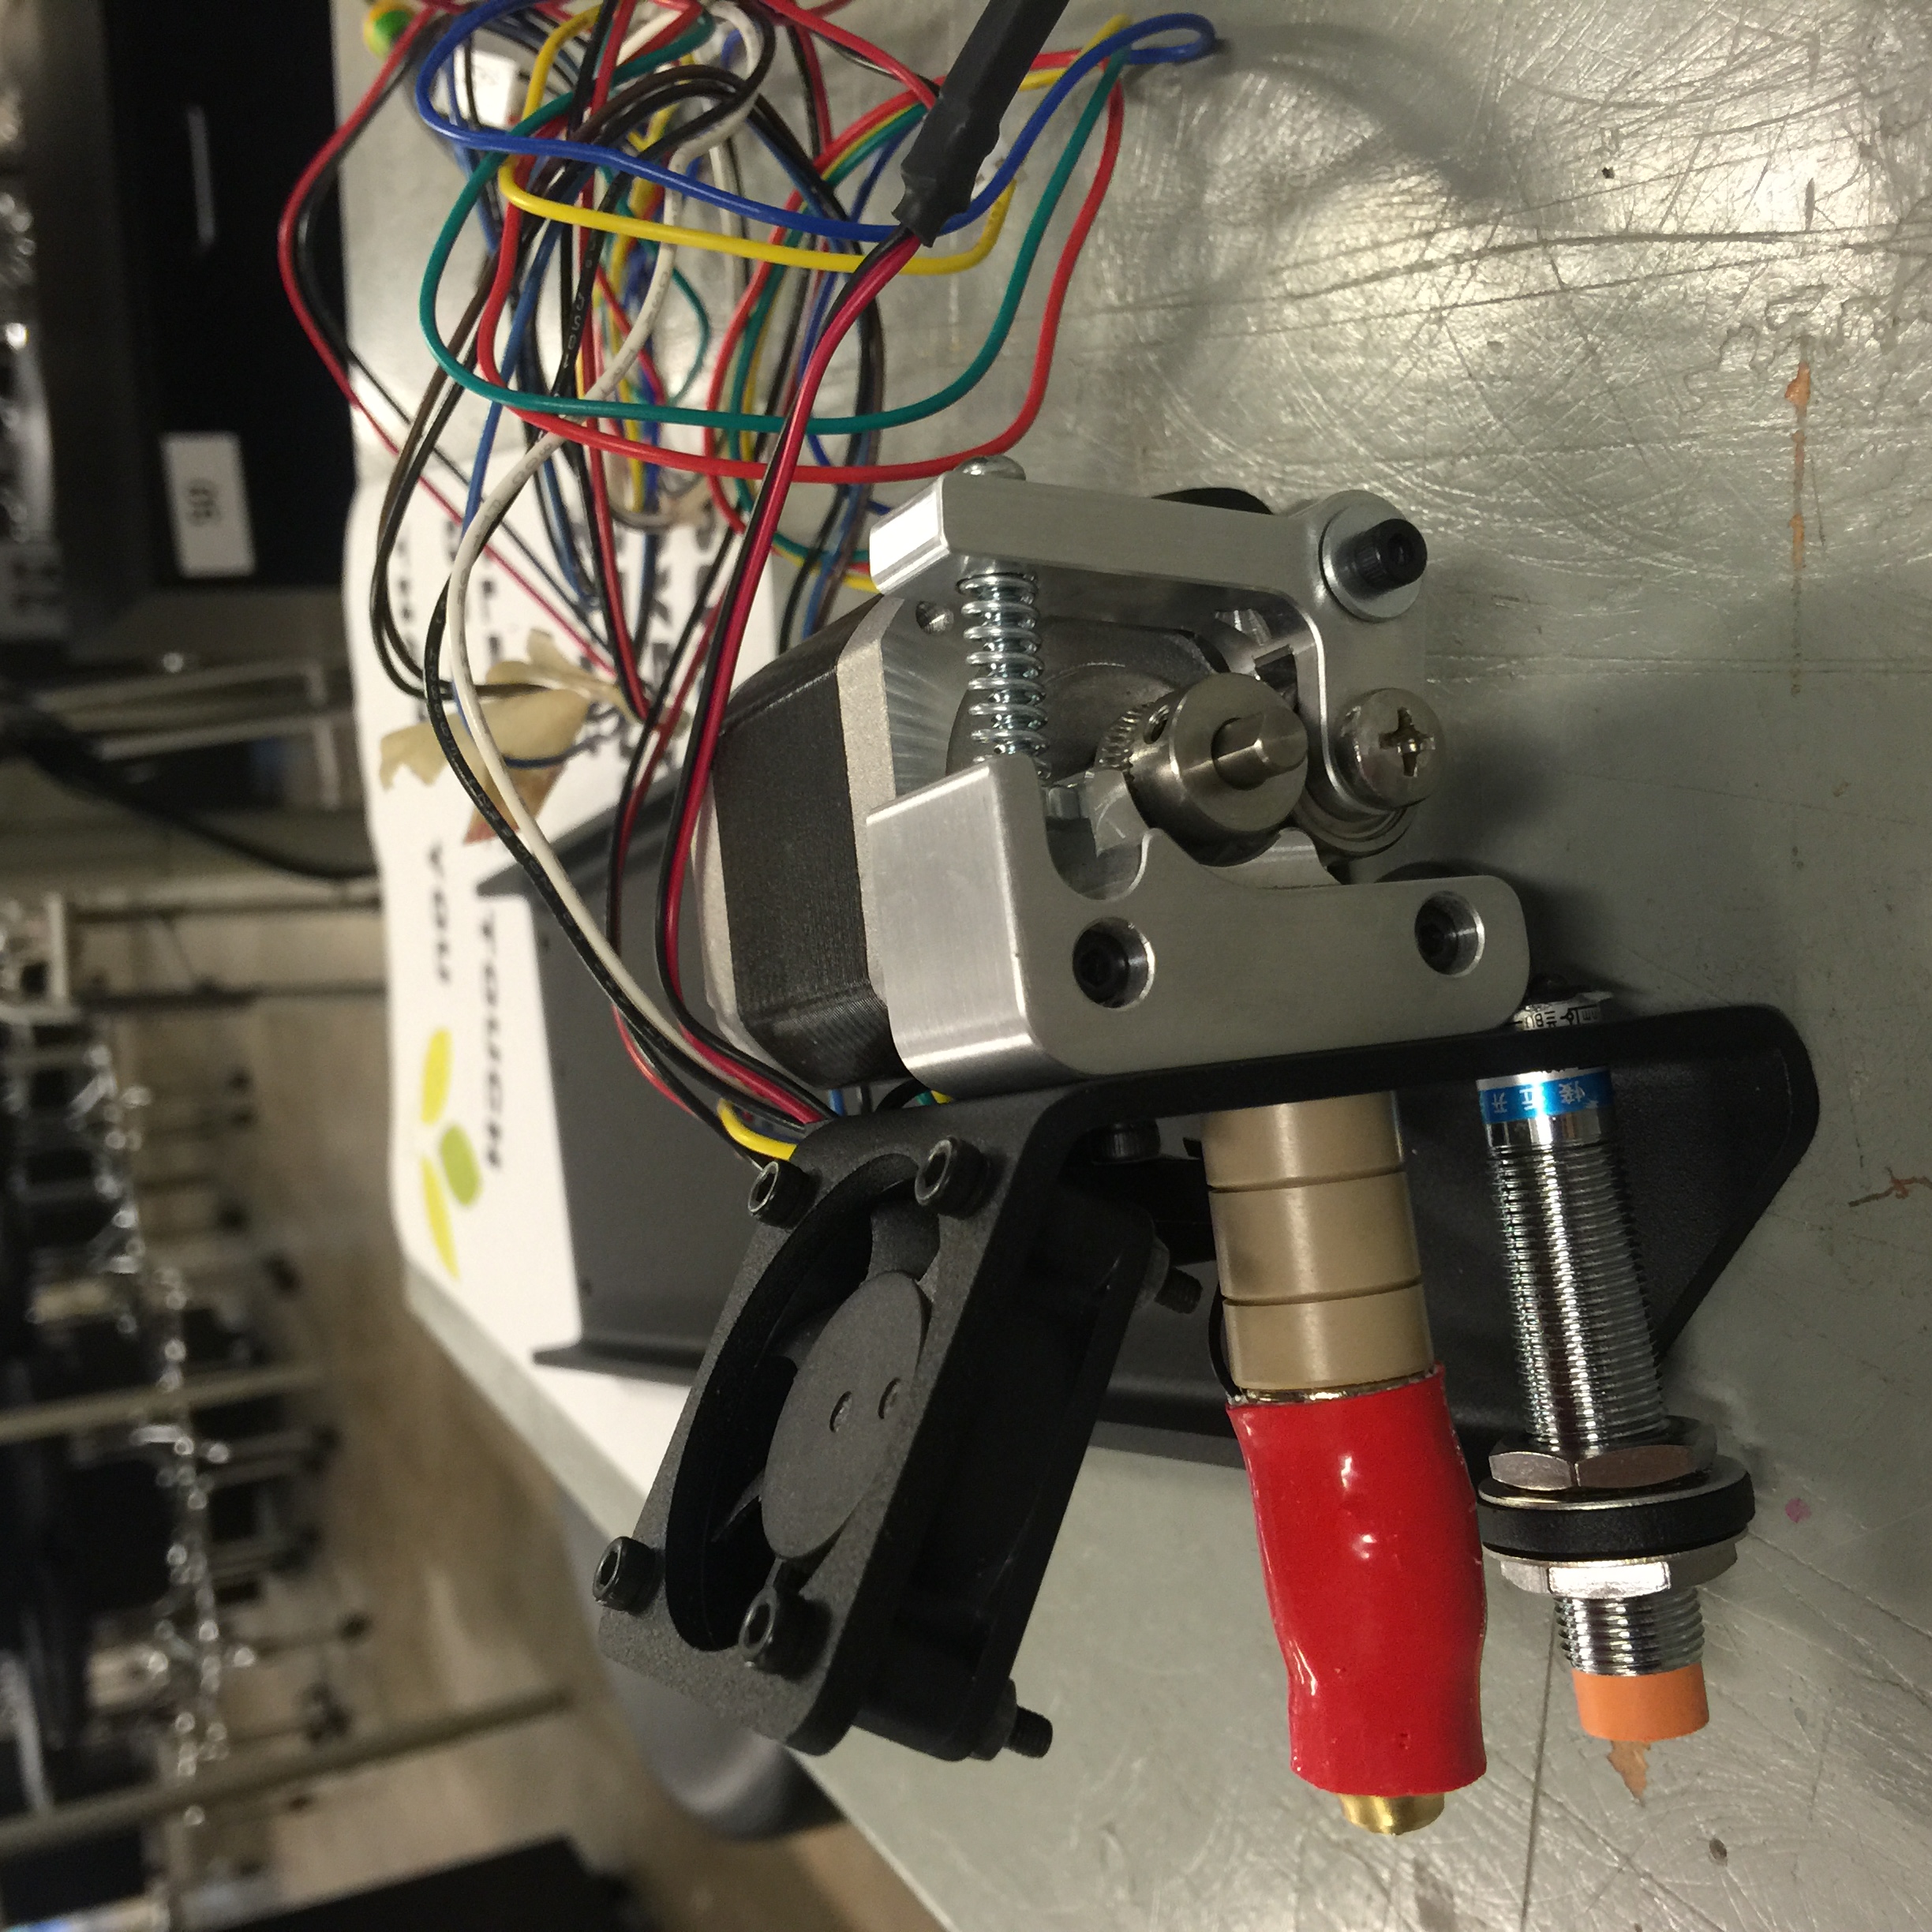
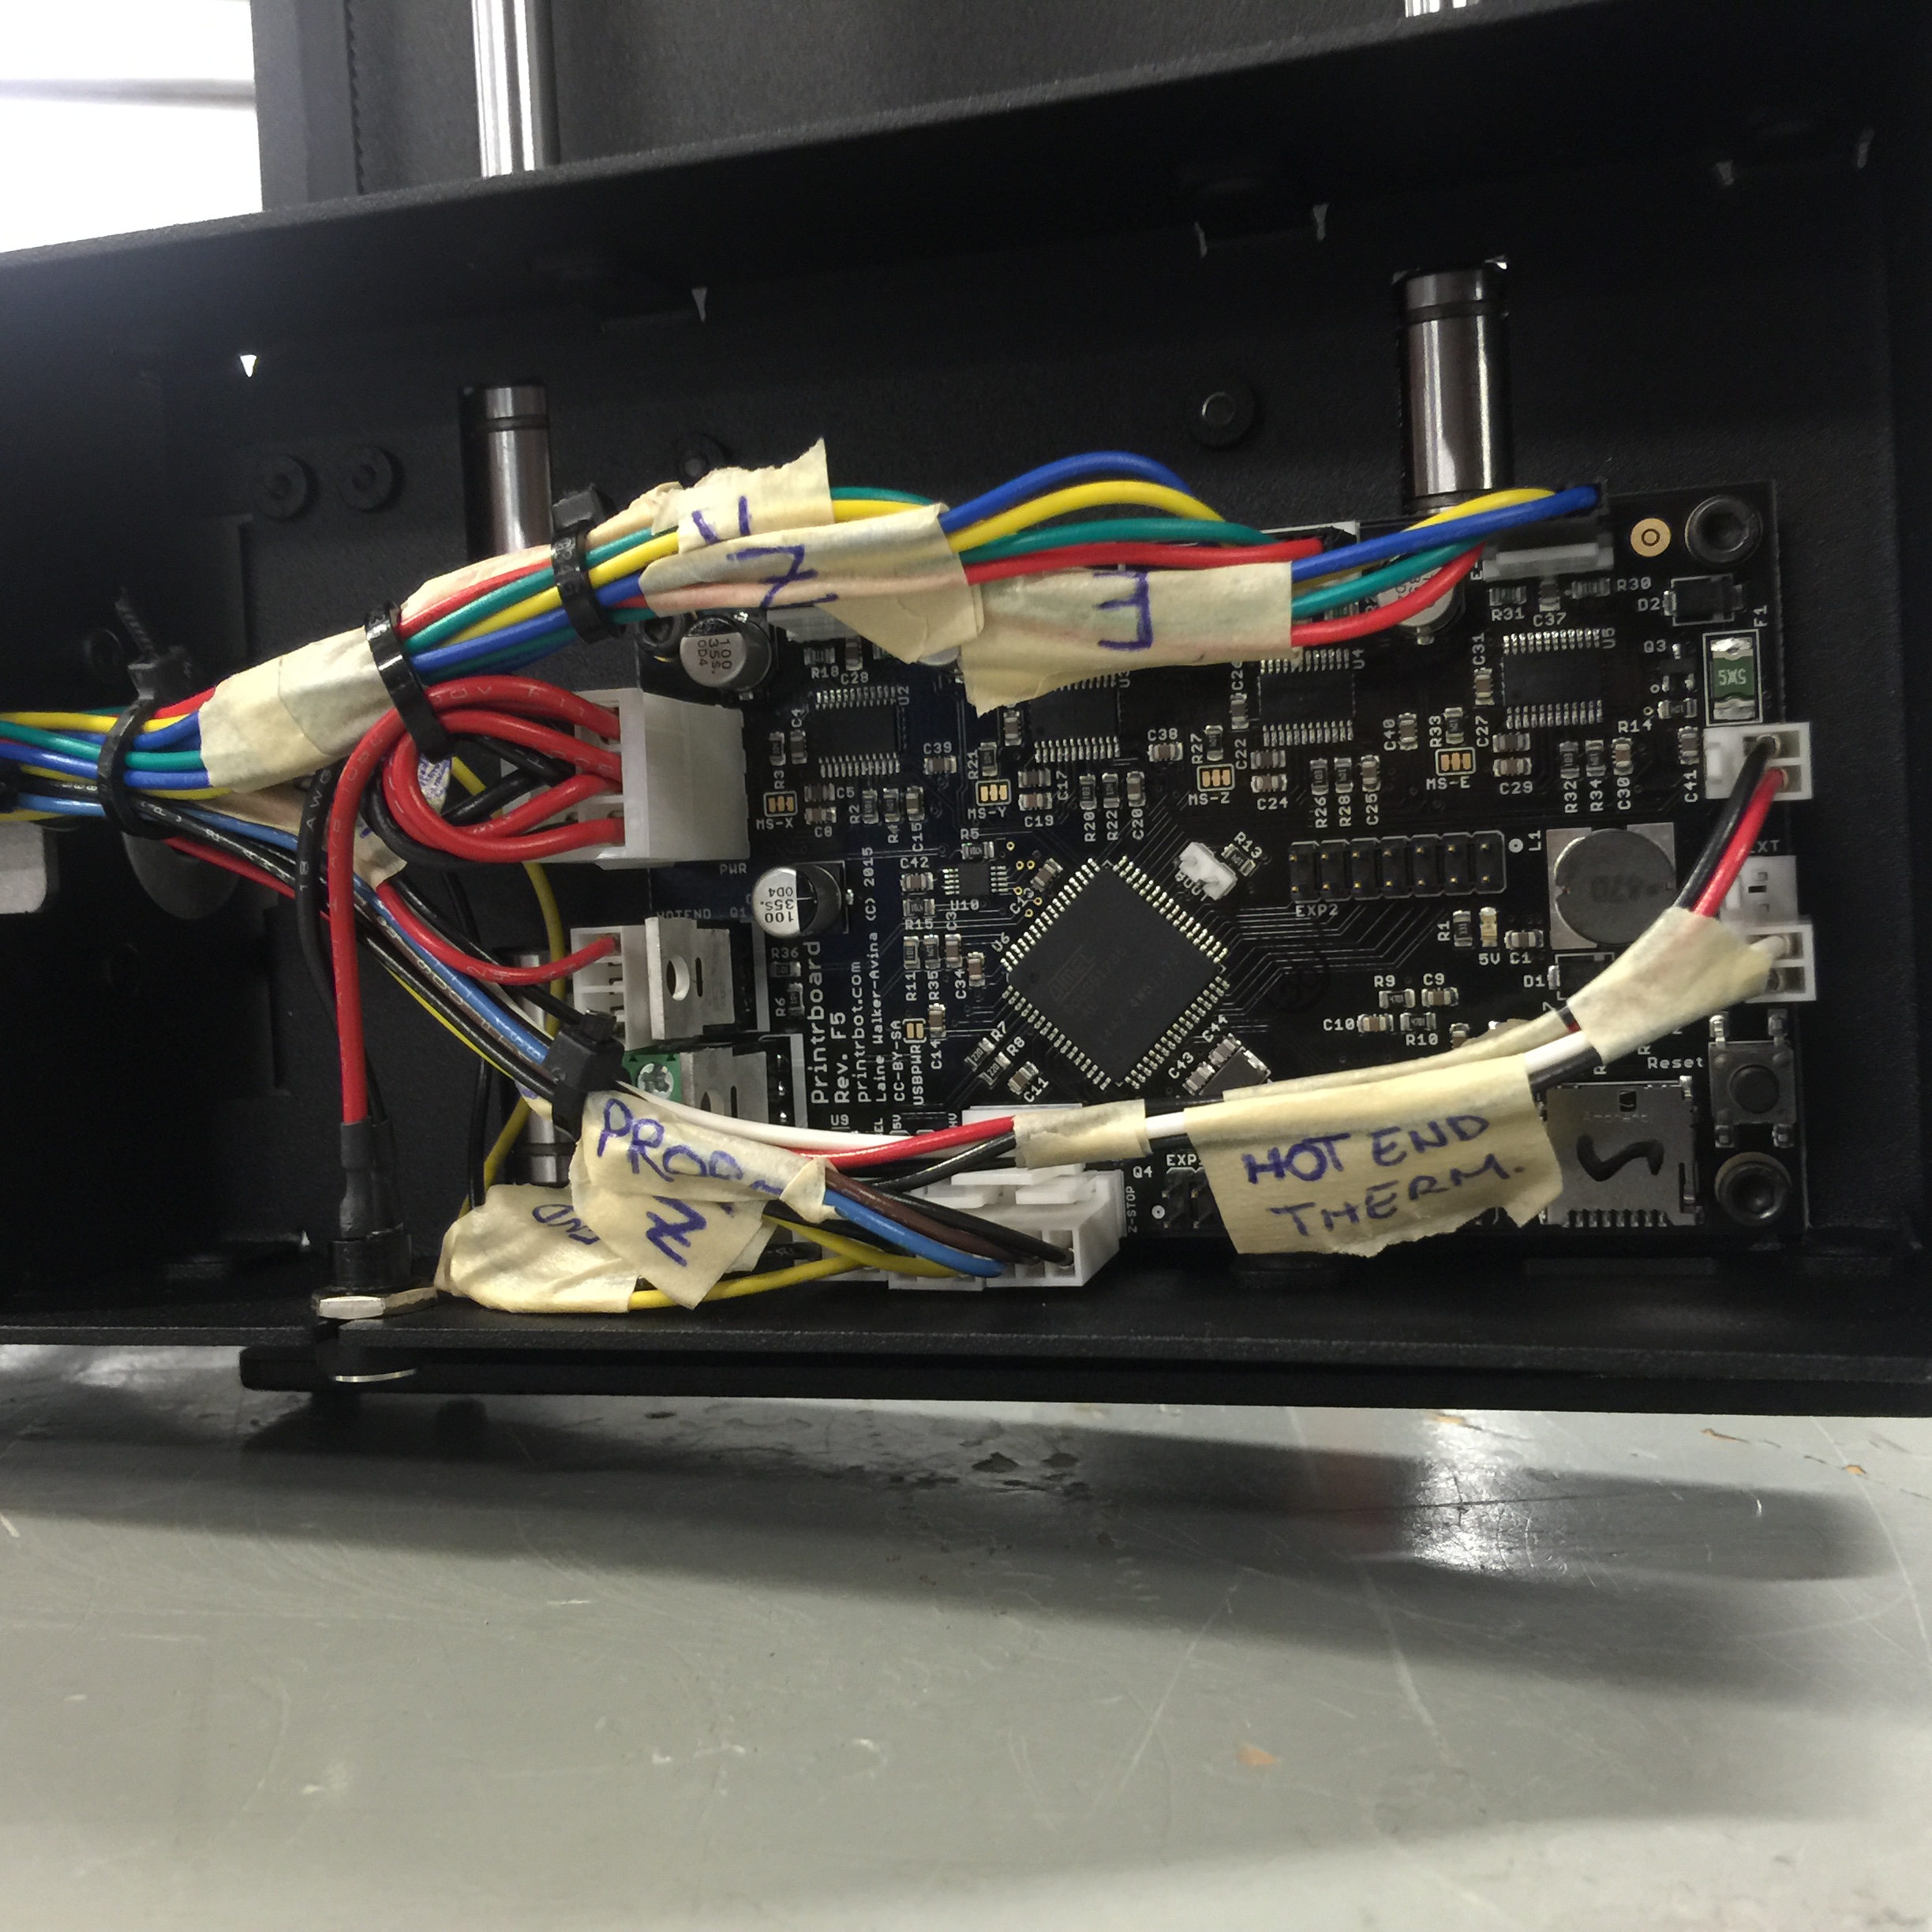
Monday, we finished calibrating our 3D printers and did some final test prints. With that, we finished one of the 9 projects we hoped to complete this summer. It was exciting to think that we turned a pile of parts into a machine that could create parts for other machines, and the idea that we will be sending some of these back to Malawi Polytechnic makes it even better.

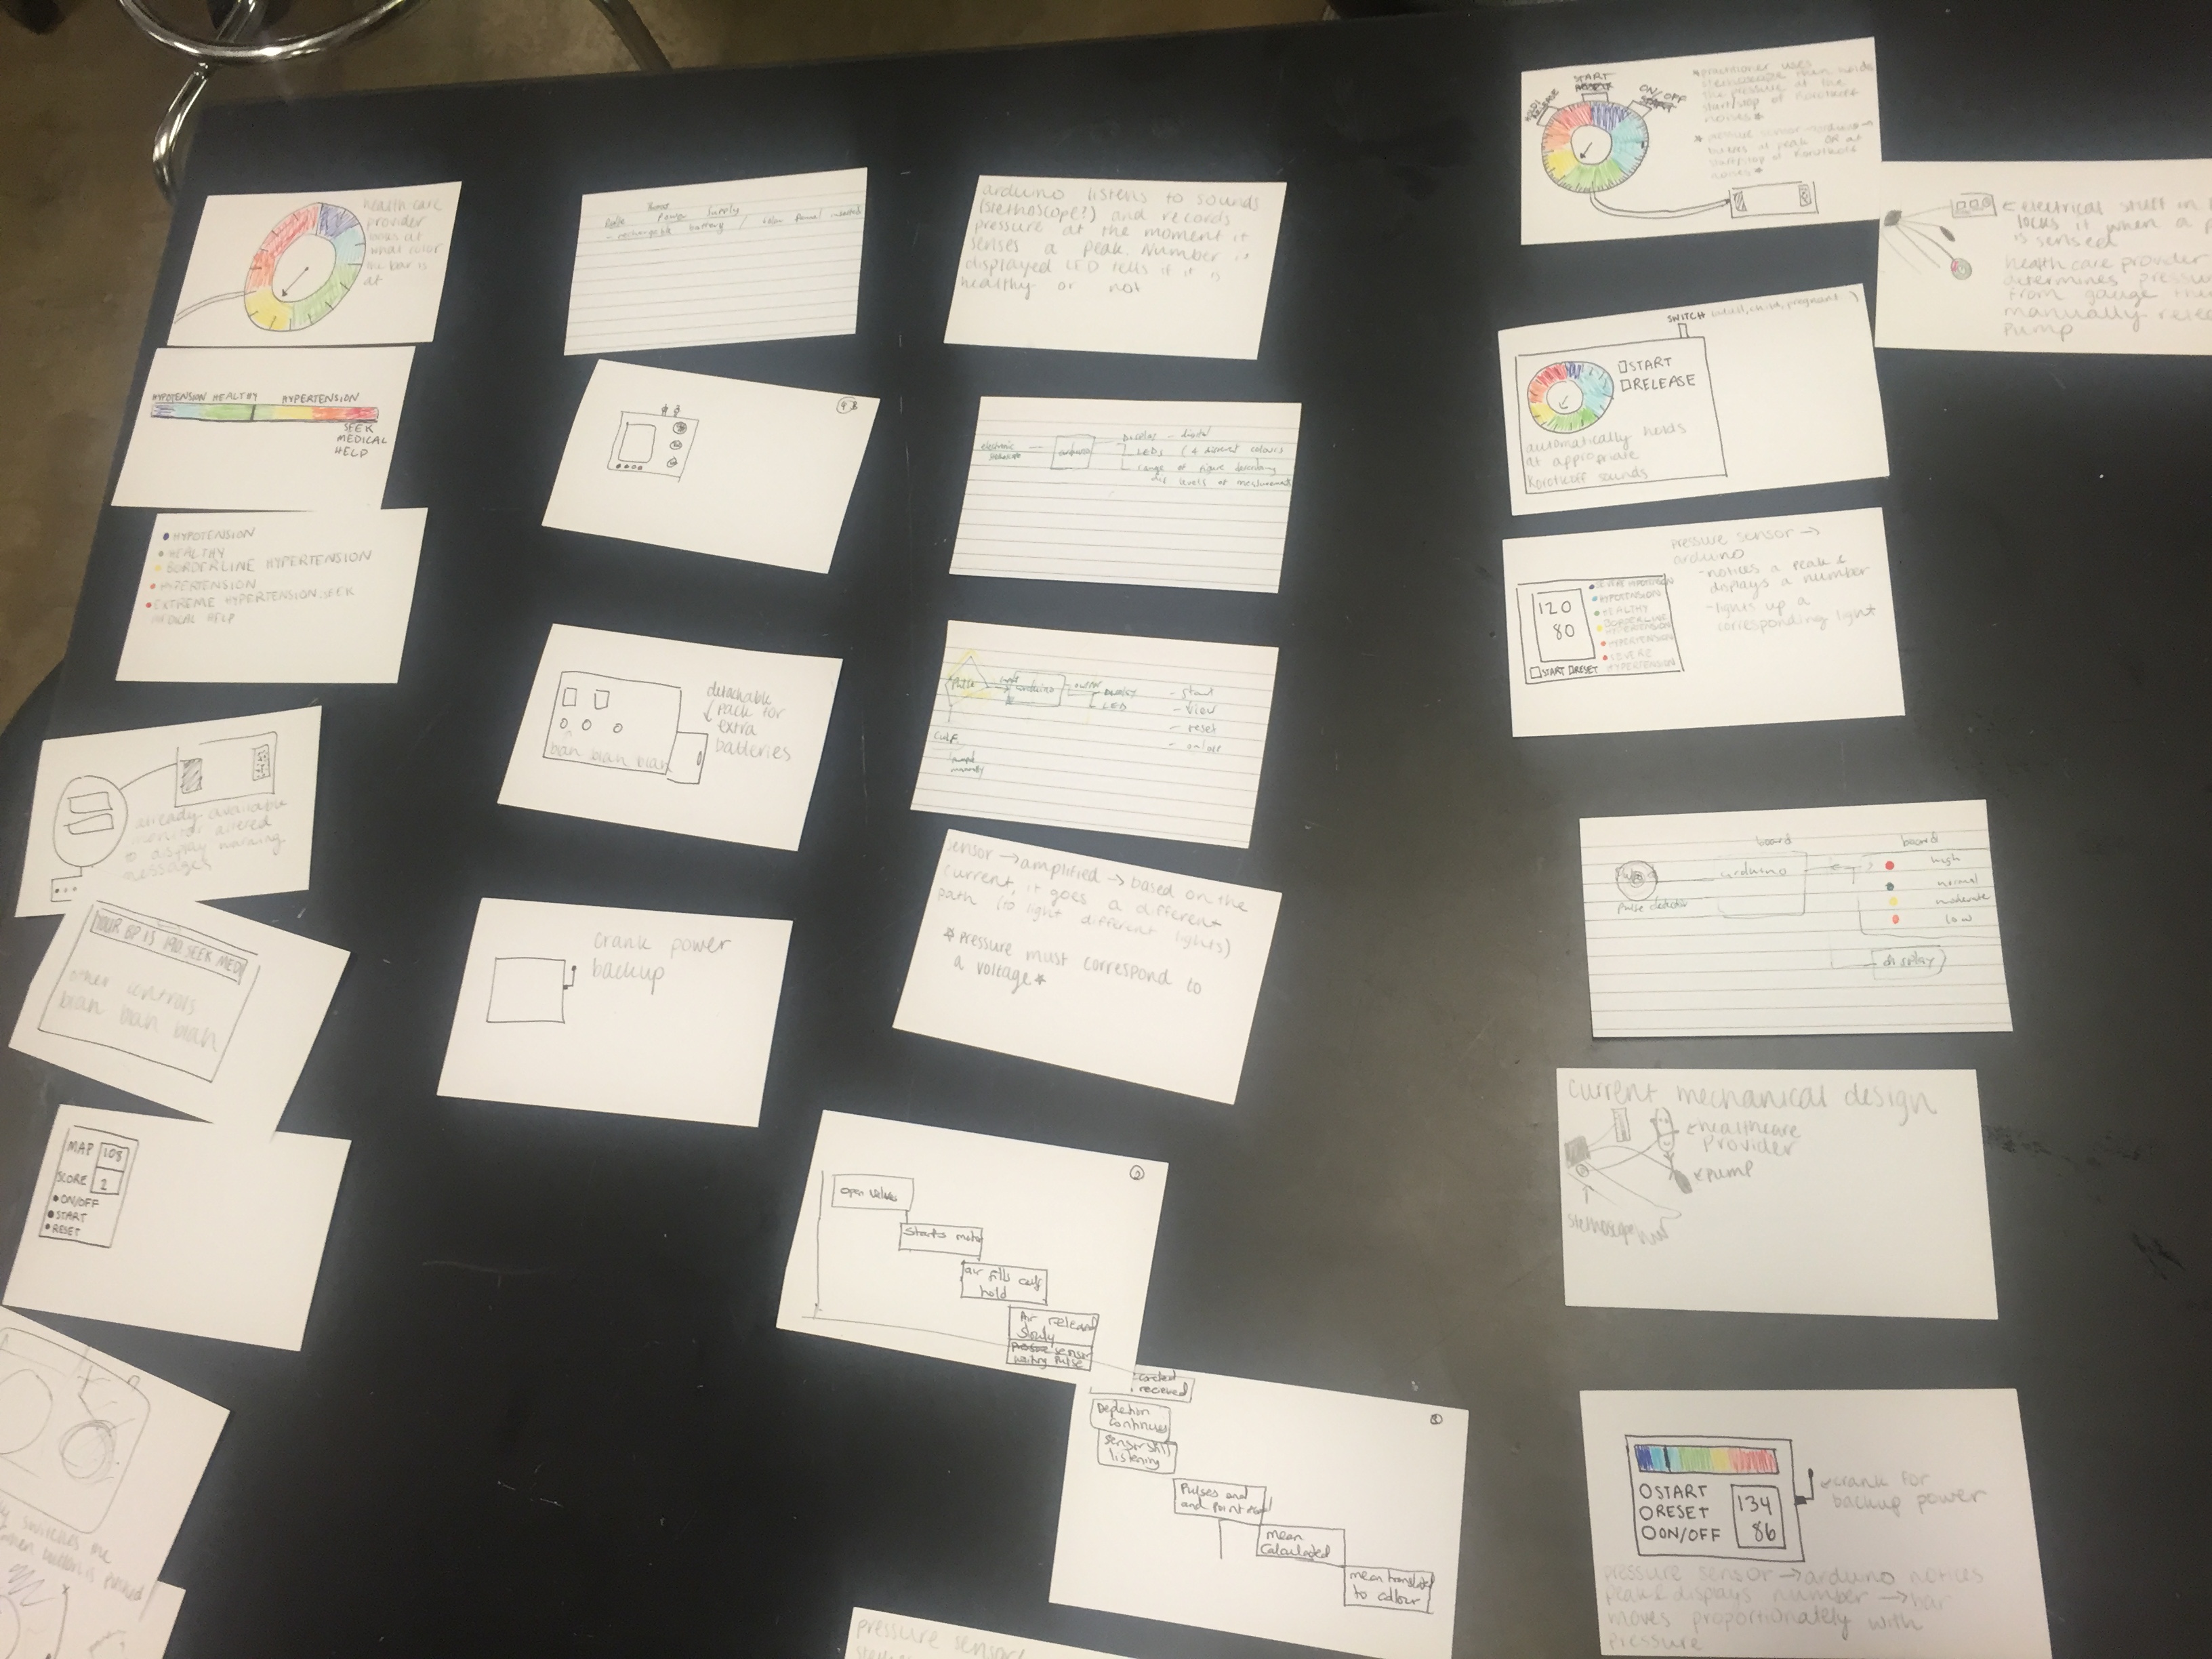
Tuesday was exciting in different ways – Tropical Storm Bill was coming, so we only went in from 9 until 11 to avoid getting caught in it. It was never actually bad, but better safe than sorry. Another event of Tuesday was requesting and receiving project assignments. These are not permanent assignments, but projects that we will begin the work on. We will probably end up flowing between these and other projects as the summer continues. I am thrilled with my initial assignment – developing an inexpensive mechanical breast pump for use by mothers at Queen Elizabeth Central Hospital in Malawi. Currently, the hospital cannot afford pumps, so mothers must hand-express breast milk if their infants cannot suckle or are in treatment.

Wednesday, we dove into researching our projects with our teams. I am working with Mikaela, and we began the process of learning as much as possible about breast pumps, breastfeeding, negative pressure, valves, and pretty much anything that could relate to the project. The goal was to become experts as quickly as possible. It is vital that we have a solid knowledge base in the subject matter before we begin brainstorming so we can make informed decisions about the design. We also chose some breast pumps to order so we can better understand the mechanism at hand. The challenging aspects of this project are making a pump that is efficient from materials available in Malawi and under $10. Thursday, we continued researching and compiled our research into a report called a DCR, or Design Context Review. We also chose design criteria, which we will later be used to evaluate our brainstormed ideas and eventually our prototypes.

Between Tuesday and Thursday, I learned more than I ever imagined about breastfeeding. I when I got home Thursday, I called my mom to thank her and apologize for the pain I inflicted when I was too young to talk. If you can, call your moms and thank them!!! Even if they never breastfed you, carrying you in their bodies for 9 months makes them superheroes in my book. The fact that they can still love us after all of that simply blows my mind.

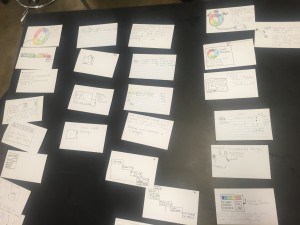
Friday, Mikaela and I had our first brainstorming session and came up with initial ideas. We have yet to evaluate them, but I am excited about the direction in which this project is moving. There is a world of possibility out there and I can’t wait to see where this project goes and how it evolves.

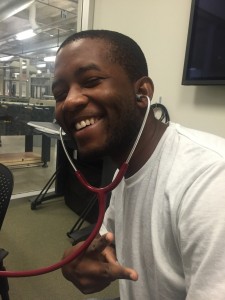
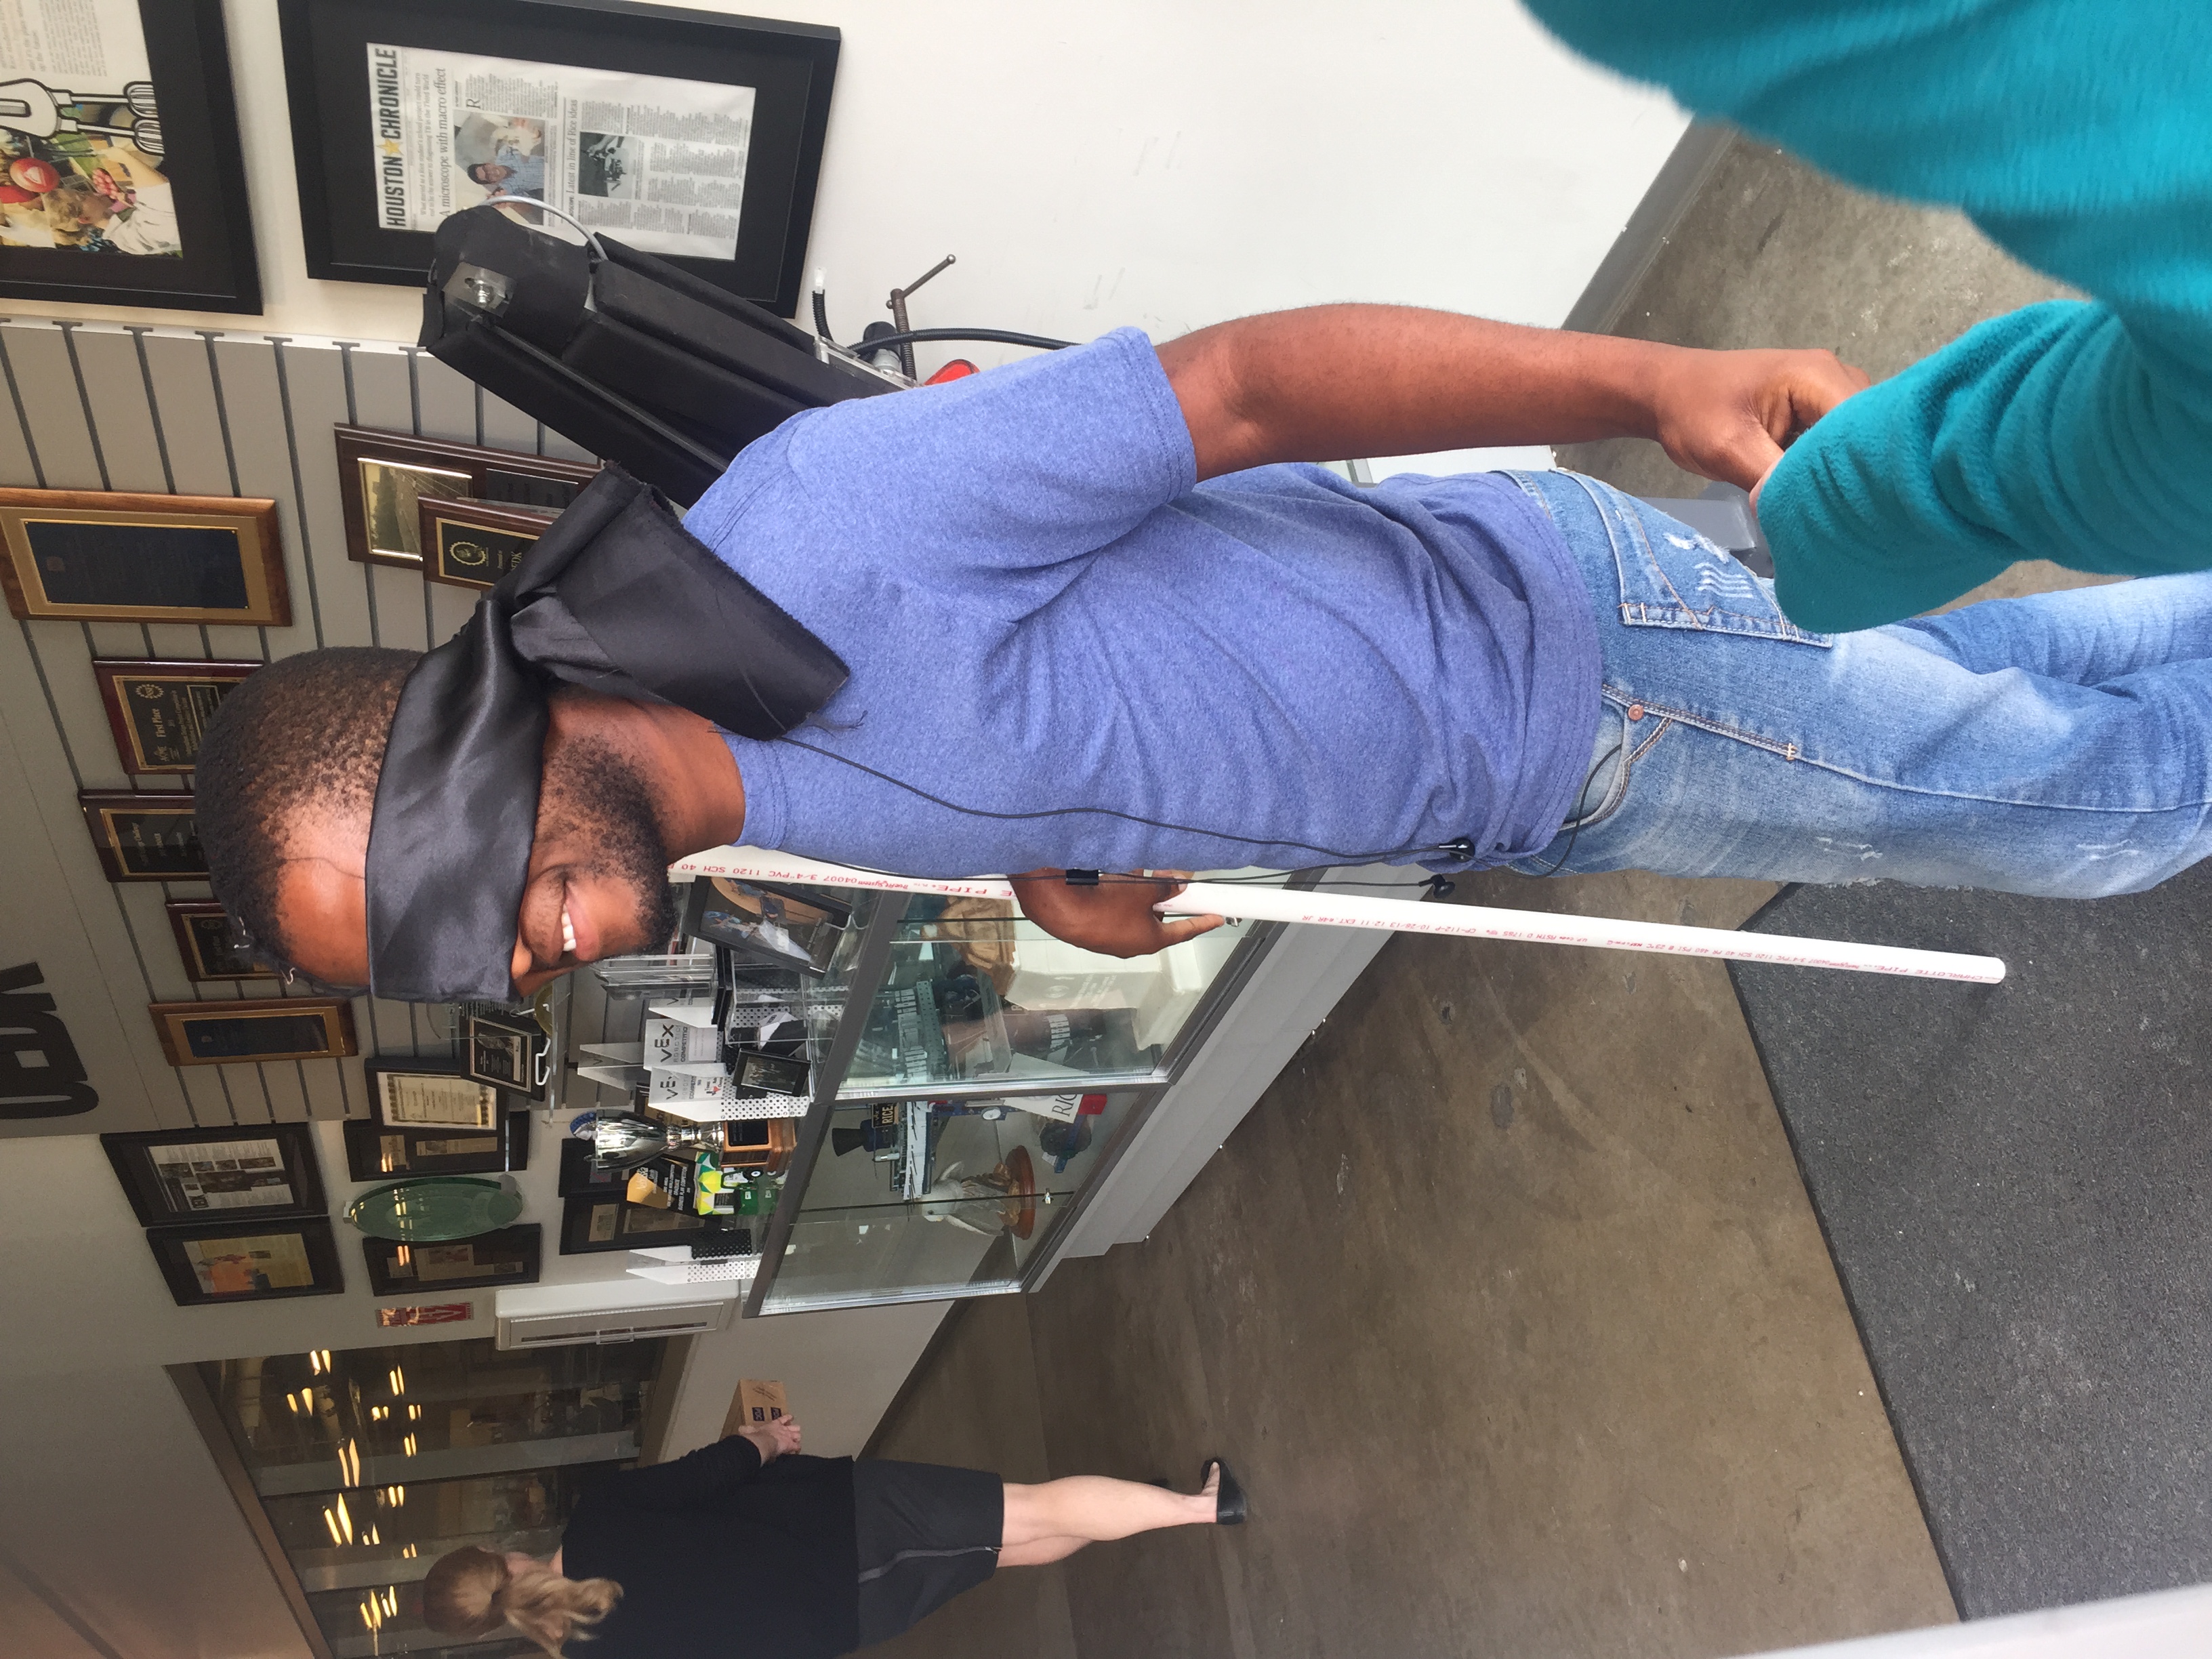
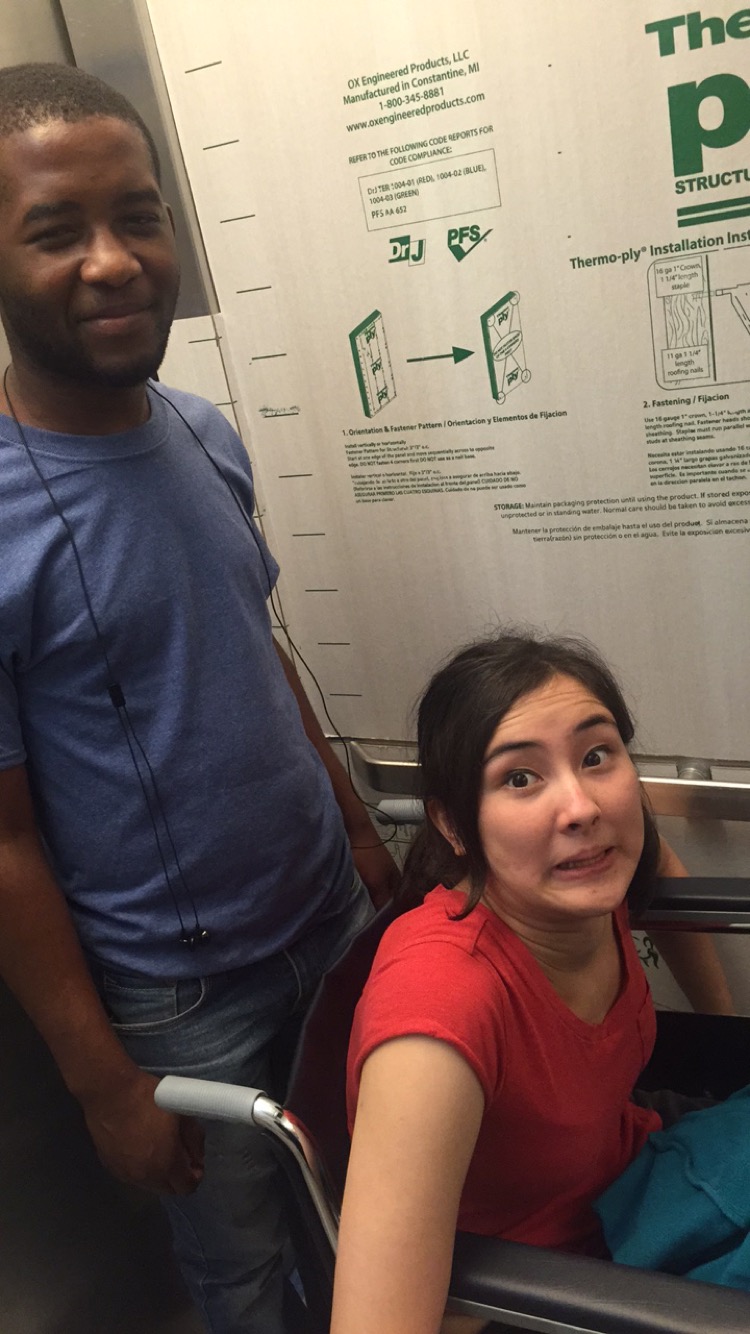
Friday afternoon, we had an amazing workshop with Dr. Ghosn, a bioengineering professor, about project scoping and design for disabilities. I absolutely loved this workshop and enjoyed looking at problems in a new way. In the second half of the workshop, we tried to experience what it would be like to be blind, in a wheelchair, and arthrygrypotic. We put on blindfolds and wandered around the OEDK. It was extremely disorienting and difficult to move with so many obstacles in my way. We also sat in wheelchairs and went up and down the ramp outside. The ramp is ADA compliant, but it was difficult to stay in control while going up and down. Going through doorways was particularly challenging due to the 1” lip on the ground. Eating with limited wrist movement helped me realize how much I need the use of all of my muscles. I feel like I gained an understanding of different challenges people face in that hour and I would love the opportunity to take a full day to move with any of those or other restraints to help me better understand how to design a world that is more accessible for all.

week 3

The first thing on Monday was to calibrate the motors for our 3D printers accurately. During the task we found out that found that all the step motors thus for; X-axis,Y-axis and Z -axis as well as  extruder were not on correct levels hence we corrected them all to improve print quality.

Sometimes it’s not easy to prioritize choices when everything seem important. All in all am really happy to be part of Eckharie and Elizabeth to tackle on BP for the villages project because, I know how much this will have an impact in in developing counties mine inclusive. With the currently available BP monitors, it is not easy for a layman in villages to interpret systolic and  diastolic pressure readings  for hypertension / hypotension; our project is  based on coming up with a simple, low cost and accurate blood pressure monitor which laypeople can check BP and be able to interpret/ get a meaning from the readings and give right direction to those being monitored depending on the results in developing countries.

We have started well, knowing much about blood pressure, doing some research and brainstorming as well as, learning and practicing how to measure BP and interpreting the reading through our mentor.

It was really nice joining some of the Houston Malawians doing a voluntary work at medical bridge warehouse; it was awesome; sorting out different medical material and packaging them in cartons ready for shipping to different countries..day well spent!!!!

IMG-20150620-WA0001

Week three: team Malawi

Week three has just finished and time really seems to be flying by. It seems to fly by also every day- as  the time strikes 5pm I tend to be surprised that the its  time to knock off from work. I think that shows how rewarding in general the work has been and for me week three was an illustration of that.

This week we tackled assembling a filament extruder. This machine produces the filament, basically extruded plastic,  that is used by 3-d printers to print models. The novel aspect of this particular machine is that aside from working with pellets, it can produce filament from recycled plastic bottles.

I was partnered up with James, my fellow Malawi intern, so we were on our own. I believe we made a great team as James is focused on electrical engineering and I on mechanical engineering. I knew the “where” and ” how” of the nuts and bolts whereas James deciphered the circuit diagrams.

So, assembly did not take very long and surprisingly there was not any need for special calibration. It felt like mini achievement by the Malawi students when we turned on the machine and the machine started working well.

We also had a great opportunity to be given a design worksh0p during the week where we learnt about how the subject of engineering design is taught at Rice University. The subject content is not all that different from that of the University of Malawi’s. It was a very profitable session.

Indeed each session has been quite profitable: at the end of every single day I feel like I havc gained something new. I really hope that come the end of the summer, I have the same feeling about the projects we produce for Malawi.

I believe I will be diving into the biomedical projects next week so its now time to start really applying myself to generating ideas. Time to think of solutions.

So, tiwonana  ( which means  “see you”)


WP_20150618_16_43_59_Pro[1] me and our filament extruder.

Week 3

The start of the week was a little rocky. On Monday, we finished up all the calibration of the 3D printers and continued to print fun little trinkets. But on Tuesday, we had a very short day thanks to Tropical Storm Bill. We were assigned our teams for the first project, researched for a while, and then went home. I’m going to be working on a device to measure blood pressure for villagers! Since most people in Malawian villages are illiterate, the device must be able to allow the user to interpret the results without needing to understand the numbers. I’m super excited to make this device because it has potential to save the lives of people who may not be aware of their hypertension.

The rest of the week, we jumped back into work. My team did a lot of research and learned how to take blood pressure the old fashioned (and most reliable) way–a mechanical mercury sphygmomanometer:

IMG_5264
One of the members of my group, Eckharie, learning how to take someone’s blood pressure.

We also got to learn a little bit about arduinos, since we’ll probably have to use one in our design:


IMG_5276
One of the circuits I made with an arduino. This one made the RGB LED light up different colors!

Friday afternoon, we had a lot of fun! We had a workshop with a professor at Rice about scoping, or finding needs before you engineer solutions. He specializes in disabilities, and taught us that sometimes you can’t tell what the problems are until you experience them yourself. So, we got to pretend to have three different disabilities: blindness, being confined to a wheelchair, and arthrogryposis.


IMG_5282
Eckharie learning what it’s like to be blind


IMG_5284
Mikaela having fun in her wheelchair

Overall, it was a fun week! With a bad-weather day, getting new projects, and getting to play in a wheelchair, it didn’t feel at all like work! I’m eager to get back to make more progress on our project!


In other news, last weekend at my grandma’s house we found this binder that belonged to my grandpa when he went to Rice (back when it was still called Rice Institute–and free). My mom, who also went to Rice, and I were so excited to look at it! If we looked closely on the “C”, we could see where he doodled in my grandma’s name–how cute?!

IMG_5251

Week 3

It’s already been three weeks of working in the OEDK, and it seems that time is going by very quickly.  This week we were split into teams and began working on several of the projects.

Harrison, Whitney and I began working on the APGAR device project.  Our understanding is that doctors at the Queen Elizabeth Central Hospital (QECH) in Malawi see a pattern of disparity between the APGAR scores of neonates and the actual condition of the newborns.  For instance, a baby might be given an ‘8’ (a high score indicating a healthy child) by the midwives and nursing staff, but when the doctors visit, the child appears to be a ‘5’ and requires immediate care.

QECH has asked us to look into the possibility of creating a mechanical device that practitioners can use to standardize APGAR scoring and resolve this miscommunication.

We spent the week researching other APGAR technologies (including posters, charts, smartphone apps, and even supplemental scoring systems) and brainstorming the design criteria for our device.

We have lots of questions about the hospital midwives and APGAR scoring practices at QECH that will hopefully be answered soon by the Rice interns currently on-site.  These answers will allow us to make progress in our design in the coming weeks.


week 3

I do not know how to put it, but each week gets better that the previous one.

Week three started from where we left last Friday. we continued 3D printing as we awaited the allocations for our summer projects.

It was on Tuesday that we got the projects and I was assigned along with Elizabeth and Florence to tackle one of my preferred project, and that is to design a blood pressure monitoring device for villages which can easily be used even by lay-people. It was a short day though as there were expectation of a tropical storm hitting Houston so we were given half of the day off.

We researched on the topic and produced a Design context Review document but that was after we had undergone a short training of how to operate and translate blood pressure readings on some of the available technologies in use. The picture below shows me, after successfully going through this mini training offered to us by our project mentor.

IMG_5264


After the training and the DCR document, we, as a unit, brain stormed on some possible methodologies that can be used in the project and the picture below shows some of the ideas.

IMG_5271

We also had the opportunity to start practicing some circuits on arduino to prepare ourselves for the job at hand during this week.

On friday, we underwent a Needs Finding and Scoping workshop delivered by Dr. B. Ghosn which was an eye opener and will help me personally in all projects I will be involved in from now on.

All in all, this week, just like the past two weeks was a success and I can not wait for next Monday.

Error 404:

Week Two: June 15, 2015 (late, oops!)

Mikaela Juzswik


No one said it was going to be easy.

I jest, of course. We just finished week two of what is undoubtedly one of the coolest jobs in the world, wherein I get to hang with awesome people and play with incredibly expensive toys in the name of engineering design, and it’s been overall so great that I’m running out of positively-themed words to use to describe my time thus far. That being said, I’ve discovered what everyone says about the engineering design process: it’s a process. As in, you try, test, modify, fail, try, test, modify, fail, try, test, modify, fail. I’m sure there’s an actual series of actions that are supposed to happen, but this cycle pretty much sums up my week. Which, honestly, I think is pretty cool. I’m probably also a masochist.

The Intubation Box fully came together this week, meaning it’s grown from several sheets of acrylic into an actual rectangular prism, with copious help from Joe and Grant. On the whole, Harrison and I (with copious help from Joe and Grant) were able to get the assembly down pretty smoothly. We started encountering problems with the doors, however—the acrylic starts to sag if unsupported for more than about six inches, causing the doors to reach further out than they’re supposed to and collide with each other. Following our trend of throwing stuff at it until it works, Harrison and I filed down the edges a bit and then opted for ordering longer hinges. Unfortunately, the collars we ordered last week were the wrong size, so we ended up ordering more of those as well. Our current state of the box looks something like this:

Intubation Box

In short, Error 404: the hinges and collars you requested cannot be found (but will be, soon).

In the name of minimizing our thumb-twiddling antics, Harrison and I began working again on the Incubaby Box. This time, we also began considering some design aspects, such as modifying the box to improve its ventilation. Being well-versed experts in fluid mechanics, we were able to quickly model the airflow in the box and—no, actually, we just started moving things around and thinking about what would probably work out okay. After a couple of setbacks involving the laser cutter smelling like burning death, we ended up creating a working prototype for a new organizational system in the need of a lot more testing.

So, really, for the time being, Error 404: the optimal organizational output that you requested cannot be found (but will be, soon).

With that done temporarily, we were again reassigned to work with the rest of the crew (hurray!) on building and calibrating new 3D printers. Using kits from PrintrBot, a company which seems to have some deep-rooted distaste for the letter ‘e’ (and, in rflction of this distast for th lttr ‘’, I brifly dcidd to withhold from th us of th lttr ‘’ bfor ralizing th omission of th most common lttr in th nglish languag is a trrbl ida. But mor powr to you, PrintrBot!).

photo 4 (1)

The ten of us worked to assemble five different 3D printers. Erm, printrs. I worked with Leah this time, and we made an awesome 3D printr that, for the most part, went entirely according to plan. We did, however, face a slight issue when the assembly instructions called for four vinyl washers that, as it turns out, don’t exist in the kit.

IMG_0088

(I got 99 screws but a washer ain’t one).

(Which, of course, leads to Error 404: the vinyl washers you requested cannot be found.)

Luckily, vinyl washers are easily located in the OEDK, and assembly for our printr continued uninhibited, and the finished product actually worked out pretty nicely. We experimented a lot with screw placement and wire organization after assembling the circuitboard, but the most exciting moment by far was when we printd our first object, a three mm test square for calibration purposes. And another. And another. After printing ten different test squares on Thursday, some in better stages of calibration than others, we called it quits and went home for the night, ready to spend Friday doing advanced calibration with more complex and interesting shapes.

IMG_0091

Upon arriving the next morning, though, we discovered that something was wrong with our printr. We still don’t know exactly what equipment malfunctioned, but our z-axis sensor appeared to be faulty, preventing the printr head from stopping before hitting the printr bed. We were forced to emergency abort the print job before the printr arm ground itself into the bed, after which we tightened the set screws holding the arm in place and prepared to try again. This attempt was immediately thwarted when our printr failed to connect to our computer, for reasons unknown. We attempted to solve this through a variety of options, including uninstalling and reinstalling all software, restarting computers, restarting the printr, trying different computers, trying different printrs, and so forth. Finally, we decided to call PrintrBot’s technical support line, only to find:

Error 404: the technical support phone line that you requested cannot be found.

As it turns out, PrintrBot has no phone-based technical support, using an online email and user-based help forum to solve most of their difficulties. After perusing the forum, we found that a lot of people actually had the same problem as we did, but:

Error 404: the solution to your technical issue that you requested cannot be found.

We also decided to post a question of our own on the forum; as of the time of this blog post, four days later, we’re still solidly at:

Error 404: the answer to your forum post that you requested cannot be found.

In fact, all of our attempts to fix this problem resulted in a failure to connect the printr to the computer, meaning printing and calibration was absolutely impossible. The computer simply could not find the printr. Renaming the USB port?

Error 404: the printr you requested cannot be found.

Lowering the baudrate of the computer?

Error 404: the printr you requested cannot be found.

Re-configuring all of the wiring to—

Error 404: the printr you requested cannot be found.

Attempting a different computer to—

Error 404: the printr you requested cannot be found.

Moving the printr—

Error 404: the printr you requested cannot be found.

Re-starting the—

Error 404: the printr you requested cannot be found.

Changing the—

Error 404: the printr you requested cannot be found.

Re-arranging—

Error 404: the printr you requested cannot be found.

Error 404: the printr you requested cannot be found.

Error 404: the printr you requested cannot be found.

This took seven hours. It was pretty great.

Finally, Dr. Wettergreen called in some technical support from some recent Rice graduates who worked at their own 3D printer (printr?) startup. He called one of them, Anthony, a “3D printer wizard,” a title we completely doubted until he took one look at our printr, touched it, and fixed all of the problems. How did he do it? What was the actual problem? What did he end up fixing?

Error 404: the answer you requested cannot be found.

Turns out no one, not even Anthony, actually knows. On the flip side, our printr is fully functioning, and we even got to spend the last hour of Friday printing whatever we wanted. Leah and I opted for printing tiny TARDIS’s, which work in every facet but are, sadly, smaller on the inside because of cross-hatching.

IMG_0785

The beautiful TARDIS!

The beautiful TARDIS!

Altogether, it was a pretty solid week. Troubleshooting and the engineering design process, as we’ve learned, hinges largely on one factor that you’ve simply got to accept:

Error 404: the answer you requested cannot always be found, but you have to keep trying. Also, it’s probably a good idea to keep a tech wizard in your back pocket in case you’re out of other options.


Week Two

We started off the week continuing with the Intubation Box project, as well as picking up organizational tasks for the Incubaby project.

Progress on the intubation box included ordering new parts such as collars, attaching and editing the front doors, and troubleshooting the opening mechanism.

Our second task was to aid in improving the Incubaby project. One of the main criteria for the incubaby project was to increase the airflow through the box. In order to accomplish this, the control box had to be moved to a separate location such that airflow could be directed length-wise along the box. A second objected was to organize the rat’s nest of cables that was in the control box.

In order to experiment with organization, Mikaela and I laser cut a box designed to go length-wise in the front of the incubator. This box includes the extension cables, power supply, cables running to the heating pads, the Arduino board, and all the cables leading to the user interface and thermistors. Naturally, fitting all of this into a small box while maintaining some level of organization is difficult. After cutting and assembling the box, our next task is to find a method of securely tying and organizing all the wires inside.

We spent two days on these tasks. Then, we spent the next two days building 3D printers! Nehuwa and I teamed up to complete the construction of the printer. What I found especially helpful about building a printer is that fact that, because we put all the parts together, we naturally acquire a deeper understanding of how the components interact. Thus, we’re more capable of troubleshooting and fixing any issues that arise.

IMG_0085IMG_0087IMG_0086

Boxes and boxes of parts                                Assembly in-progress                    Nehuwa & I working!

Afternoon of Thursday and most of Friday was spent calibrating and troubleshooting our printers. This was the most interesting part of the process – we learned a lot about the parameters that affect print quality – flow rate through the nozzle, layer height, fill density, print speed and temperature, and shell thickness. There are so many settings you can tweak to improve the quality of your print. I imagine that expertise with a printer can only come with time and lots of experimentation.

Overall, this week was very productive in the fact that everyone has learned a lot. Rather than uploading a file to the professional 3D printers in the lab and leaving, we’re much more in touch with the process of printing because we’re with our prints constantly troubleshooting.

In the future, I’m hoping to save up for a printer so I can experiment and learn more about the technology!

 IMG_0088 IMG_0089  IMG_0091

Organizing screws!                          Wettergreen printing a minion        Finished product – calibration time

Week 2

The second full week in the OEDK was spent learning 3D design software and building Printrbot 3D printers.

The first few days were spent mastering CAD (computer aided design) programs such as Tinkercad, IronCAD, and during down time, SolidWorks.  Files from these programs were converted and transferred to one of the OEDK’s large 3D printers, and each intern was able to print something small of their own design (mine was a cylindrical piece with columns, below).

IMG_3142

The rest of the week was spent assembling 3D printers in teams of two. Florence and I assembled one together, and took pictures of the process.  Below, in order, are photos of all the pieces used in the build, a close up of the assembled hot end, fan, sensor, and extruder motor with attached wiring, and a shot of the finished wire organization on the underside interior of the printer.

IMG_3149IMG_3164  IMG_3169


We began printing files from Thingiverse, an online resource of 3D printable files. Most significantly, Florence and I were able to print a small box with an interlocking lid (below).

IMG_3171


I’m very excited to begin working on our projects this coming week! With the skills we have learned thus far, it should be a productive summer.


The 3rd Dimension of Creating

This week, we focused on everything 3D. On Monday and Tuesday, we worked on our CAD (Computer Aided Design) skills and for the rest of the week, we built, calibrated and used our Printrbot 3D printers. Both of these activities provided their own challenges, frustrations and successes.

On Monday, we began to learn IronCAD, a CAD package that is like a much higher-fidelity version of TinkerCAD in the sense that the user drags and drops shapes or holes onto a 3D canvas. However, it has many more shape options, greater ability to control relative positions and sizes of shapes, and better connections between shapes than TinkerCAD. I did some work in IronCAD Monday, but Tuesday I switched over to SolidWorks, a program I prefer. While TinkerCAD and IronCAD use drag-and-drop interfaces, SolidWorks has the user draw in a plane and either extrude or revolve a shape to create either a solid or a hole. It makes controlling the sizes and positions even easier than the other two methods and gives the user an easier method of changing his or her viewpoint relative to the object being CADed.

Tuesday, we began to 3D print the objects that people had designed on CAD. I absolutely loved seeing the various designs that my peers had created! There were chains, game pieces, balls trapped inside intricate lattices, and other beautiful objects.

On Wednesday, we began to construct 3D printers from kits by Printrbot. There were 5 printers, so we paired up to complete the build. Building the printers was fascinating both in seeing the incredibly clever, simple aspects of the design as well as the aspects of the design or instructions that were relatively unclear. One of my favorite aspects of the design was the method of attaching the belts that move the platform in the x-direction and the extruder setup in the y-direction. The belts are woven between two bearings and a gear attached to a motor. The belt is then stretched between the one side of the piece being moved and a free-floating piece, fastened into place with zip ties, and tensioned by pulling the free-floating piece back with screws. It is brilliantly simple and extremely effective. While there were many facets of the design like this, there were other aspects of the design and instructions that were rather unclear. For example, the instructions would often refer to something facing the left or right, but it wouldn’t state the of view it was taking. I think that building this device was valuable not only because it increased our knowledge of 3D printers, but also because it forced us to consider design elements from the user’s perspective. I will try to incorporate the lessons I learned while building this printer when I am working on my projects this summer.

The tensioned belt woven between bearings and a gear and secured with zip-ties
The PCB that controls the printer - the rainbow wires connect to the motors
The PCB that controls the printer – the rainbow wires connect to the motors
The finished printer in all its glory!

After finishing the build Thursday morning, we calibrated the printers. We had to calibrate the auto-leveling probes so the printers had a set distance from the platform at which they would begin extruding plastic. If the printer is too far, the filament does not adhere to the surface, but if it is too close the nozzle scrapes the surface of the print. We also set the layer thickness to improve resolution. One particularly interesting aspect of the calibration process is the effect that the adhesive on the surface of the platform has on the print quality. We cover the surface with tape to make the print stick better and easier to get off, but some types of masking tape work better than others and switching out the tape had a large effect on the quality. We also learned that it is important that the tape does not overlap because although this seems like the change in thickness would be small, relative to the 0.15 mm layer thickness it has a tangible effect.

Calibrating the Auto-Leveling Probe; you can see that we had the tape in 2 layers at some spots, which decreased accuracy

We sat for hours changing settings and watching some of the changes drastically improve the prints and some make them worse. I did not realize how many aspects of the print the user has control over. We should consider writing the settings used on paper for each printer and attaching it, since the settings are stored in the computer used instead of in the printer itself, so if the user changes computers they might need to update some settings before printing.

Friday, my partner Mikaela and I planed on doing some final fine-tuning to our printer before testing it on more complicated objects. Because we are both HUGE Doctor Who fans, we were eager to 3D print a Tardis. However, when we started doing some test prints, the z-axis shaft came detached from the motor so I had to kill the power supply. We reattached the motor and tried again, but the same thing happened. We tried changing the setscrew, but the printer had stopped interfacing with the computer. This was where the problems really began. We were receiving an error message about baudrates, so we tried adjusting that along with a slew of other settings, restarting the computer and printer, changing cables, and Googling like nobody’s business. The troubleshooting went into full swing as we blindly searched for the cause of this mysterious problem. We also tried resetting the x- and y- stops, reinstalling software, re-introducing the printer as a new printer, even crimping the micro-USB port, but nothing worked. After lunch, we realized we needed to take a more scientific approach and identify exactly where the problem was coming from. We quickly determined that it originated on the printer itself, not the software on any of the computers. We then talked with Dr. Wettergreen and determined that as a last resort we would flash the firmware on the printer, essentially resetting it. Finally we had found something that worked.

We could now interface with the printer, but realized that we had problems with the hardware as well. The auto-leveling probe was not functioning, which had caused the initial problems with the z-axis shaft. This was a problem none of us knew how to fix, so Dr. Wettergreen called in intense backup – 3D printing experts who work at a startup in Houston. Mikaela and I are convinced that this is just a cover story for their 3D printer wizardry because after simply touching the auto-leveling probe, it was fixed! We were thrilled, confused, and awed. I can only dream of one day gaining those types of powers.

After 6 hours of troubleshooting, Mikaela and I could finally 3D print our Tardises. The only problem: they aren’t bigger on the inside.

The beautiful TARDIS!