FINALISING

It has been a nice experience for me and i thank all everyone who participated in the just ended summer internship.Its been an eye opener, i am going back home fully equipped with the knowledge amassed from Oshman Engineering Design Kitchen.I wish everyone all the best.

THANK YOU RICE!!!

THANK YOU LEMELSON FOUNDATION!!!

Sea, Lions!

This week, we worked on our second prototype. The main problems we saw in our first prototype were size and lack of durability on the bucket. Furthermore, when tested, it did not generate enough pressure. On the second prototype, we changed multiple components. First, we improved the method of securing the bellows, increasing the durability of the acrylic housings by changing from long, ski-like structures that fit in the wooden baseboard to a square, Lincoln log-type structure. We also replaced the hinged wings with a single board, decreasing cost and increasing the stability of the design. Another change that increased the stability was refraining from cutting the bucket in half so it could better support itself.

Early in the week, we thought it was time to quantitatively test the pressure generated. Initially, we were only getting approximately 70 mm Hg, which is less than 1/3 the pressure produced by the Medela manual pump (229 mm Hg). To find the source of the problem, we began to troubleshoot the bellows system (throwback to the 3D printers!). We searched for any leaks in the bellows and played with different ways of compressing them. We found that the seal with the acrylic was not complete and the bellows would pop up at the end of a stroke, which decreased the maximum potential pressure generated. To fix this, we superglued the bellows to the acrylic. We found other leaks in the seal at the top of the bellows and the connection with the tygon tubing. We also discovered that the pressure is greatest when there is a high frequency of cycles and the initial volume of the bellows is smaller. For this reason, we used a smaller bucket in the second prototype.

After fixing all of the problems we found in the bellows, we tested the pressure again and reached 202 mm Hg when pumping with our hands and using all of our strength. This is significantly closer to the Medela value, but we now have the problem of generating too strong a vacuum, causing greater exhaustion when using the device. We need to find a happy medium between pressure and ease of use so our pump does not tire mothers too much. Another problem we face in our second prototype is the mobility of the bucket – it has a lot of freedom to wiggle when pumping. This makes using the device more difficult than it should be as well. We will address these issues in our third and final prototype of the summer next week.

After all of the hard work of the week, we wanted to have some fun on the weekend so we organized a group trip to the zoo! Harrison, Whitney, Florence, James and I went to the zoo Sunday afternoon and had a great time! It was extremely hot and sunny, but that did not stop us from looking at many exotic birds and monkeys. We also saw lions, turtles, strange looking pigs with curvy tusks, flamingos, and cheetahs, among other animals. However, the highlight of my trip to the zoo was Florence’s face when she saw the sea lions. When we were approaching their enclosure, I learned that they had never seen sea lions before – they thought it would be a regular lion’s enclosure, so you can imagine Florence and James’ surprise when a large amphibious mammal appeared and began swimming about. It would swim in circles, then pop out of the water near these children like it was playing with them. This was pretty adorable, but Florence’s elation at how freaking cute this creature was managed to be even more adorable.

sea-lion

As if this wasn’t enough, it then got better! The trainer came out to feed the sea lion, meaning that we got to see it perform tricks. The sea lion jumped out of the water onto a platform and posed. It also twirled around in the water and was generally adorable. When I talked to Florence the next day, I learned that she re-watched the videos she took of the sea lion multiple times that night. I am so glad that I got to share this experience with them and help them create lasting memories.

Closing Time

This is my last week working with Rice 360. Which is crazy. I have worked with this organization for 3 years now, on a wide range of projects. I’ve met some of my best friends through this program, and it has truly opened my eyes to the world at large.

This summer,  I had the opportunity to work on AutoSyP and on IncuBaby. With the help of many, I completed a new AutoSyP device that is now undergoing clinical trials in Malawi. As with any prototype device, there were bumps in the road, but with a great deal of tinkering and troubleshooting, we got everything working.

I’ve also gotten to work with a multitude of people (including undergraduate interns, our new associate, Mary Kate, and even a high school student) on IncuBaby, and the project has truly become a collaboration. It’s been so exciting to watch the development of the device. Though the road to implementation is still long, I’m very confident in the team taking over work on the device.

As always, I am so thankful for the education and the opportunities that Rice 360 has given me. I will carry with me the knowledge I’ve gained here throughout my life, and I have no doubt it will guide my future career and life decisions. I want to lead a life dedicated to serving others, whether they are close to home or across the globe. Next week, I’ll be moving to Madison, Wisconsin, and begin working for Epic, an electronic medical record company. I hope to retain strong ties here and still be of help when needed. I wish Rice 360 the best of luck, and I really look forward to seeing all that the organization and its students accomplish.

Weeks 6 & 7

The past two weeks have focused on improving our APGAR device and getting acquainted with Incubaby.

After several laser-cut prototypes for our electronic APGAR scoring device, we found a format we liked.  It includes three LEDs to indicate the state of the baby, a buzzer at 1 and 5 minutes to remind nurses to record APGAR scores, and an LED screen displaying the timer and score.  The score be changed with 5 sliding potentiometers that range from 0-2.  Below are pictures of the device in action and the wiring diagram.

IMG_3331 (1) IMG_3330 (1) IMG_3329 IMG_3325


We’ve sent the device along with our clip prototypes to Malawi with Dr. Wettergreen and hope to the receive feedback soon.

We’ve begun to work on Incubaby as well.  Currently, the design allows for a buildup of carbon dioxide from the baby’s respiration. We have used SolidWorks and the laser cutter to create side panels with circular holes that can be plugged and unplugged with PVC pipe and duct tape (below).  This has allowed us to test different permutations of ventilation holes.

Incubaby with the holes and PVC pipe in the side. We are using this method to easily test different vent placements.

I have also spent some time modeling the air flow in the incubator using SolidWorks Flow Simulation 2013.  The program allowed me to see how the air flow patterns work and how hole placement impacts the velocity and outlet flow of air. Below is a picture of the box cross-section representing velocity in the X direction and a video of the air flow trajectories.

IMG_3333


Our solutions for ventilation reduced CO2 levels to an acceptable limit, however they allowed for too much heat loss in the box.

Next week we hope to cut and build an entirely new Incubaby with features that allow for heat retention.

The Final Countdown

Week Seven: July 20, 2015

Mikaela Juzswik


Home stretch, people.

The overwhelming success of Week 6 behind us, the team and I jumped straight into the last two weeks of this project with a ton of things still to be done. We began running some tests on the first prototype, and that yielded some interesting results: although the suction that we’d quasi-tested using our faces felt about as strong as the Medela hand pump we were using for comparison, the numbers begged to differ. The Medela hand pump generates a pressure differential of about 220 mm Hg, while our first prototype only generates approximately 125 mm Hg. We were still leaps and bounds ahead of any of the previous Rice-built models (which capped out at about 50 mm Hg), but nowhere near the range we’d set forth in our design criteria. We attributed a fair portion of this pressure loss to imperfections in the build phase: we hadn’t fully sealed off the bellows from all possible air leaks, some of the operation was still unstable, and the connections we were using weren’t properly installed. We also did a quick cost analysis of the first prototype and discovered that there were a ton of hidden costs that we hadn’t accounted for. The hinges that we’d quickly installed into the sides cost around $6, approximately a quarter of our $25 budget, and the bolts, washers, and nuts that we used cost around the same. Although the prototype didn’t look expensive, it actually clocked in at around $40—about the same price as a Medela hand pump. Oops.

With these tests in mind, we started making a second, higher-fidelity prototype that addressed the issues we found in the first iteration, focusing primarily on instability of the pumping mechanism, sealing off air leaks in the bellows, and decreasing cost. Our team ended up splitting to divide and conquer again—I lead the charge on the second prototype with some handy assists from Leah, while Leah and Nehuwa largely focused on perfecting the breast shield/valve system. The valve system proved relatively straightforward, with fine-adjustments being made on the systems built last week, but the breast shields ended up being quite tricky. How do we build a low-cost, easily-adaptable (there are currently five widely-used sizes of breast shield), medical-grade technology using water bottles and PVC? We ended the week a little stumped on that one, but we’ll hit it again in the final days.

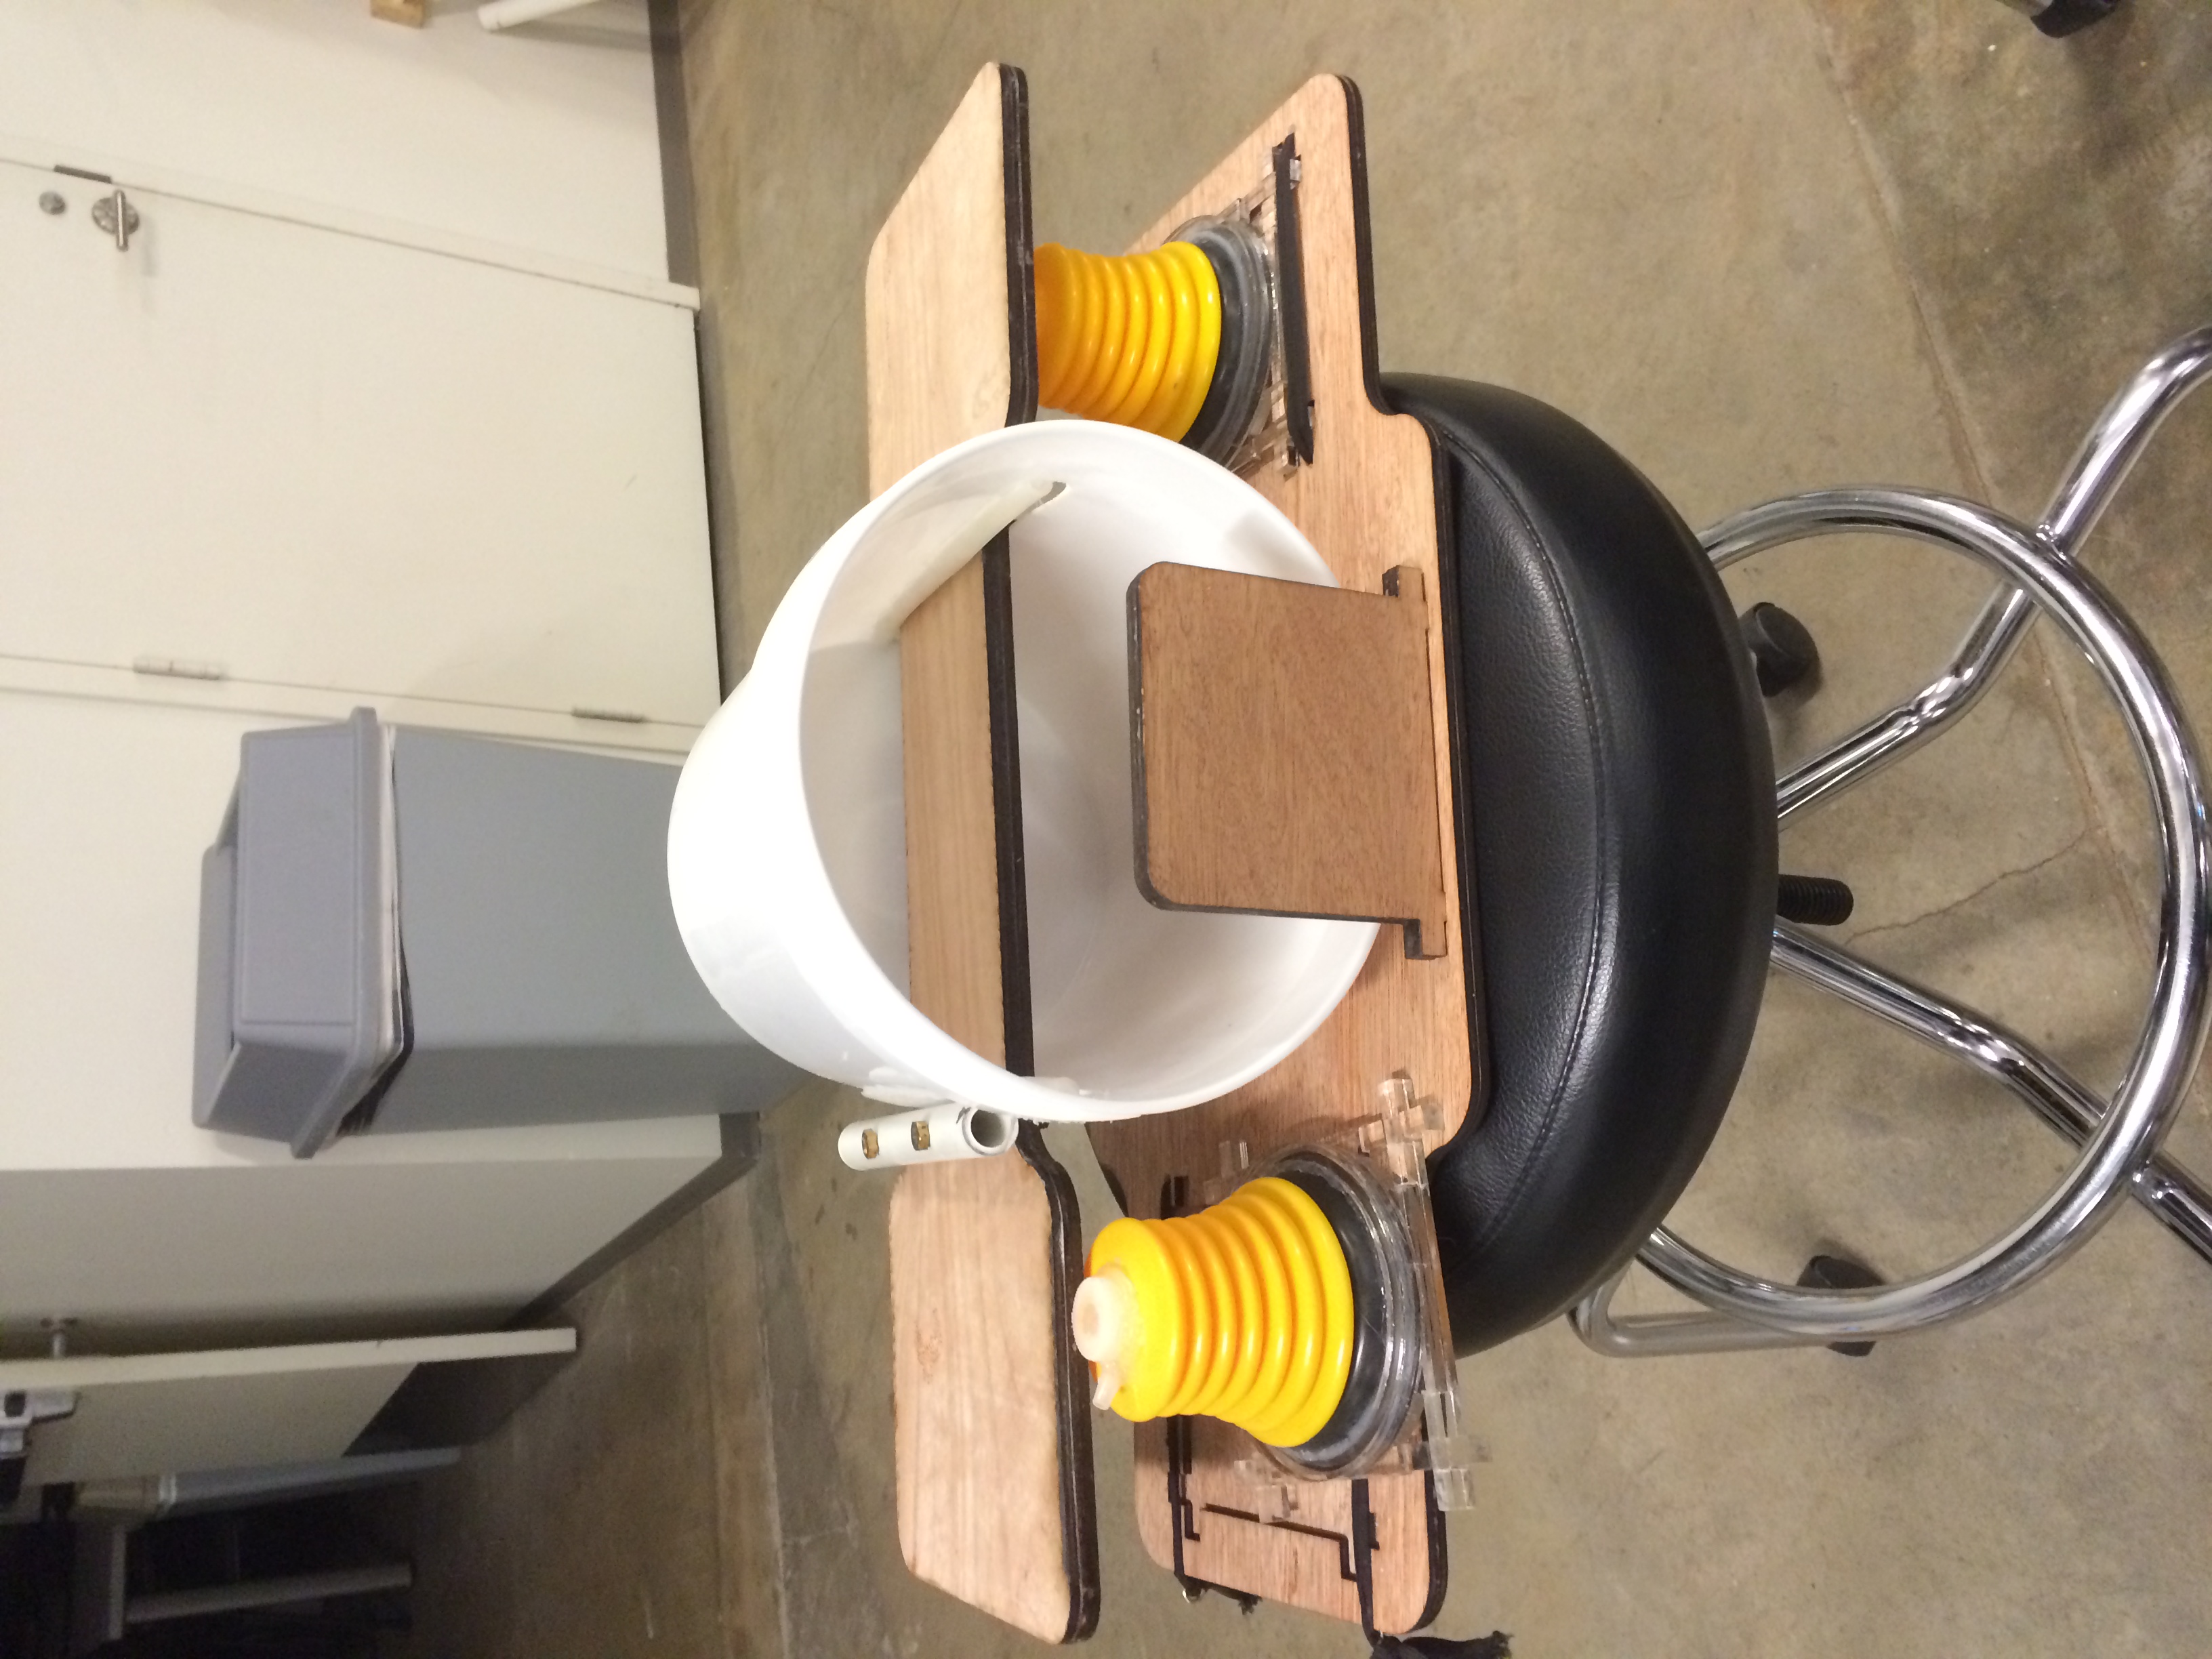
The second prototype was designed to address most of the problems that we saw with the first. The hinges, while nice for folding capabilities, added a major point of weakness to the device, as the bucket was constantly being pulled outward with each use. Also, as previously mentioned, they cost a fair amount—with the hardware required to install them, they clocked in at around $12, approximately half of our budget. No good! We sought to eliminate this issue by forgoing hinges entirely, and instead having a removable board that spanned the entire device—also conveniently removing the issue of the boards sagging in their hinges. We modified the attachment system for the plungers to the base as well, adding in some elastic bands and thickening those supports instead of using the previous method of duct-taping everything. We also selected and used a stain on the wooden pieces, as this would overall make the device easier to clean in the event of any unwanted spillage.

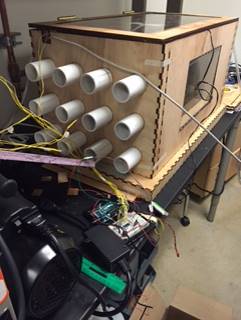
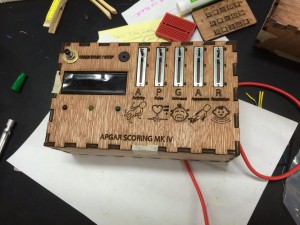
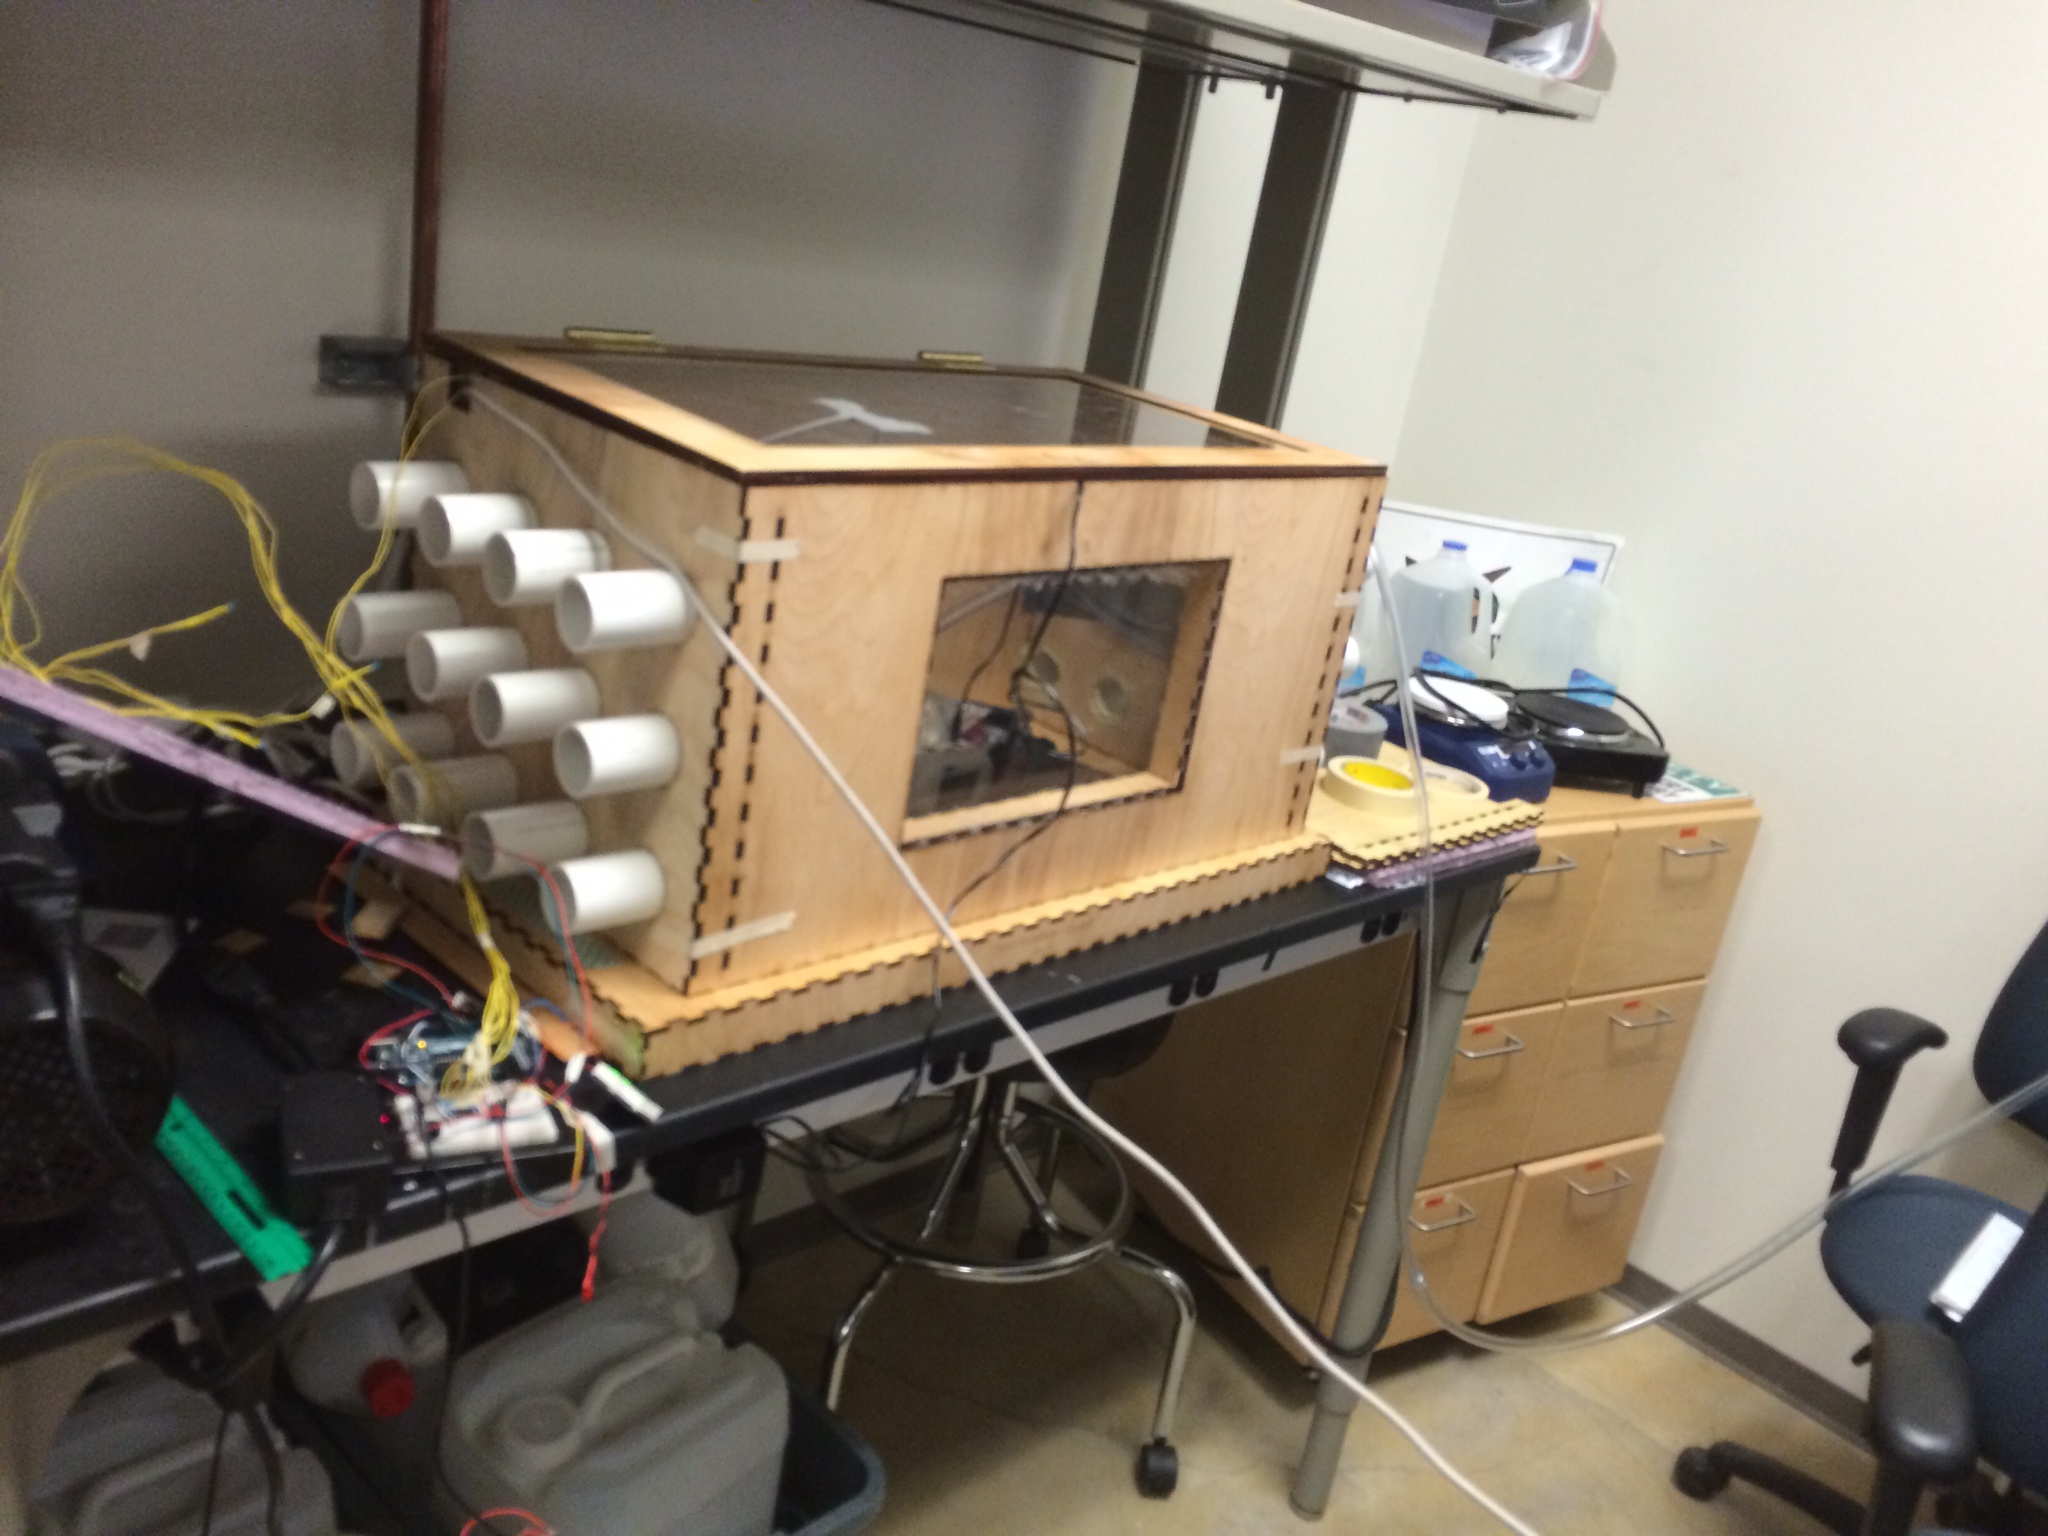
The final result turned out quite nicely:

photo

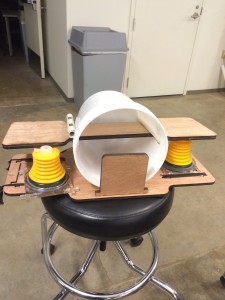
We did some further analysis on our prototype, and we reached a few conclusions, some good and some bad. The suction potential was definitely better reaching around 200 mm Hg at its peak, but since we’d sealed off the air leaks, it was actually much harder to obtain maximum suction than it had been before, meaning users really had to work at times to get the full vacuum. In addition, the method of securing the bellows to the base, while better than the first prototype, still wasn’t terribly secure, meaning the whole thing shifted around quite a bit when in use. However, we’d nearly halved our cost, bringing our device to within-budget at $22. Huzzah!

Overall, more improvements than bad things, so we can maintain our positive outlook for now. There will be a lot of work to do in the last few days, but I end up saying this every week, so I feel like that phrase is starting to lose its charm. Onward for the final push!

Week 7

I can’t believe this internship is already almost over! We still have so much work to do, but I think we can finish strong!

Last week, we filtered the signal from our pressure sensor which makes the noise from cell phones and other electronic devices much more manageable. We also took a field trip to Electronic Parts Outlet and bought a few more types of sensors to use instead of the pulse sensor. We found a couple sound detectors and a force sensor, and played around with them for a day. We didn’t ignore the pulse sensor, though, and after running a few more pulse sensor tests, we realized that with some filtration, it could work great. If we can’t get that to work, though, at least we still have three other options that we’re all familiar with!

This week is going to be really busy–we need to get the pulse sensor working well enough that it can consistently give a systolic blood pressure reading that’s at least somewhat accurate. From there, we need to find an algorithm to convert that systolic pressure into mean arterial. Finally, we’re going to consolidate the monitor into a smaller box so that it’s a bit more conveniently sized.

The Penultimate Week

It’s been a while since I last blogged, and a lot has happened since then.

First, for all intents and purposes, Harrison, Hanna, James and I have wrapped up the APGAR project. Our final prototypes will be traveled to Malawi on Wednesday with Dr. Wettergreen. They include some marking methods on clothespins as well as other clips and recording devices that can be made out of everyday items including water bottles, soda cans, and cardboard. We also have an electronic device that facilitates calculation of the APGAR score and also reminds midwives when to take the score. Going through the process of wiring, coding and then housing the electrical components gave me a great appreciation for the work that goes into developing devices – and we didn’t even get to a PCB stage! Also, I can’t leave this out, two weeks ago we spoke to a neonatologist at Texas Children’s Hospital about APGAR scoring both in Malawi (were he has visited) and in the U.S. It was a very insightful visit AND Harrison, Hanna, and I witnessed the miracle of birth. It was epic/crazy/kinda scary.

Final APGAR device that we sent to Malawi with Dr. Wettergreen
A few of our APGAR solutions including a soda top dial, 3D printed clips, water bottle/cardboard dial, "wrist abacus," and clothespins with tabs. The bottom right picture shows how the clip can be used to secure the chitenge.
A few of our APGAR solutions including a soda top dial, 3D printed clips, water bottle/cardboard dial, “wrist abacus,” and clothespins with tabs. The bottom right picture shows how the clip can be used to secure the chitenge.

Last week, we also began working on IncuBaby. A group of seniors developed a low-cost incubator for their senior design project this past year. We are working with Rice360 associates Bailey and Mary-Kate to make some design improvements. For the most part, we have been working on ventilation for the device. We all exhale CO2 when we breathe and babies are no exception. With the closed compartment of the incubator, it is easy for CO2 to build up  – to 1.7% with the incubator on and 4.0% with it off. We have been learning about and testing different ventilation strategies to keep the CO2 content down to 0.5%. Because it is cheaper and simpler, we have been focusing more on passive ventilation – holes that can help with air circulation. We have tried a number of different strategies and are close to settling on a placement for the vents. Testing consists of hour and a half long tests during which one must record the CO2 content and sometimes temperature. As of this point, we have been pretty successful in keeping the %CO2 down so we are now focusing more on what ventilation scheme will allow the temperature to stay up.

Incubaby with the holes and PVC pipe in the side. We are using this method to easily test different vent placements.

It’s great how much progress we have made in the past few weeks, and as the internship comes to an end, I am looking forward to seeing where each of the projects ends up.

In other news, we are trying to plan a zoo trip for this weekend!

Until next week,

Whitney


Summer reflections: what a weekend

 Before leaving Malawi I would tend to wonder about how we would spend our weekends in the Houston. Back home being as religious as I am I spend most of my time with fellow christian Seventh Day Adventists at church and generally doing other fun.

It has been such a blessing that myself and Eckharie have been able to find a family away from home at Berean SDA church, in Houston . The SDA students at Rice university invited us over and they have true companions over the weekends.

THE WEEKEND OF THE SUMMER!

Saturday

The highlight weekend for me this summer was the past weekend we spent in San Antonio, Texas at the General Conference of the Seventh Day Adventist church. The conference that takes place every five years and is a meeting of  over  seventy thousand Adventists from all over the world;from the Philippines to the Dominican republic, from Europe to Asia and from Malawi as well. Luckily enough we just happened to be in Texas and had people who chose to invite us along to San Antonio.


This was at the General conference on Saturday.

Sunday: roller coaster rides at six flags

Apparently there are also roller coasters in San Antonio at a park called six flags and was extreme fun. No fear of roller coasters now.

It was truly a most memorable weekend.


Our friends from church at six flags- in the middle one the  very warm Dr. Sara Guzman Reyes- whom we call Aunt Sara. She likes to invite SDA Students from Rice university.


About to be launched into the air. That is me putting on  brave face to the right. And Eckharie to the left.


These are the friends from church. Most from Rice, a few from other universities. (left to right) Rosheem, Ruben, ,Anieph, Anecia, Grace, Shani, Andra, Eckharie and me.

Testing & Arduino

WIRES ARE SO DIFFICULT TO ORGANIZE.

Just had to get that out there. We spent most of this week finalizing the circuit on our APGAR device, designing, constructing, failing, and iterating a laser-cut housing for the circuitry, and lastly attaching the components (buzzer, button, LCD, sliders, LEDs) to the housing in a way that is intuitive to users attempting to troubleshoot. Because Arduino is meant to be a prototyping device, every connection on our circuit is designed to be temporary – meaning that they come loose or apart ALL THE TIME. Although this allows for quick troubleshooting and flexibility, it makes our device much more prone to malfunctioning due to something being unplugged.

We used a program called “Fritzing” (fritzing.org) that allows you to quickly and easily create arduino wiring diagrams. It’s been incredibly helpful for troubleshooting wiring issues. Whenever things get unplugged, I look at our wiring diagram to see if anything is incorrectly connected.

IMG_0115IMG_0120

Mess of wire                                       Housing!!

We also were tasked with improving ventilation in the IncuBaby incubator. After a short brainstorming session, we decided to go with a modular testing method – cutting sides of the incubator with lots of holes that are able to be blocked or opened in any arrangement such that testing configurations is much easier than cutting out new sides for each test. Because the incubator is double-walled, we came up with a solution that allows one to have holes through the walls but maintain double-walled insulation benefits.

We cut holes through both walls and stuck a length of PVC that breached both walls, essentially forming a seal that allowed air in, but closed off the incoming air to the gap between the walls.

IMG_0116


Testing setup


Also, I’ve been doing a lot of side projects after work!!! I’ve been exploring possibilities with the laser cutter. Specifically, I’ve been taking larger scrap material destined for the trash can and constructing cool, useful objects out of it.

Example 1: Chess board. This is currently sitting in Coffeehouse for anyone to play with their friends. The circular pieces are cutouts from the Incubaby project, and the pieces are cut from scrap material.

IMG_0117

Example 2: Nautilus gears from scrap. Absolutely fascinating how these turn – as the gears turn, the gearing ratio between the two change dramatically. So if you turn one of the gears at a constant rate, the other speeds up and slows down according to the gear ratio at the current turn radius.

IMG_0118

Example 3: Longboard (I went out to Rockler Hardware Store and bought all the materials for this: 1/4″ baltic birch ply, Titebond III wood glue).

This project was really fun – I laser etched the back, jigsawed the shape out of a template designed in Adobe Illustrator, then filed the heck out of the edge to give it a nice, round edge. Woodworking and longboarding are two of my big hobbies, so this was a great combination of both.

IMG_0121


7 SEGMENT DISPLAY

A seven-segment display is a form of electronic display device for displaying decimal numerals. Seven-segment displays are widely used in digital clocks, electronic meters, basic calculators, and other electronic devices that display numerical information.

Seven-segment display and Arduino

A 7 segment display requires at least 8 connections to the Arduino board, hence consuming the already little number of pins available. Developing a serial 7 segment display by interfacing it to a shift register was one of the tasks I had to do last week. Currently, our Apgar Scoring Device uses an LCD display to indicate the timing and score.

20150713_12005520150713_120549

Figure: 7 segment display

20150713_120204

Figure: Serial seven segment display connected to arduino

Why have we chosen LED over LCD?

Although LED displays have better view on sunlight, they are not suitable for usage on batteries, because they consume a lot of power compared to LED displays.

They also cost less than LED display.