This week started off with a bang, and it didn’t slow down. Sometimes taking a short break from a project (a nice four-day weekend) can help a team to reset and refocus. Upon arrival in the OEDK on Monday, we immediately started making great progress. Knowing there would only be a little more than a week before our showcase presentations, we also realized how little time we had to make more progress on our design.
More Smoke
On Monday, we met with a previous team member to discuss some problem’s that we had observed with our circuit, and he was a reliable source of troubleshooting ideas. We had just a few things to resolve before we were comfortable putting our circuit all together. While we discussed over Zoom with him, we attempted to turn on our OLED screen to describe any problems we were having, and immediately smoked poured out from below the screen. We frantically unplugged the Arduino from the laptop, and examined our handiwork. Nothing. It seemed like a freak accident, and given that we had already performed a similar cooking operation on a previous screen of ours, we felt… well… discouraged.
We finished our discussion in the conference room, and brought back the corpse of our last remaining OLED screen. Since we had been spending much of the last few weeks perfecting separate pieces of the circuit and making adjustments, we knew that we might be able to put everything together today if it weren’t for the broken screen. Then, we remembered back to our previous screen, looked carefully, and made a realization: if only the two screens had broken in different places, we may yet be able to take them apart and put together a working screen. It was a massive longshot.
But we did it! The screens themselves were mounted on a small printed circuit board (PCB) with a small ribbon cable. After unplugging one screen and attaching it to the other PCB, we tried turning it on, with no luck. Finally, we tried the other Frankenstein screen (Franken-screen?), crossed our fingers, and watched the screen light up with no issues! Electronics can be tough to work with sometimes, but for Team Petri-FI, anything is possible—even “un-frying” an OLED screen!
The Breadboard
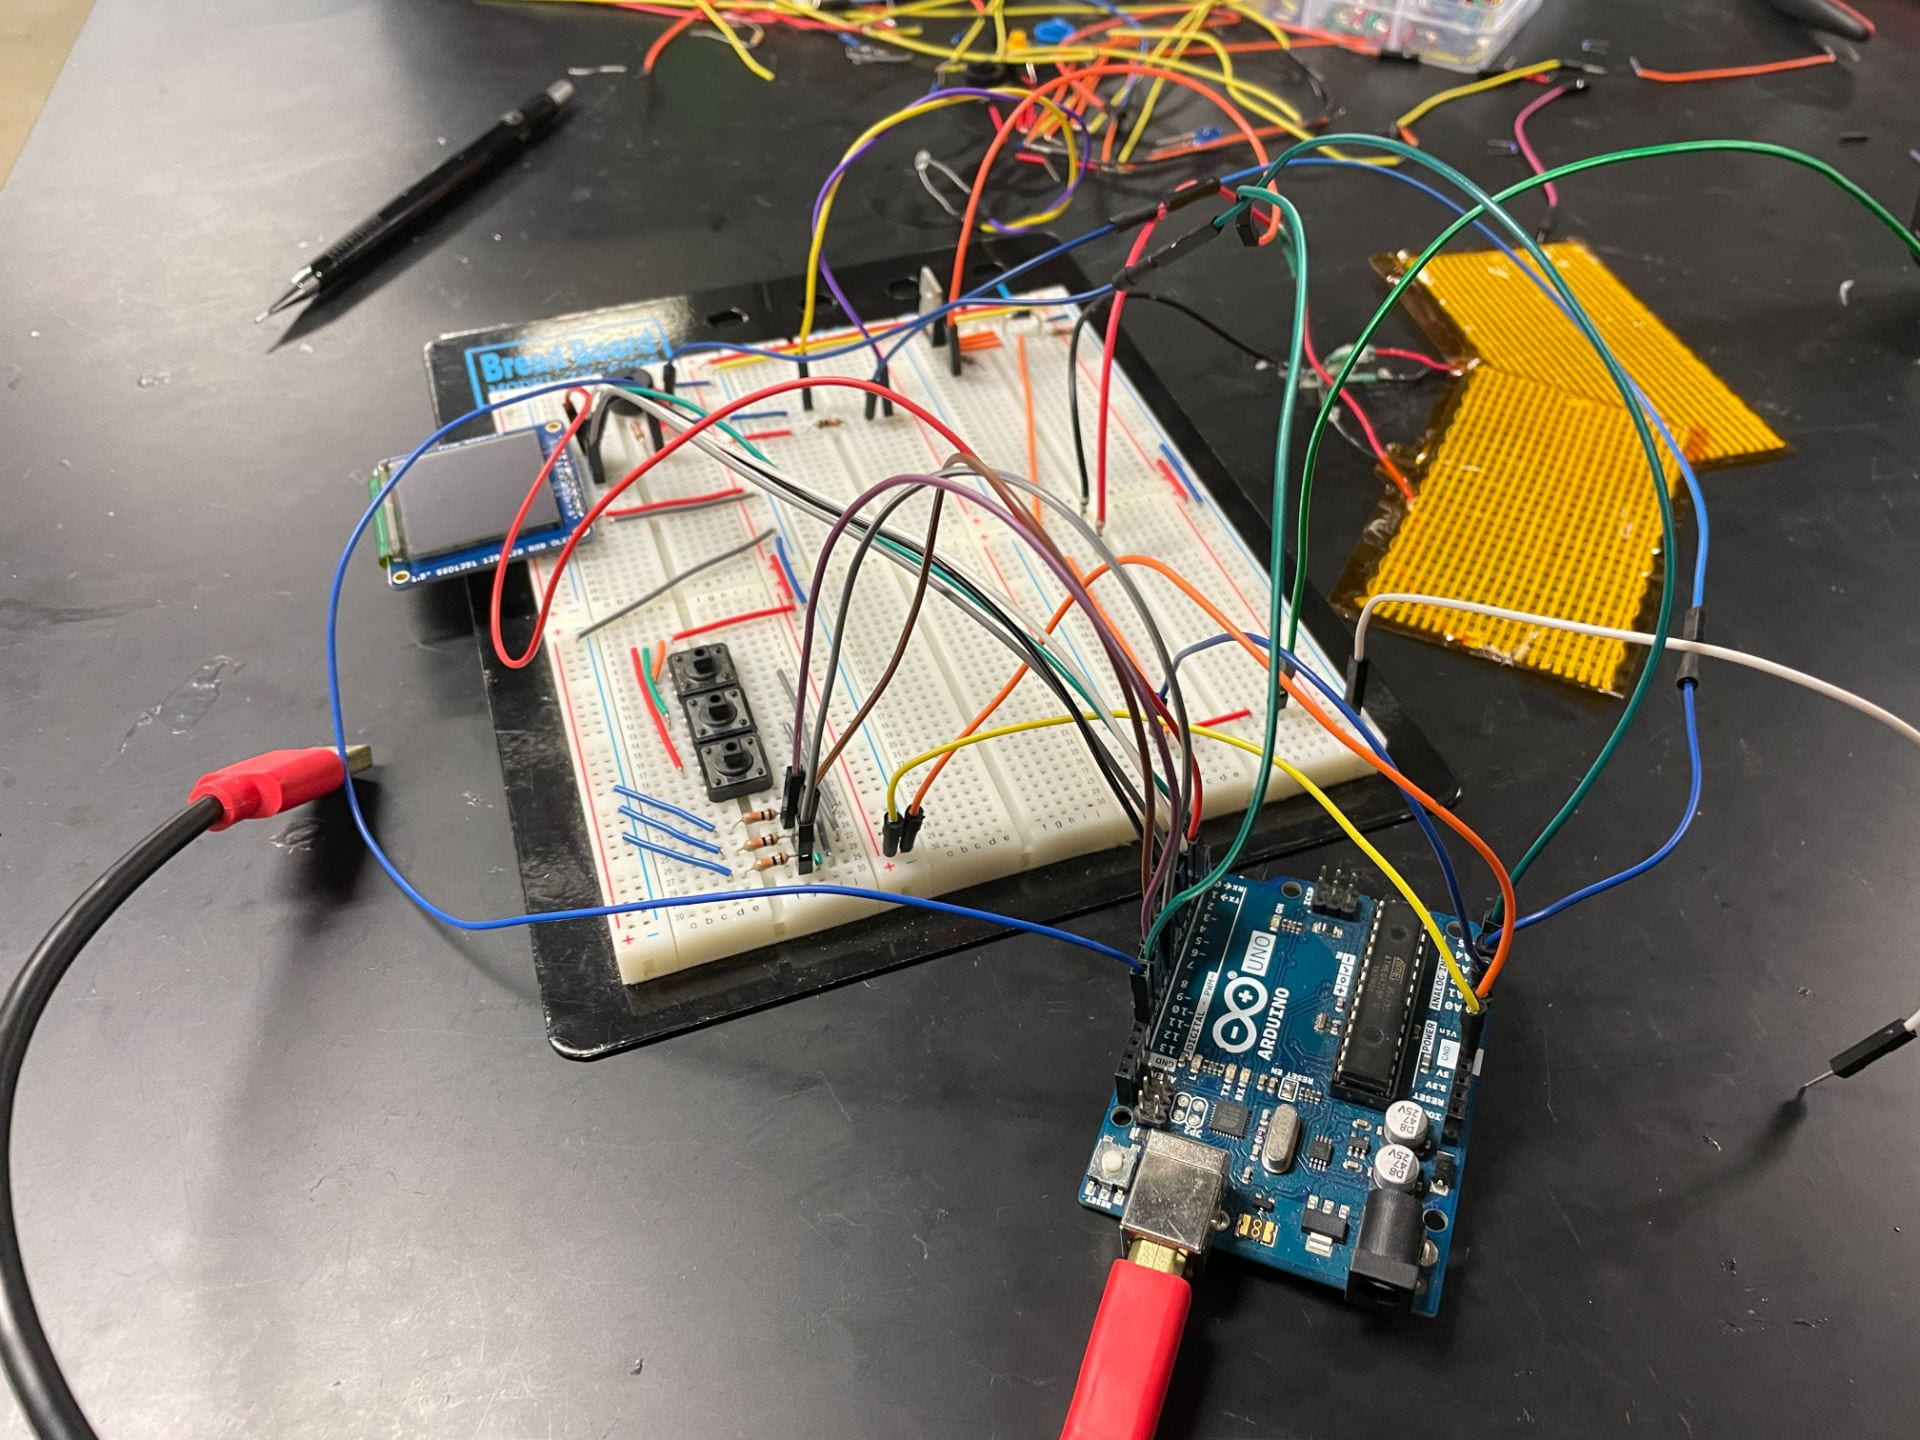
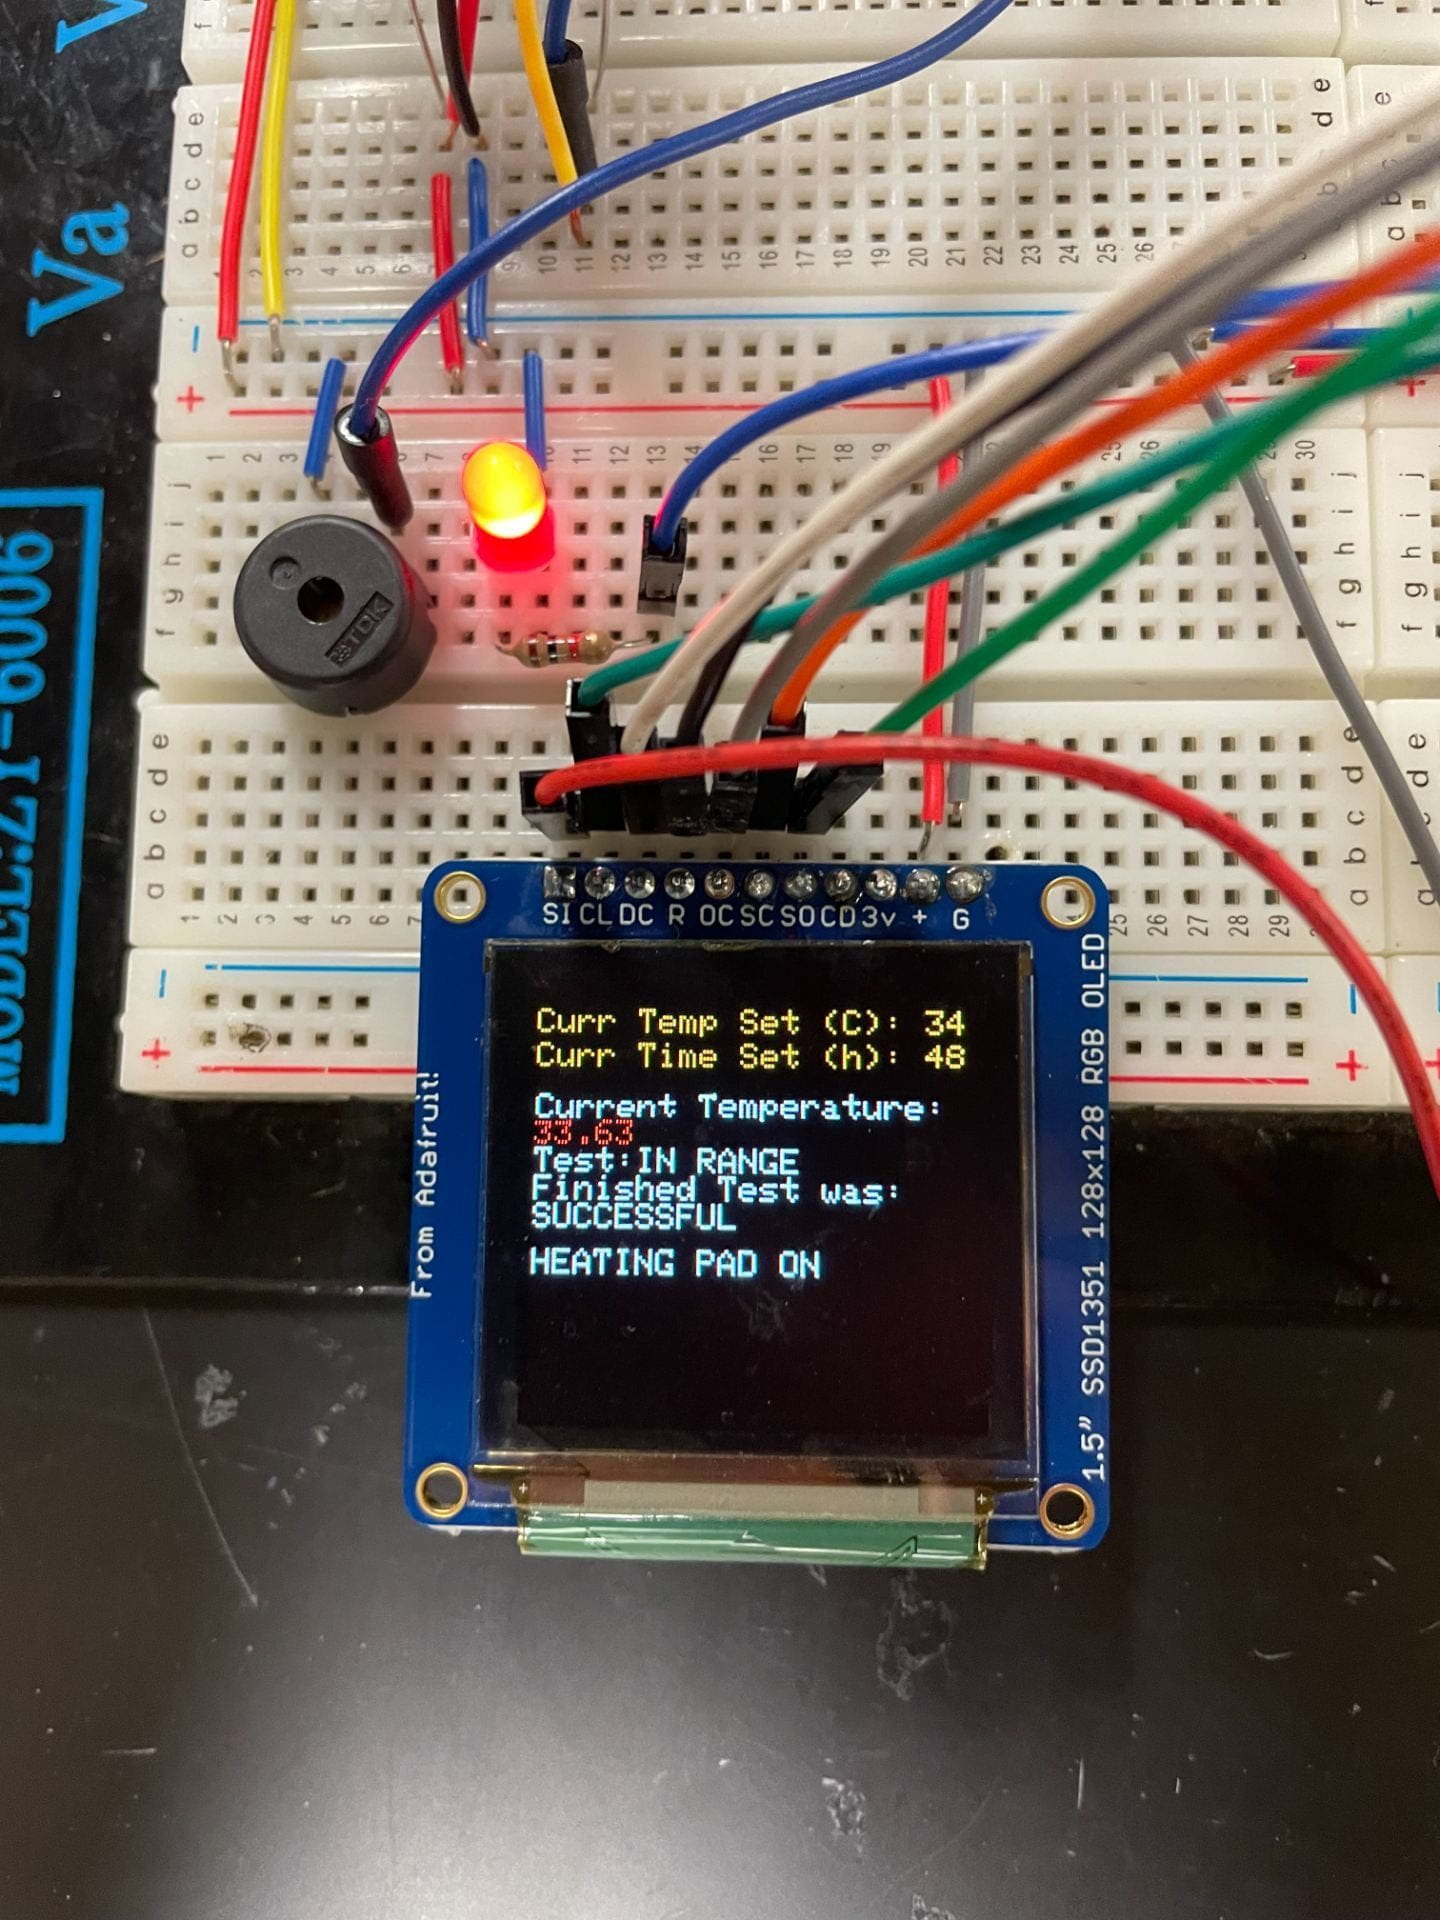
By the afternoon on Monday, we were confident enough in our circuit that we chose to make a new and improved breadboard. While our previous iterations were messy, I had a lot of fun cutting wires to the correct length and making neat patterns on the new breadboard. Piece by piece, we built up the subsystems that we had been working on, and soon, we just needed to upload code to the Arduino and turn it on. For the first time in weeks, we powered on the Arduino and saw the screen light up with a previous team’s (Minicubator’s) user interface. Additionally, the buttons, heating pad, and thermistor appeared to be functioning well, even if there were still a few issues to be resolved. We were immensely excited to reach this checkpoint, because it brought us ever closer to integrating it with our newly-designed incubation chamber.
A Journey on a Bike
With our new progress on the circuit, we took a leap of faith in contacting a faculty member on campus to help us start performing incubation testing by the end of the week. Because of scheduling, and because we wanted to run a 48-hour incubation, we learned that we would need to start on Wednesday evening, in both a commercial incubator as well as our own. We did not have everything ready for a full incubation, and it would be a challenge to get a working setup within just two days, but we took the offer, knowing that it would be fantastic to showcase our results during next week’s presentations.
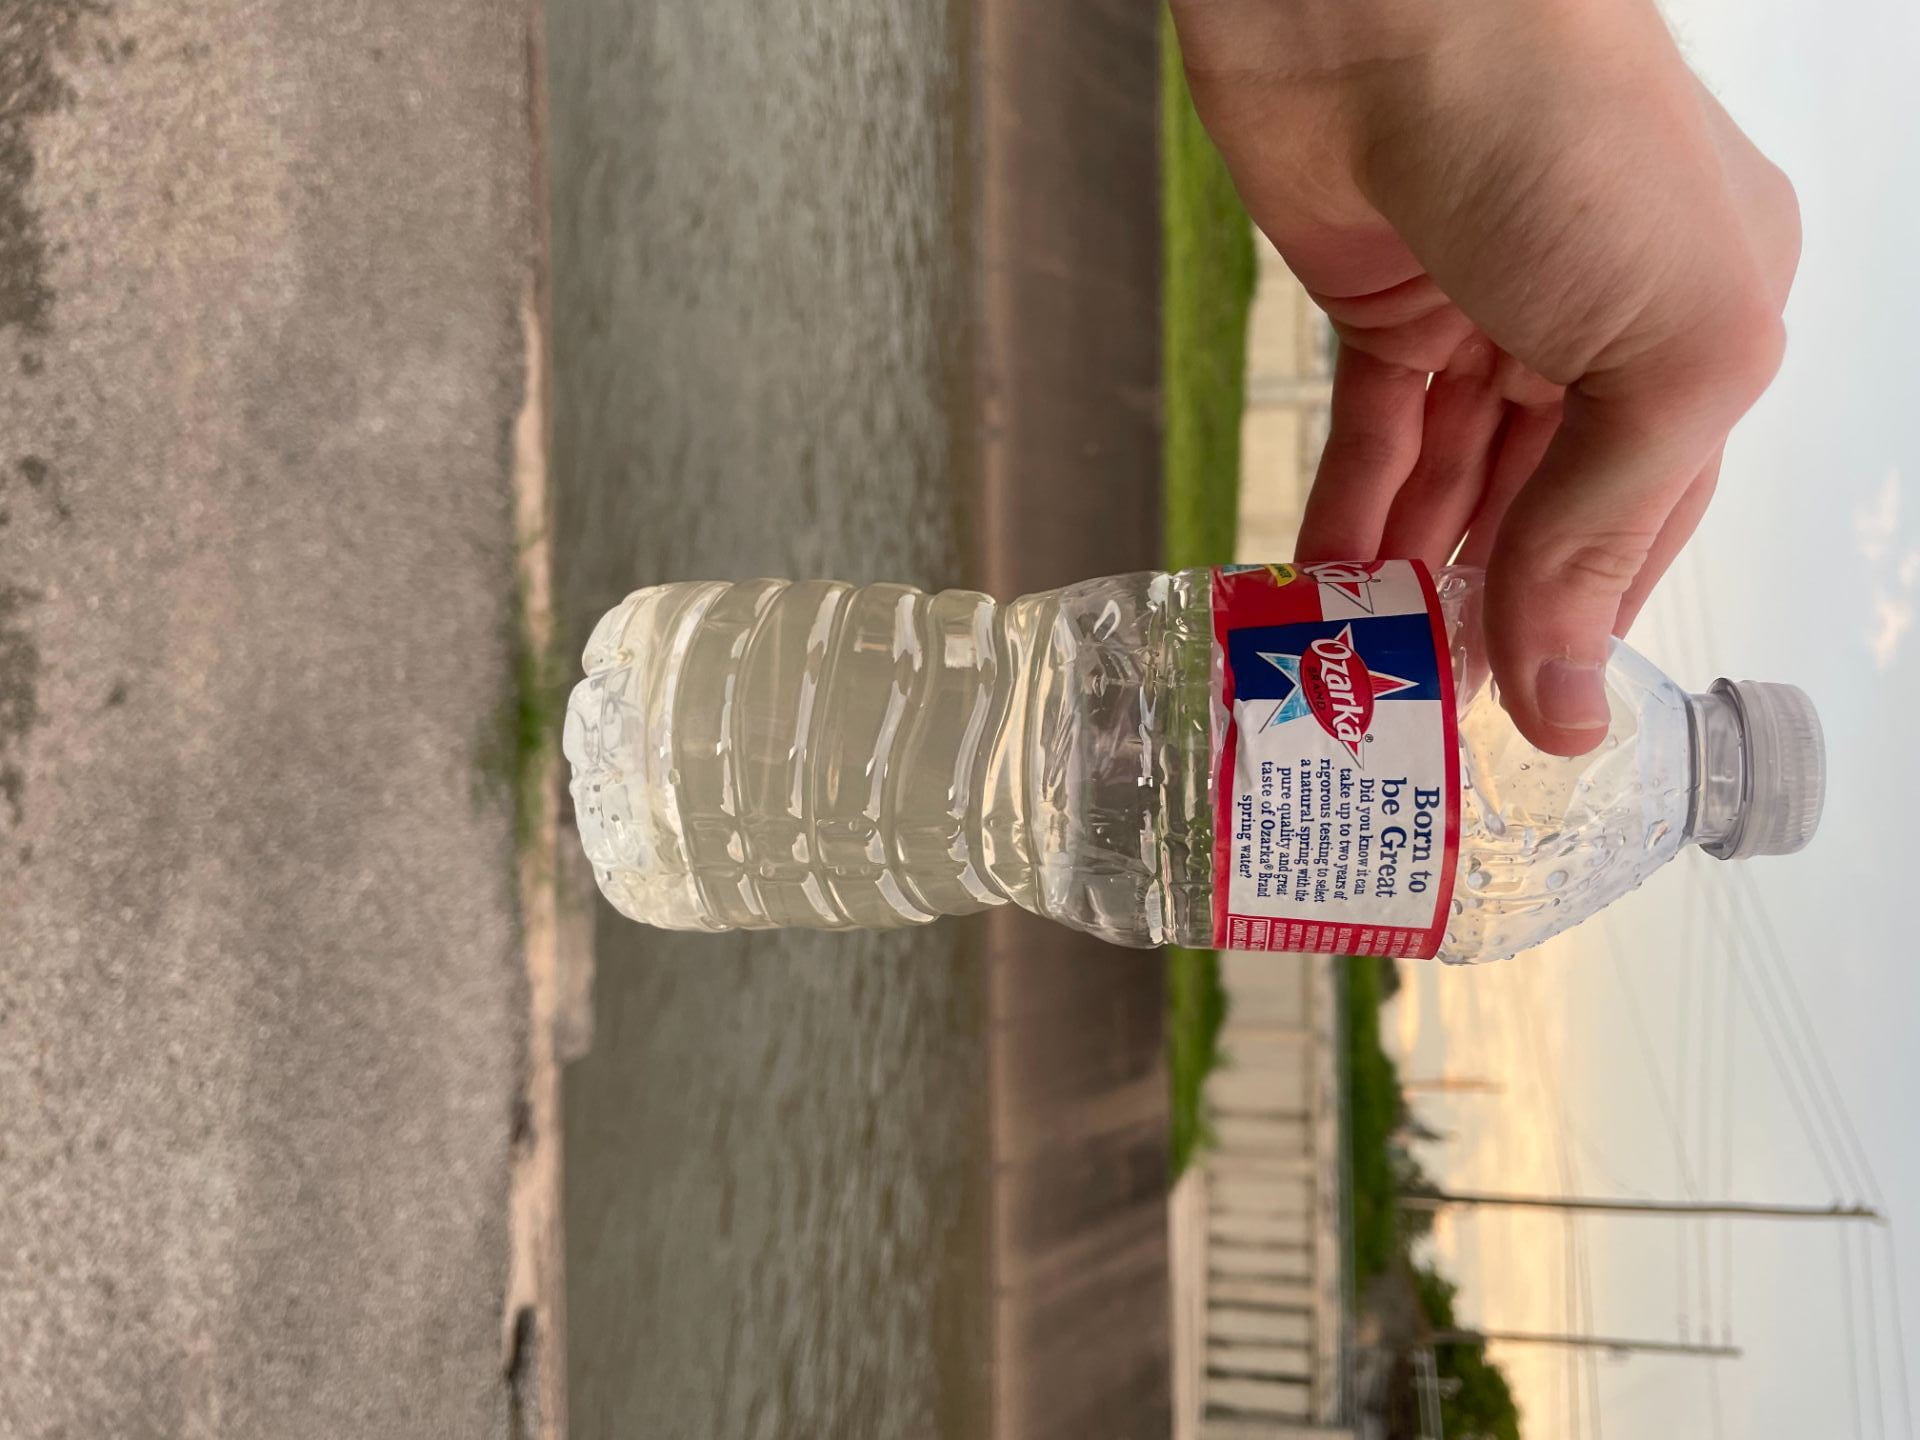
Once water samples are taken, it is best to start incubation within 24 hours. Therefore, on Tuesday evening, I packed an empty water bottle (and a full one—hydration is important!) and rode my bike out to the Brays Bayou near Rice University’s campus. We knew that this was likely going to be a good source of fecal contamination. I biked a short distance along the bayou, looking for a spot to safely step down to the water. I found a set of stairs, and walked down to collect the disgusting water in my (empty) water bottle. That was a fun little adventure, and certainly one that I did not expect to be having as part of my summer internship! As soon as I made it back to the OEDK with the sample and set it onto our team table, it was like a ticking clock. In twenty-four hours, we would either start our incubation, or we would disappoint ourselves and our faculty mentor.
The Big Day
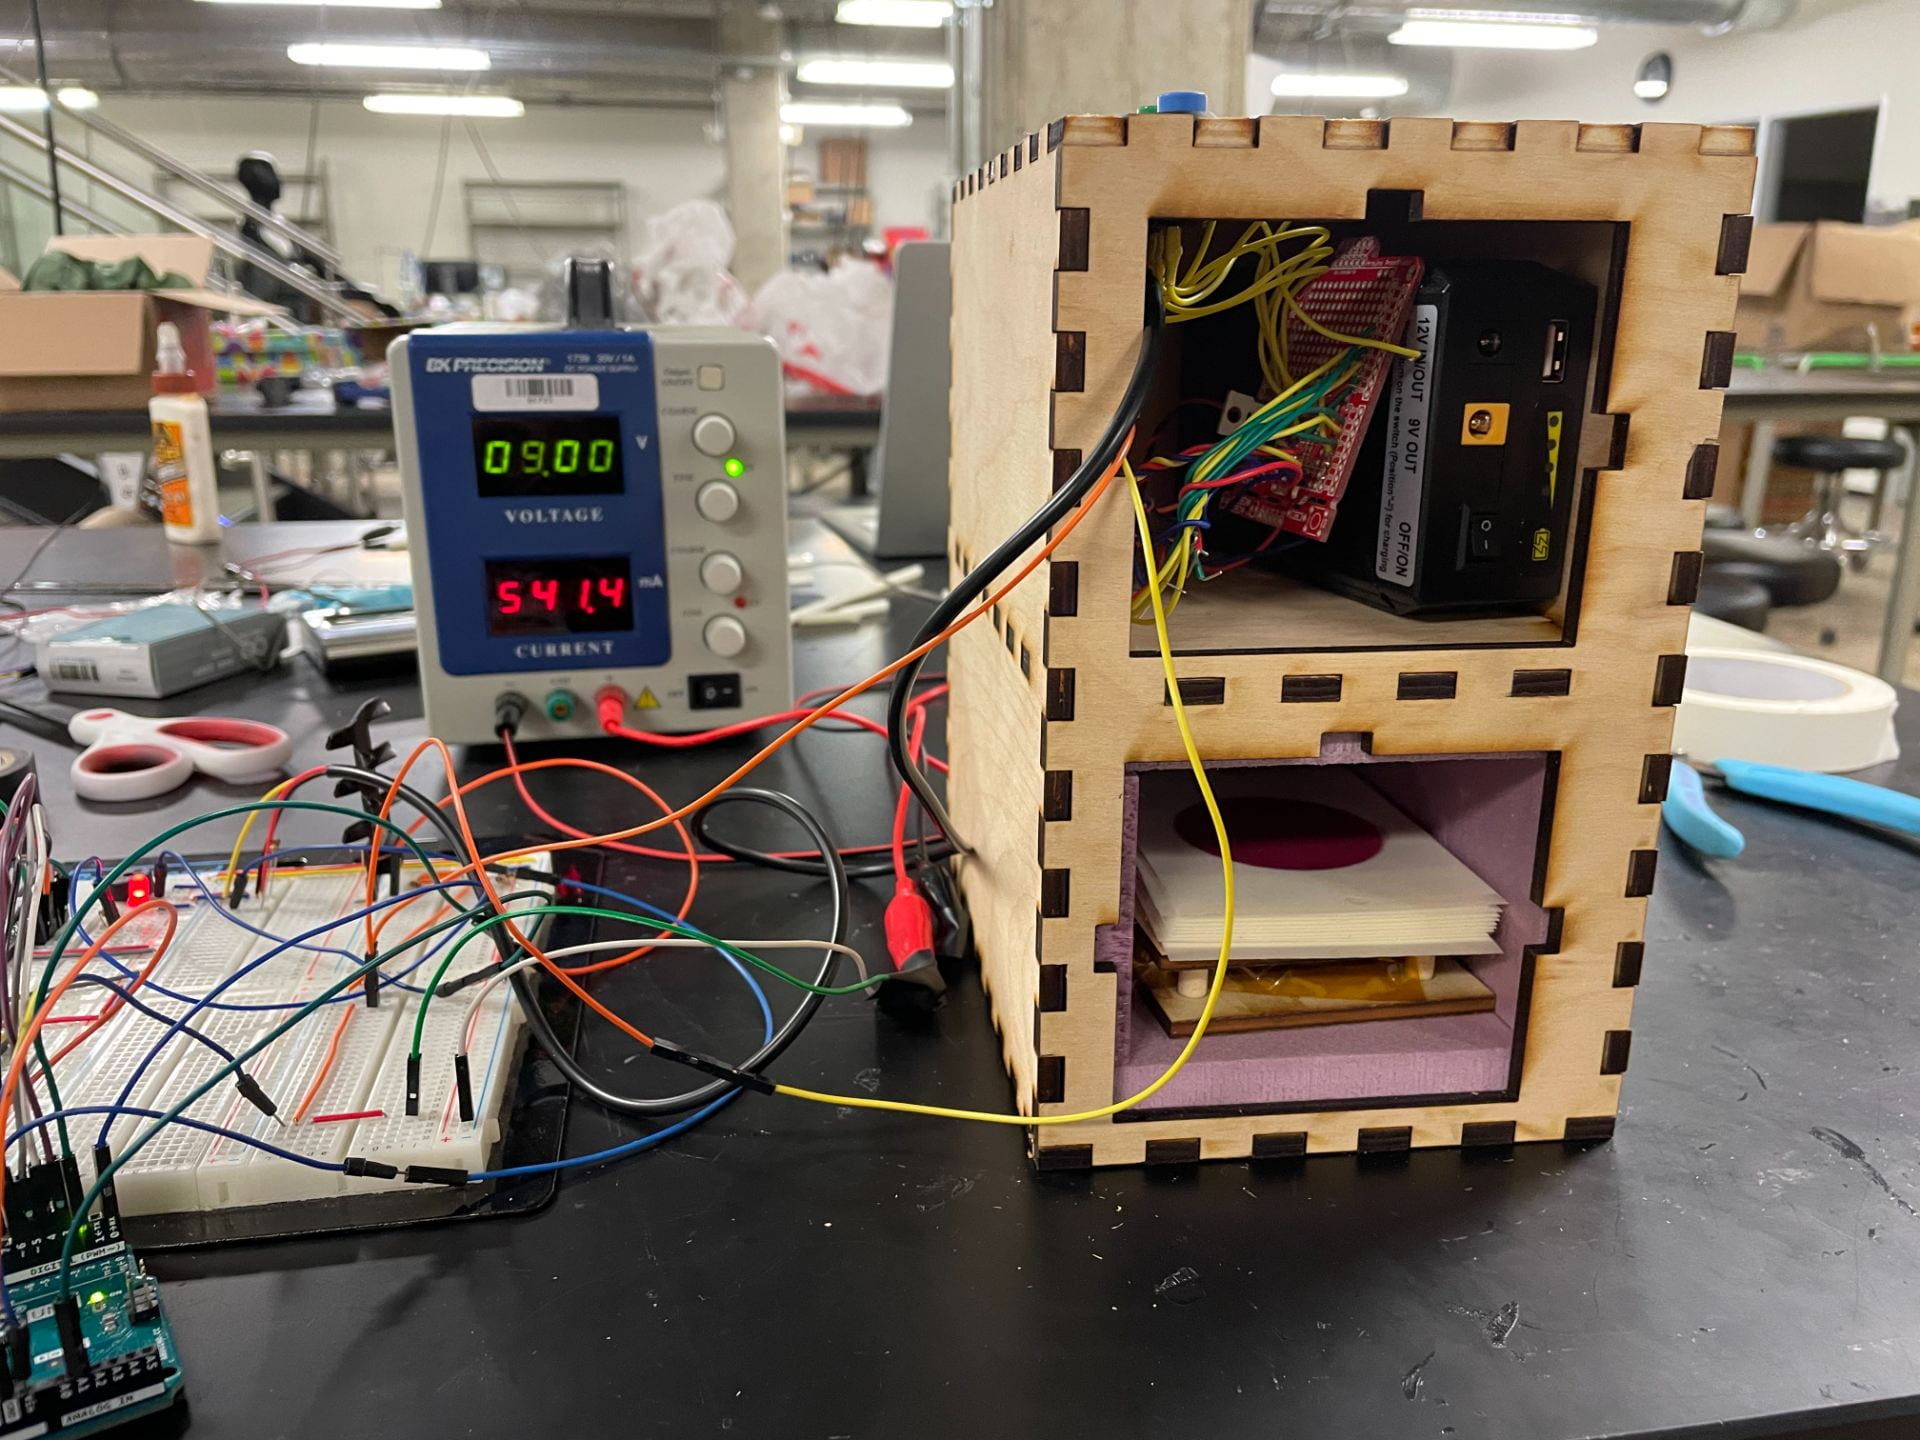
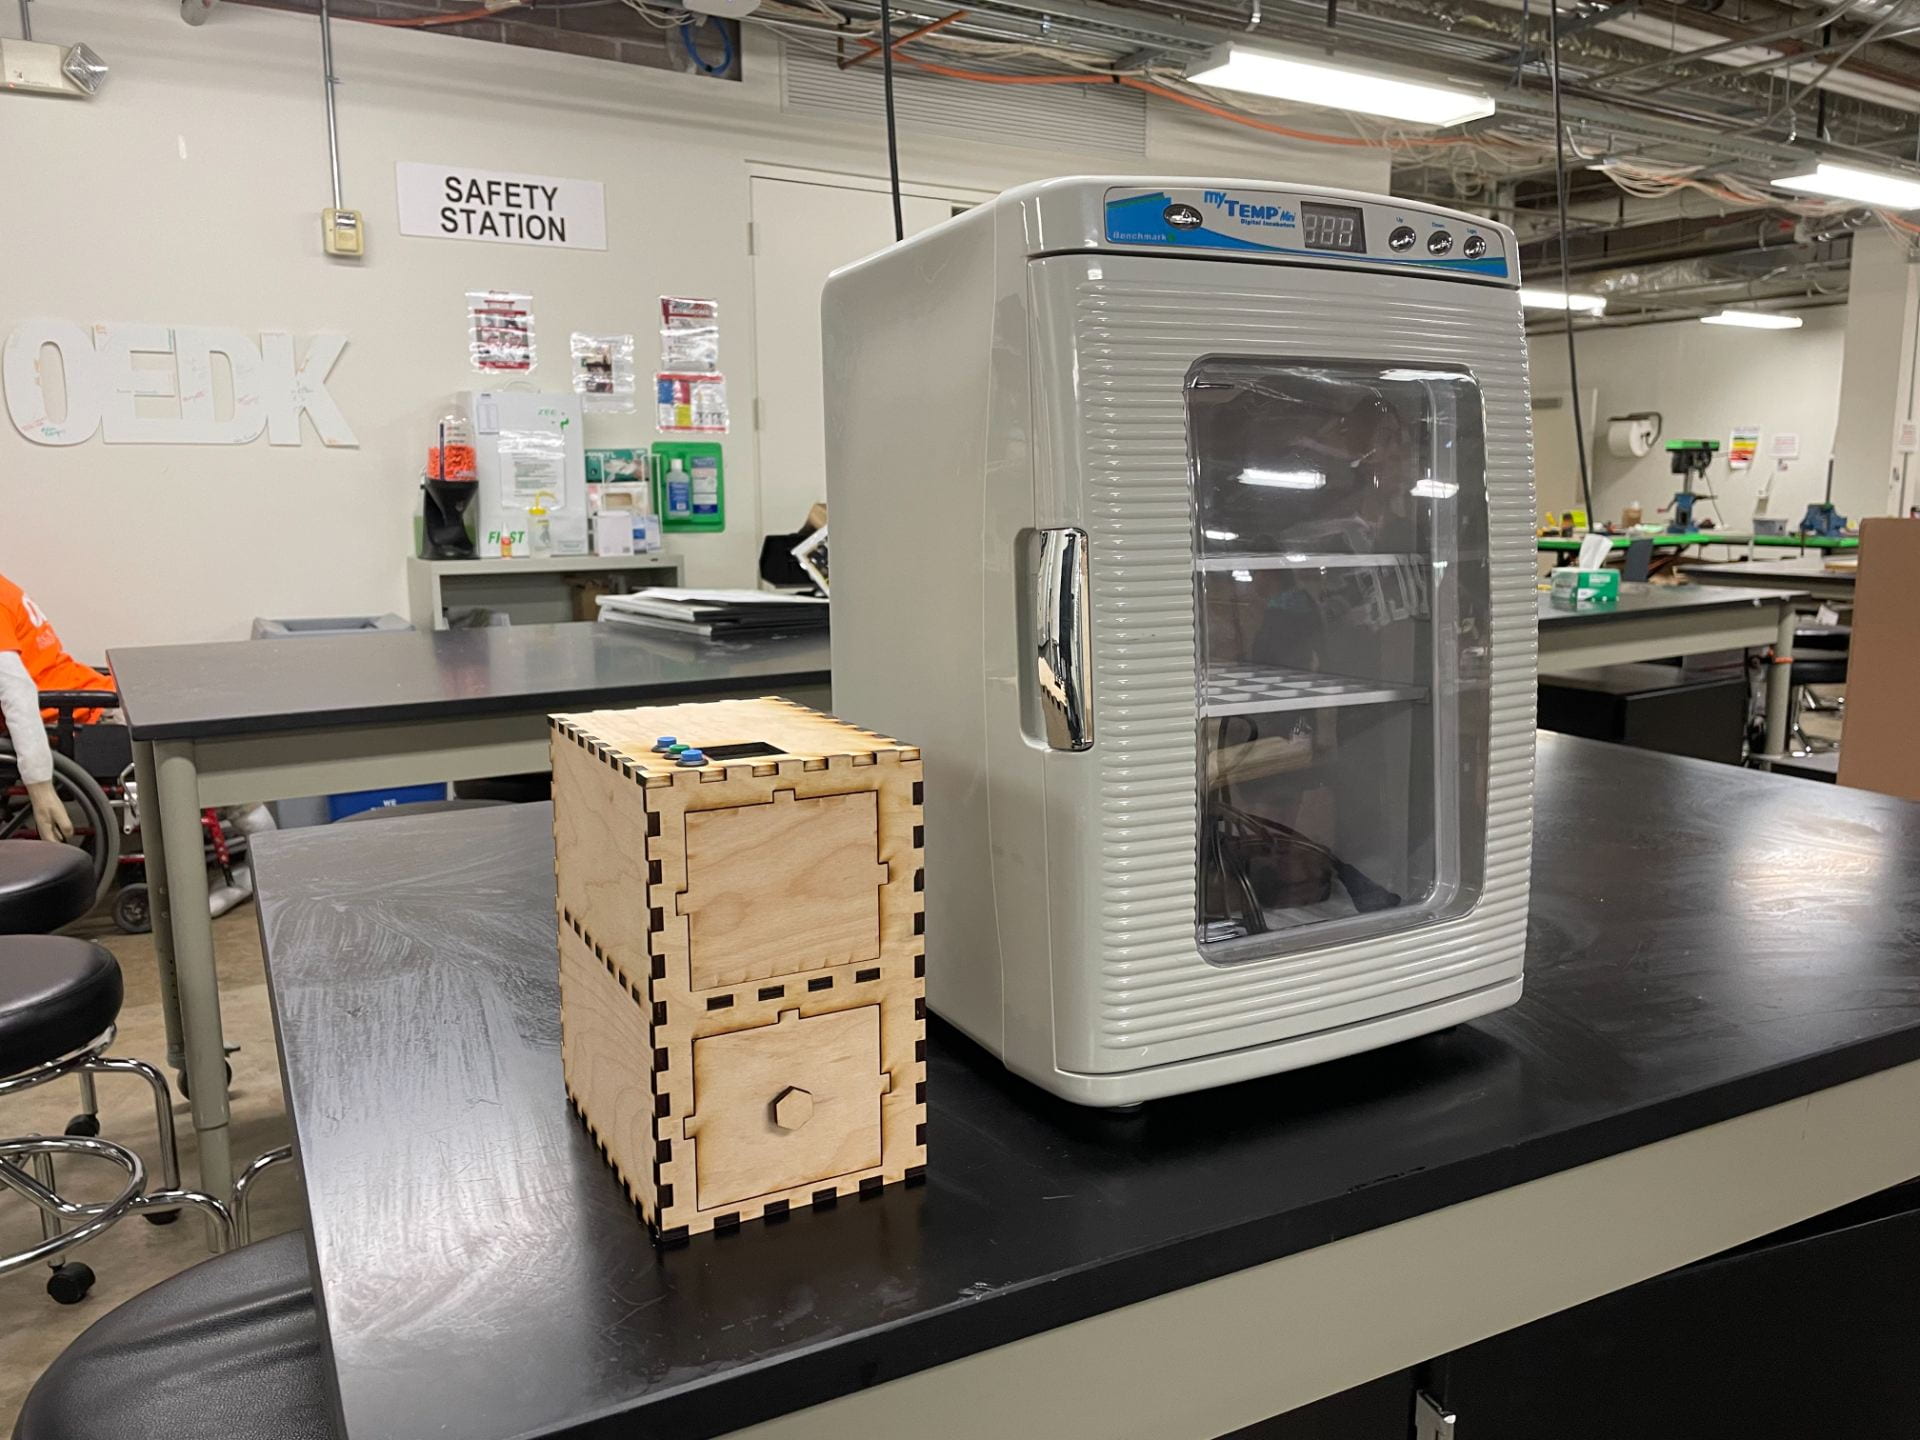
We worked tirelessly on Wednesday. While I tried to add capability for data logging to a microSD card during our incubation, we were also assembling our new vertical box incubator design. This box would have the heating chamber with foam board insulation below the electronics chamber. We successfully added the insulation to the chamber, and it was ready for incubation, which meant that we would not need to use our previous incubator for our 48-hour test. Throughout the afternoon, we continued to make more progress, but we were still straining to complete the system.
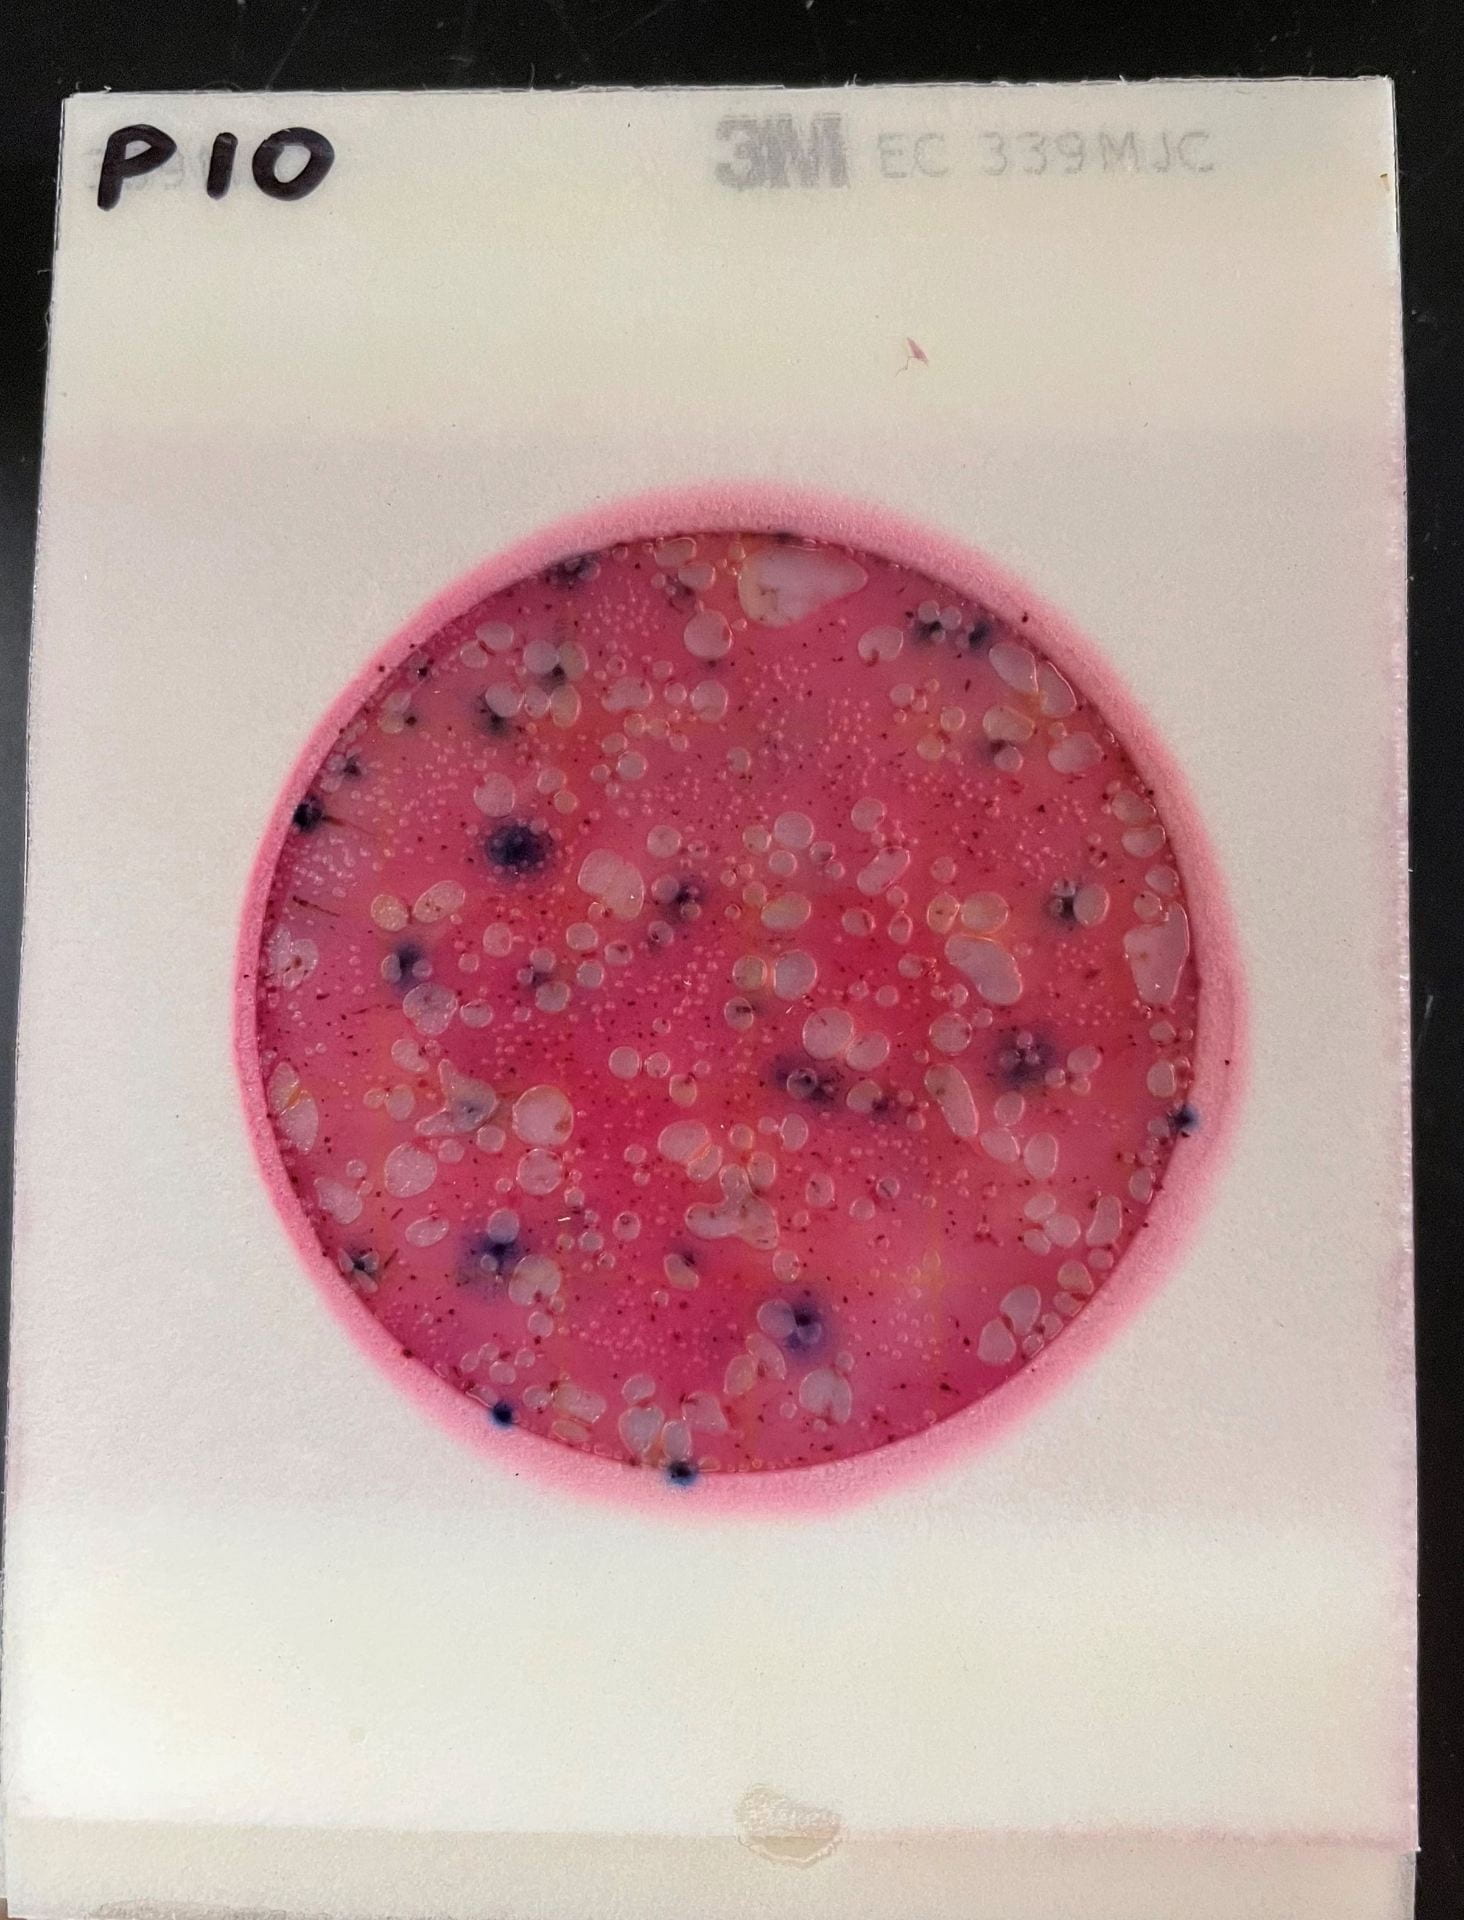
While I was not yet able to get the SD card working completely, we (mostly) trusted Minicubator’s heating algorithm to keep the chamber warm. We stayed late placing the heating pad and thermometer into the heating chamber, and we connected it to the breadboard alongside our new box. By around 7:00 PM, the chamber was ready to go, and we had placed 1 mL of water on each of the Petrifilms. We put the Petrifilms into both our chamber and that of the commercial incubator, and we watched.
There were no major anomalies with the temperature of our incubator on Wednesday evening, and we checked it later that evening to ensure steady operation. Then, we left the OEDK for the night, just praying that our incubator would still be working by the morning. When I arrived in the morning, the temperature was still in range! Like clockwork! The rest of the 48-hour period went by without even a hiccup. By Friday, we were able to pull out the bacteria-filled Petrifilms and examine them with our faculty mentor. On the whole, our incubator performed very similarly to the commercial incubator! We were unable to quantify these results, because our water samples had far too many E. coli colonies, but we were very happy to see promising results after all of our efforts.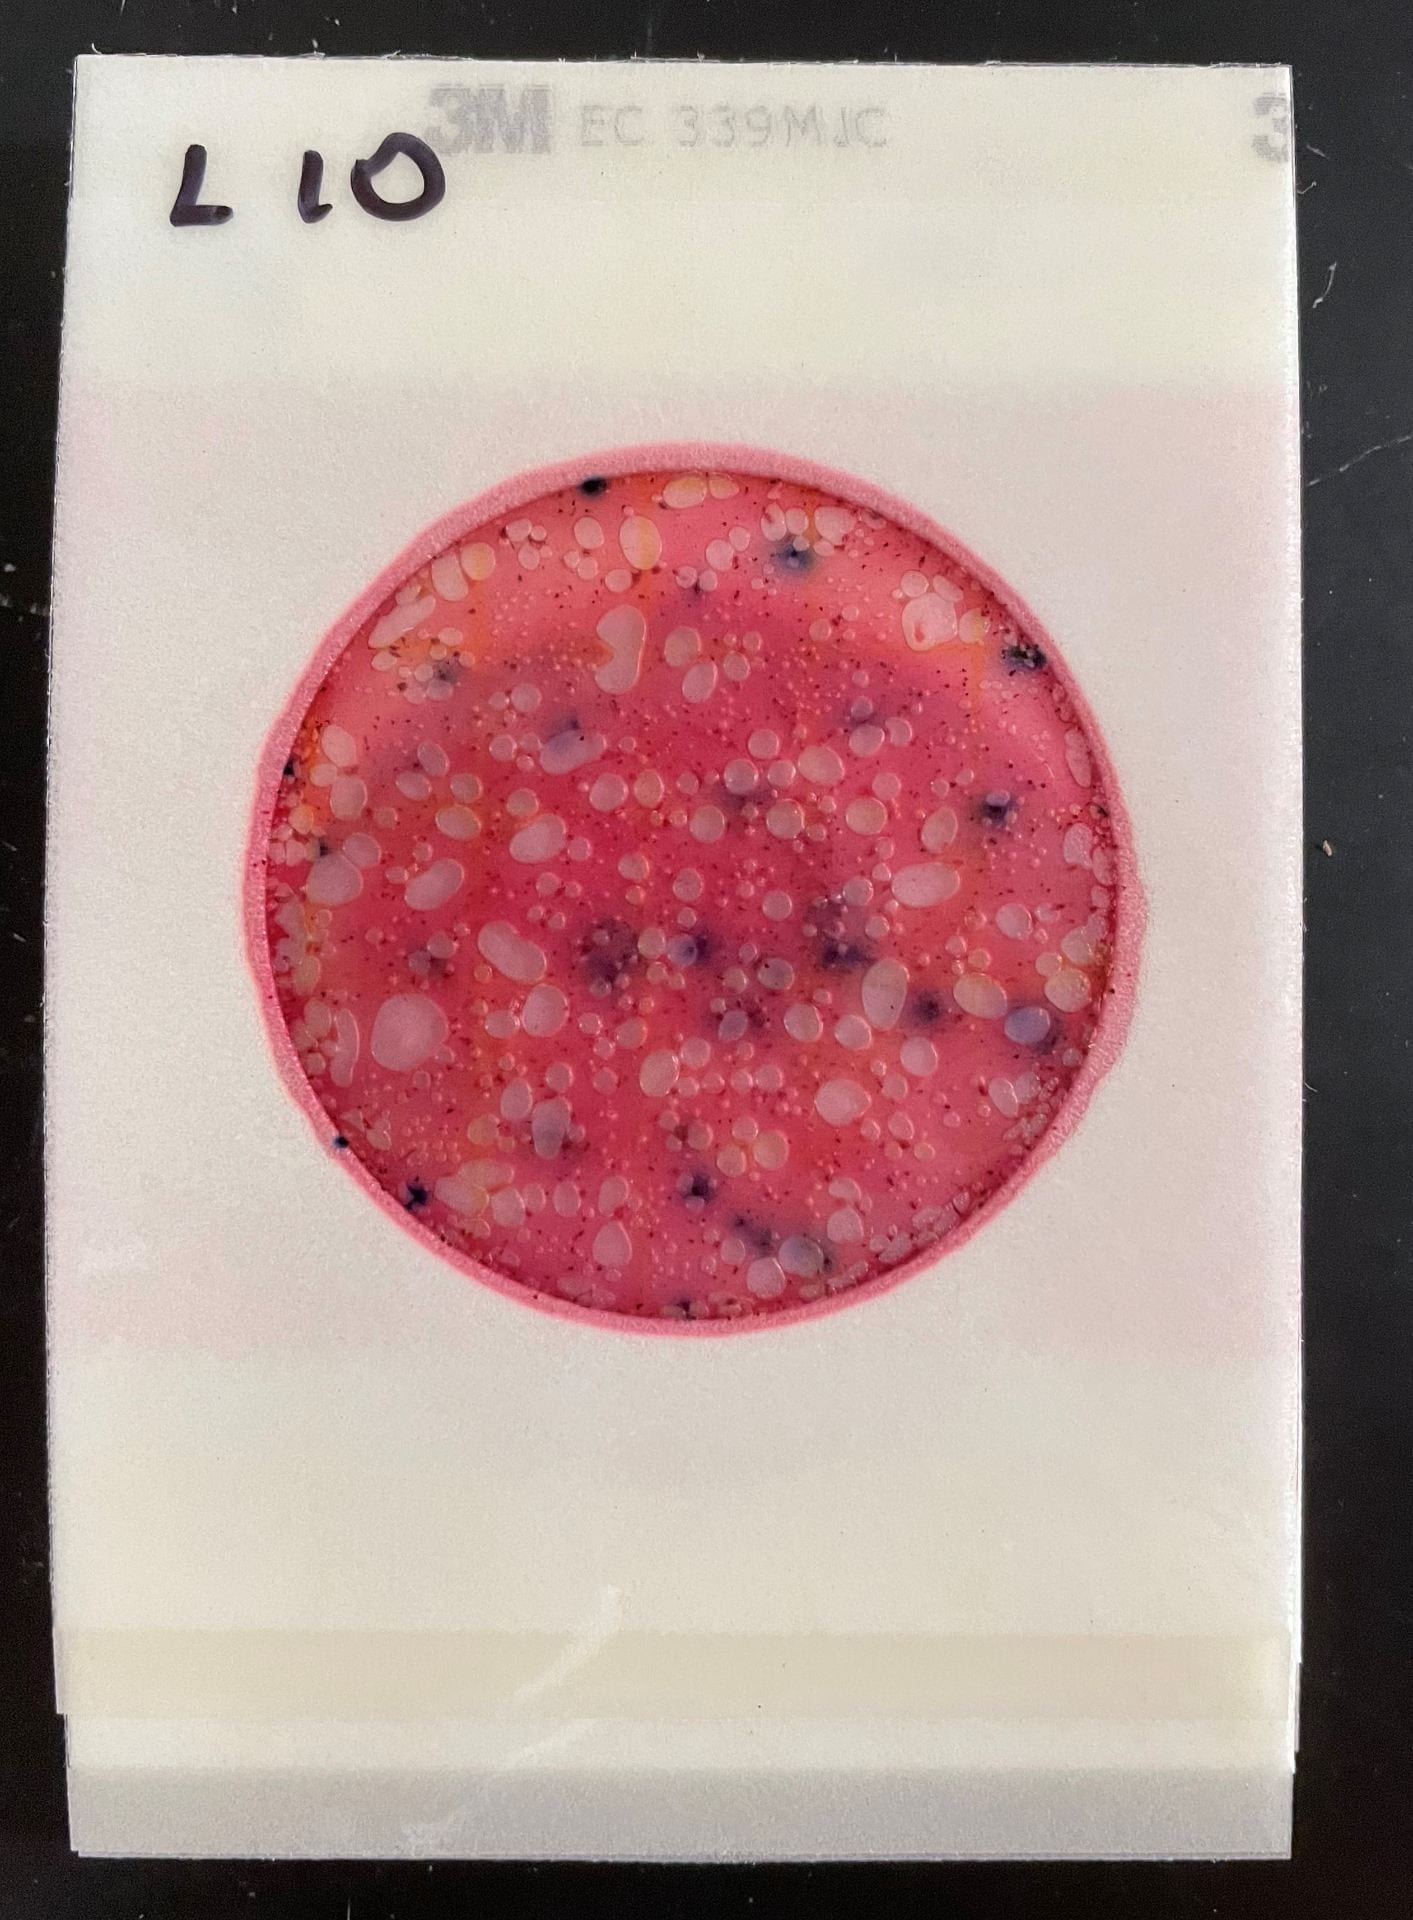
Throughout this internship, we’ve generally been able to set our own deadlines. Of course, we knew that at the end of the six weeks, we wanted to have a new product that could successfully perform incubations. This week, however, we set ourselves a Wednesday deadline that pushed us to accomplish much more than we ever expected. In challenging ourselves and working hard at the beginning of the week, we rewarded ourselves with successful incubation results and the satisfaction of seeing the fruits of our weeks’ labor. Next week, we must prepare for showcase presentations, but I’m very excited for the refinements we will be able to make to our incubator in our final week together.
-Kenton Roberts